DIY Stenciled Doormat
Do you love fun doormats as much as I do? There are so many great ones out there, but I’m always hesitant to spend $30+ on a doormat. Then I realized that you can make your own for waayyyyy cheaper! Today I’m going to show y’all how I made my $6 DIY Stenciled Doormat!
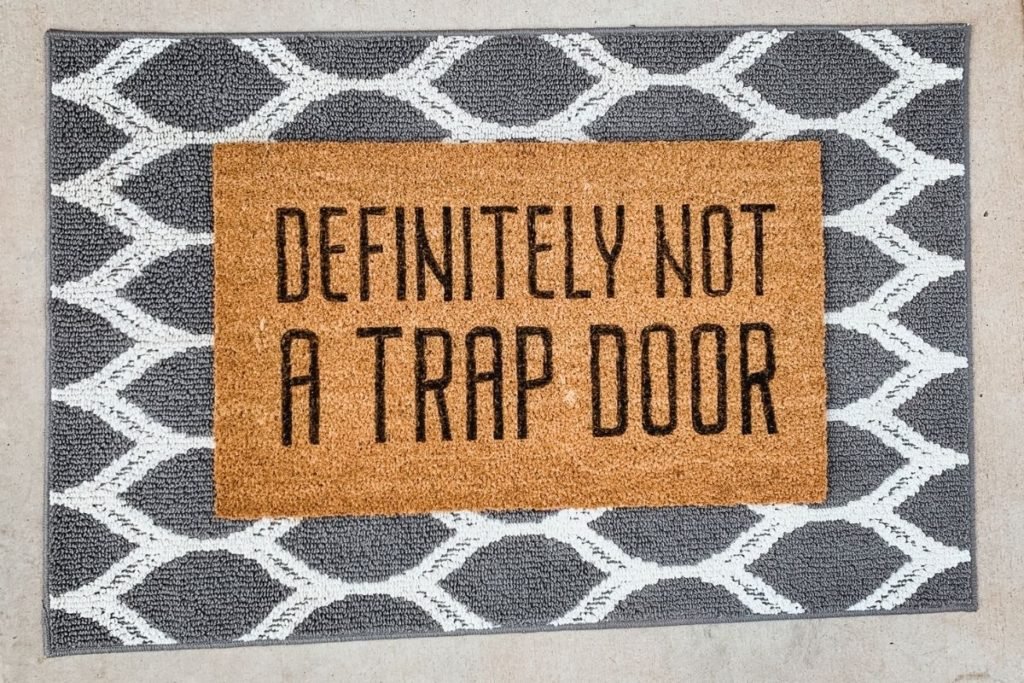
You will need:
- Plain Doormat (I got mine at Walmart for $5.97)
- Acrylic Paint
- Paint Brush (one that can be thrown away)
- Stencil
- Masking Tape or Paint Tape
- Ruler
- Clear Coat (optional)
1 | Prep the Stencil
You can use any stencil you want, but I cut out my own. (If you want to use my design, you can download it here.) I just used cardstock taped together for this project. Sticky stuff won’t really stick to the material of the doormat, so keep this in mind when choosing your stencil. Adhesive vinyl won’t work on this material.

2 | Prep the Mat
Using masking tape and a ruler, line up your design and tape it into place. Please note that nothing sticks super great to a mat like this, so you’ll need to be careful not to bump the stencil.

3 | Paint Your Design
When you are painting on a really rough material, you are going to totally destroy your paintbrush. I suggest using an old one or just a super cheap one that you can throw away. I don’t recommend using a foam brush because the material of the mat will tear it to pieces.

I just painted the outline using the stencil, then filled in the letters once I removed the stencil. You will have to work the paint down into the mat, which is why this destroys your paintbrushes.
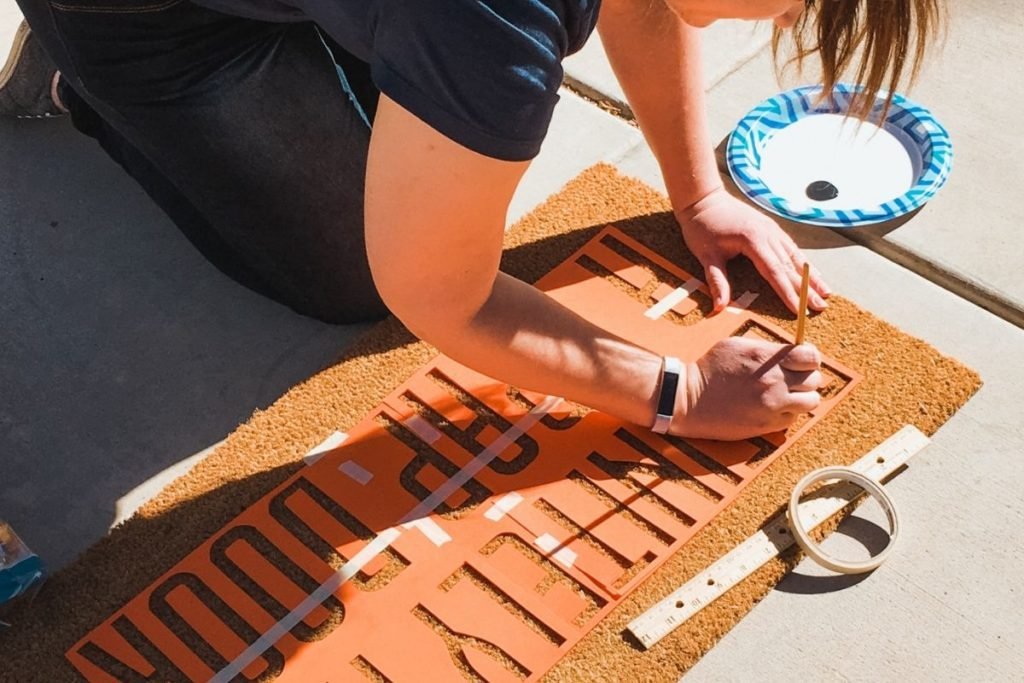
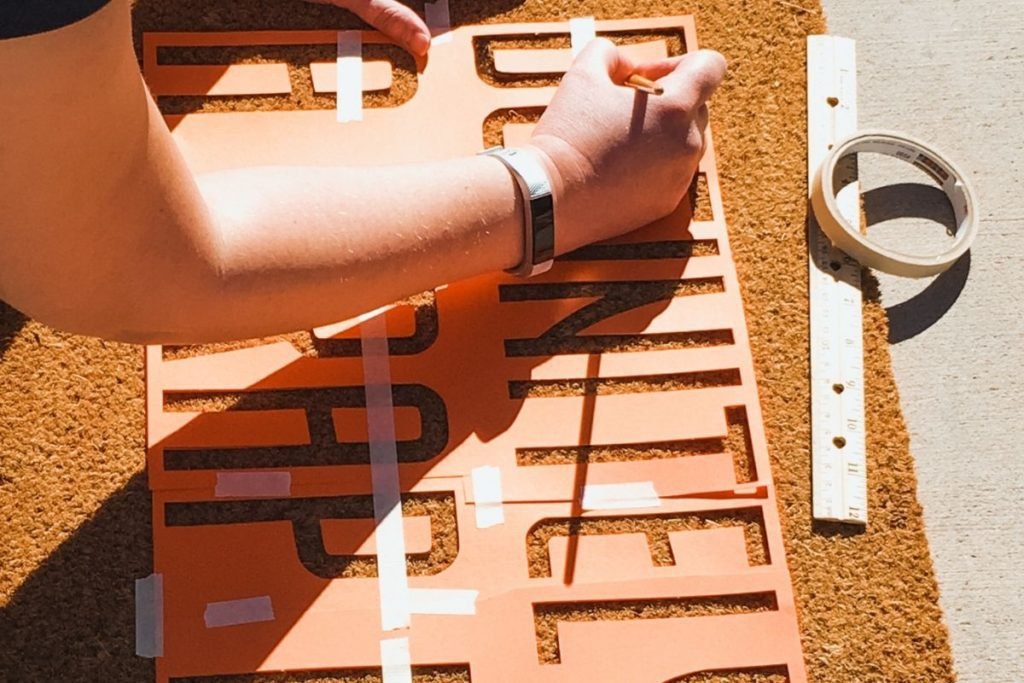
This is what it looked like once I removed the stencil.
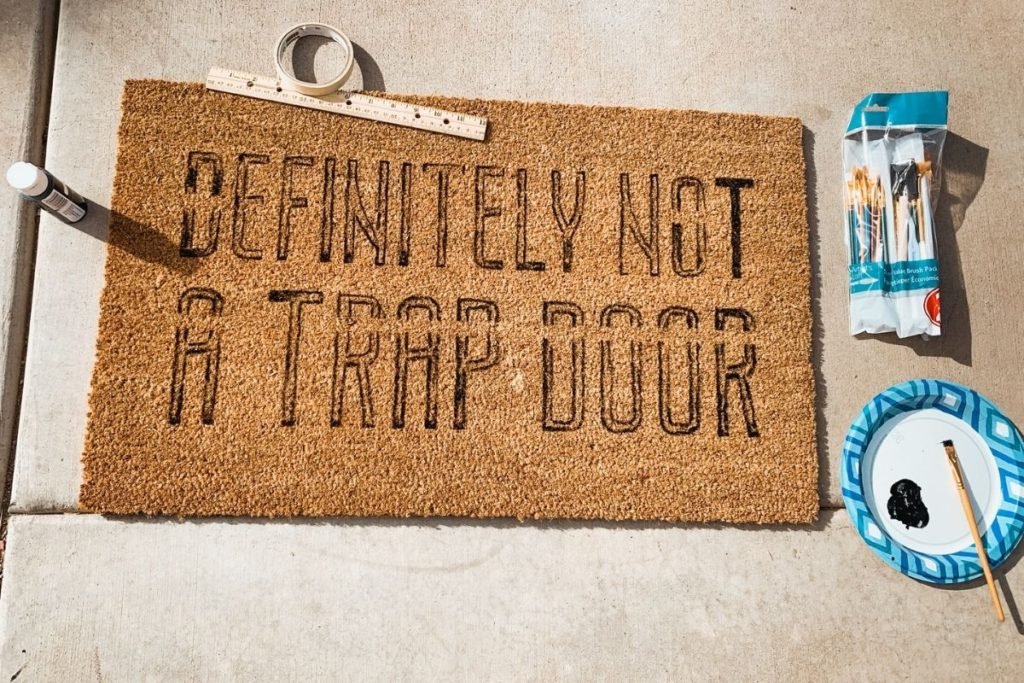
From here I just filled in the letters.
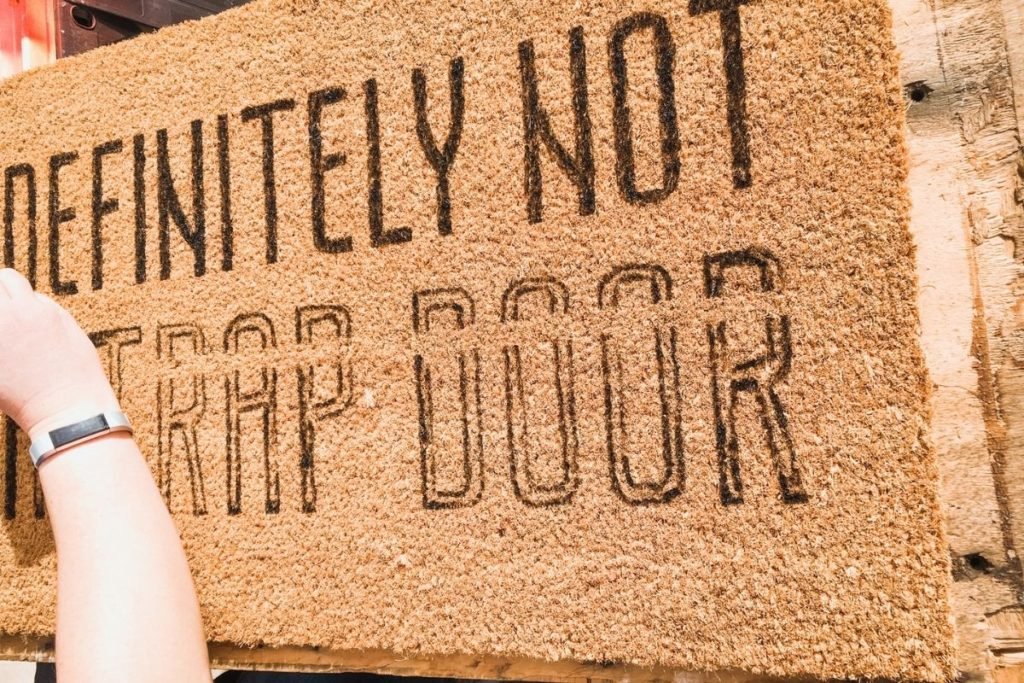
Let the paint dry for at least an hour.
4 | Clear Coat
After you have let the paint dry, you can spray a clear coat over the doormat. This isn’t required, but it will help your design to last longer.
5 | Done!
Now you can show off your new DIY stenciled doormat that will have everyone asking where you got it! And best of all? It didn’t cost an arm and a leg to get a fun doormat!

What about spray paint?
You are welcome to use spray paint if you wish. I have found that it doesn’t work great on doormats, but some people have had success doing it this way. Spray paint has a tendency to bleed, so I didn’t try it on this project.


If you have any comments, questions, or concerns, just let me know! I’m happy to help if I can!
You can find more DIY Home Décor Projects here!


