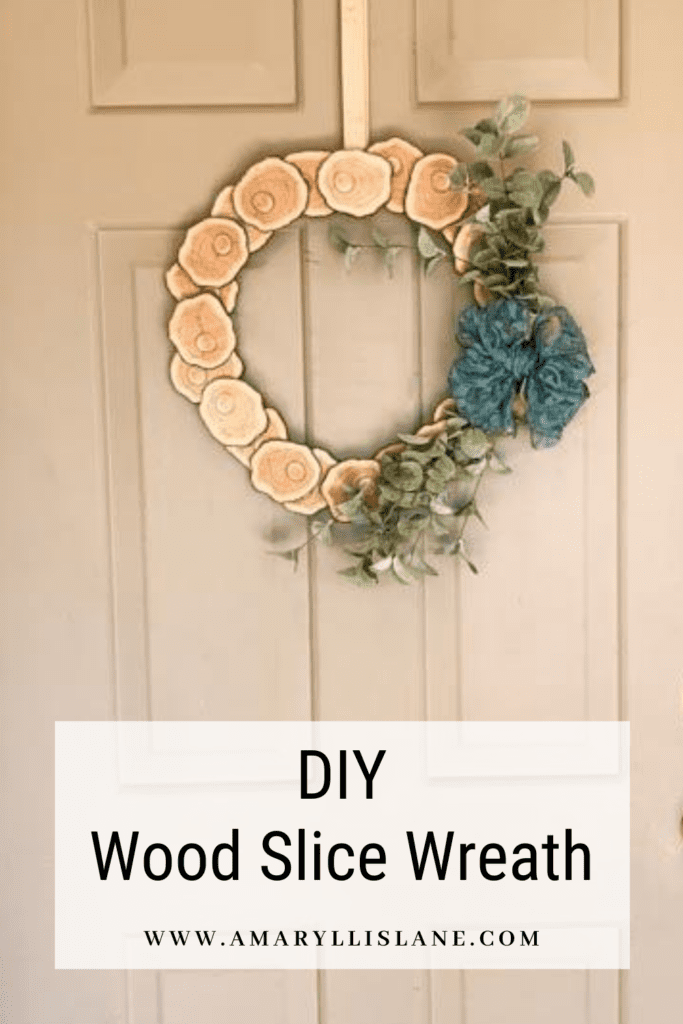
DIY Wood Slice Wreath

I’m super excited to share a new DIY project with all y’all! So, a DIY Wood Slice Wreath might seem kinda weird, I know, but how cute did this one turn out?!? Its a beautiful and unique project using things I just had around my house!
In pruning my trees this year, I decided I wanted to do something fun with some of the branches. There were several large branches on my trees that needed trimming, so I had a ton to work with! I brainstormed a bunch of ideas, and came up with a Wood Slice Wreath! I have no clue how I come up with some of these ideas, but hey, they usually turn out pretty great.
DIY Wood Slice Wreath
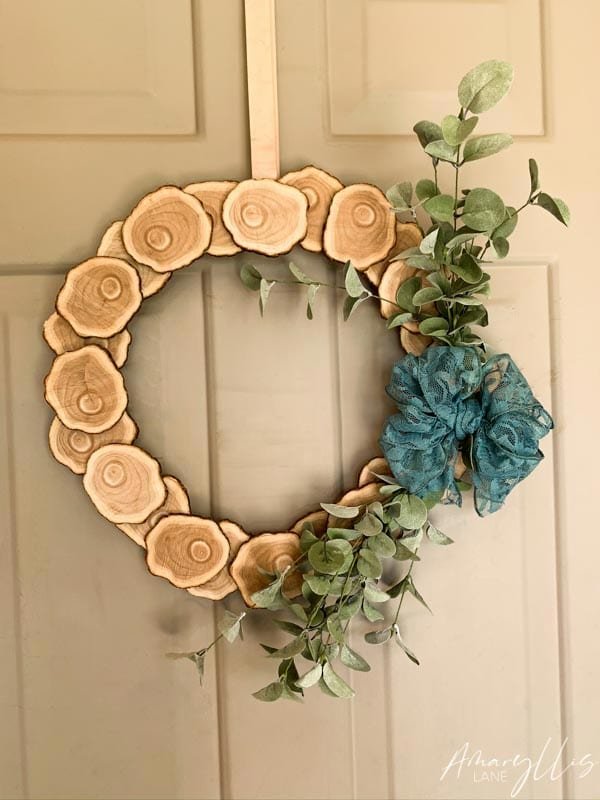
What You Will Need for Your Wood Slice Wreath:
- About 24 wood slices around 3″ in diameter and 1/4″ thick (mine are cut from my yard, but you can get them through Save on Crafts here.)
- 14″ wreath ring (Most craft stores have them, but I just cut mine out of an old project with a circle jig on a bandsaw)
- Ribbon of your choice
- Assorted greenery (I used eucalyptus)
- Floral wire
- Felt to match the back of your wreath frame (optional)
- Glue (E6000 Clear Adhesive works the best) and/ or a staple gun
- Scissors
- Clamps (optional)
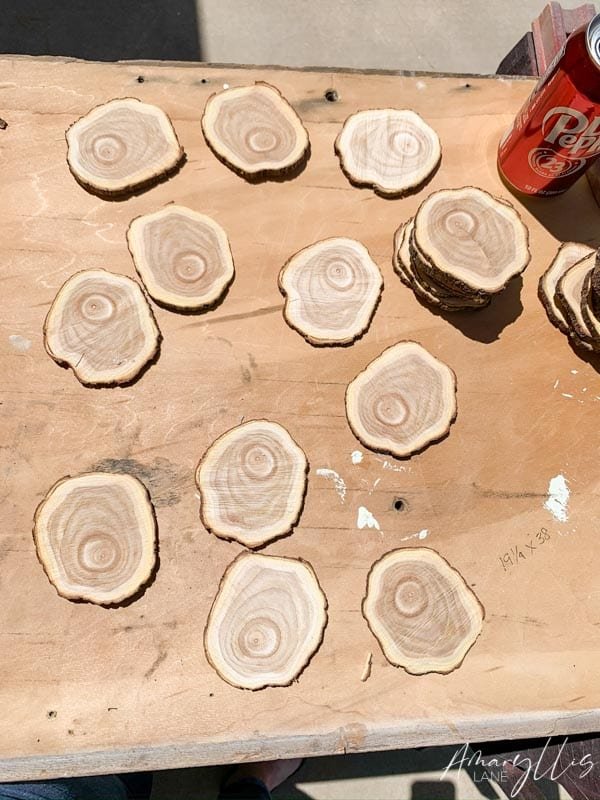
1 | Attach the Wood Slices to the Wreath Ring
You will want to lay out all of your slices and decide how you would like them spaced before you start gluing them. This will help you prevent weird gaps in the finished product. (Note that you can sand and finish the wood slices, though I chose to just use the natural wood for a more weathered look. And it is ok if some of the wood slices are cracked.)

You will then want to glue your wood slices to the ring. For this particular project, I recycled an old project into the wreath frame, so just ignore the colors. They’ll just be facing the back.

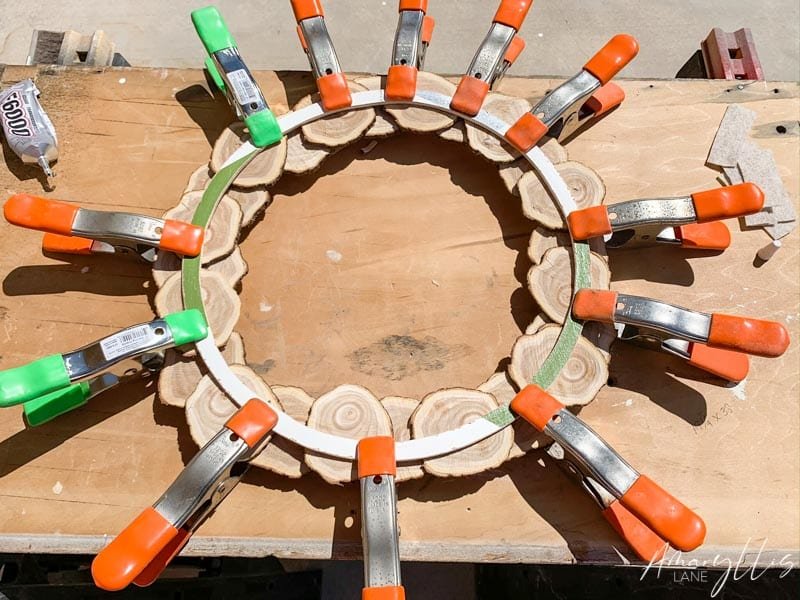
I have found that the E6000 Clear Adhesive holds the best, but you could use a hot glue gun if you would like. Just note that hot glue isn’t as strong as the E6000 Clear Adhesive so it may not hold up as well outdoors. I then clamped everything together just to get a super good bond.
2 | Style Your Greenery

With this particular wreath, I chose an asymmetrical layout. There are a bazillion ways to do this, but I felt like an asymmetrical layout showed off the wood slices while balancing them out with some greenery. So, just go with what you like! I used eucalyptus for this particular wreath.
Once I got all the greenery how I liked, I used some green floral wire to make them stay how I wanted them. You could also use green floral tape.
3 | Attach the Greenery

Once you’ve got your greenery taped or wired together how you would like them, simply glue or staple them down (with a staple gun) on the wood slice wreath. On my wreath, I wired the greenery, stapled the bundle to the wood slices, then glued the bow on top.
4 | Add the Felt (Optional)
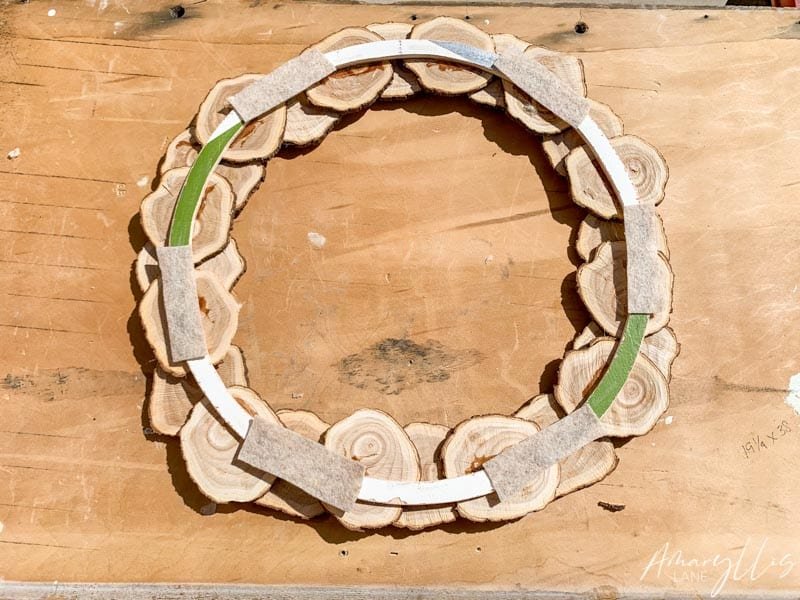
Ok, so this step is optional, but highly recommended! This is a total lifesaver I learned from my mom many years ago. Gluing some felt to the back of your wreaths protects your doors from wreath scratches! The felt gives a soft surface and acts as a barrier between the wreath and the door. I just take pieces of felt and glue them to the back of the wreath. Make sure to add felt to any part that may scratch your door!
5 | Add a Loop or Ribbon to hang the Wreath

This part will depend on how you hang your wreaths. I like to hang mine using a ribbon and a hook on the back of the door, but you can also use an over-the-door wreath hanger or a Command Hook on the front of the door.
6 | Showoff Your DIY Wood Slice Wreath!
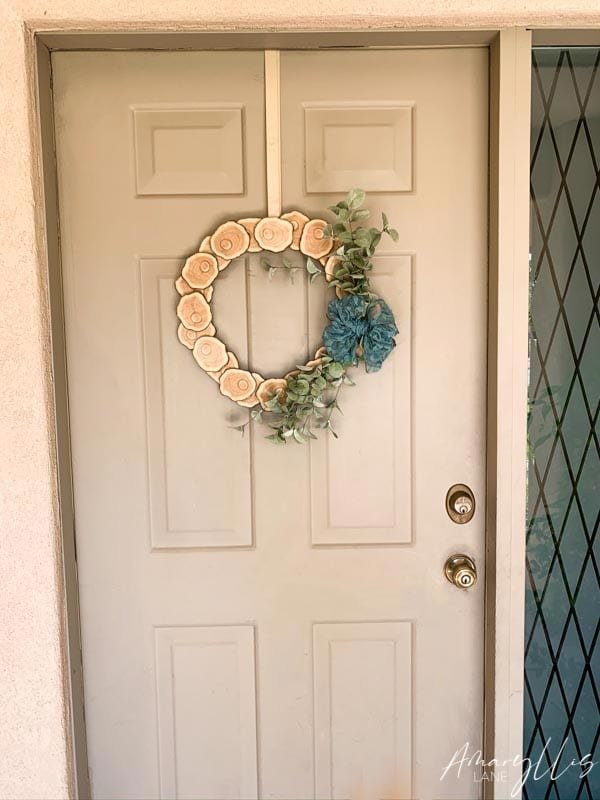
And Ta-da! Your Wood Slice Wreath is now front porch ready!
As always, I’m happy to help with any questions and would LOVE to see your finished Wood Slice Wreath! You can check out more fun DIYs here!


