Chocolate Chip Cookies
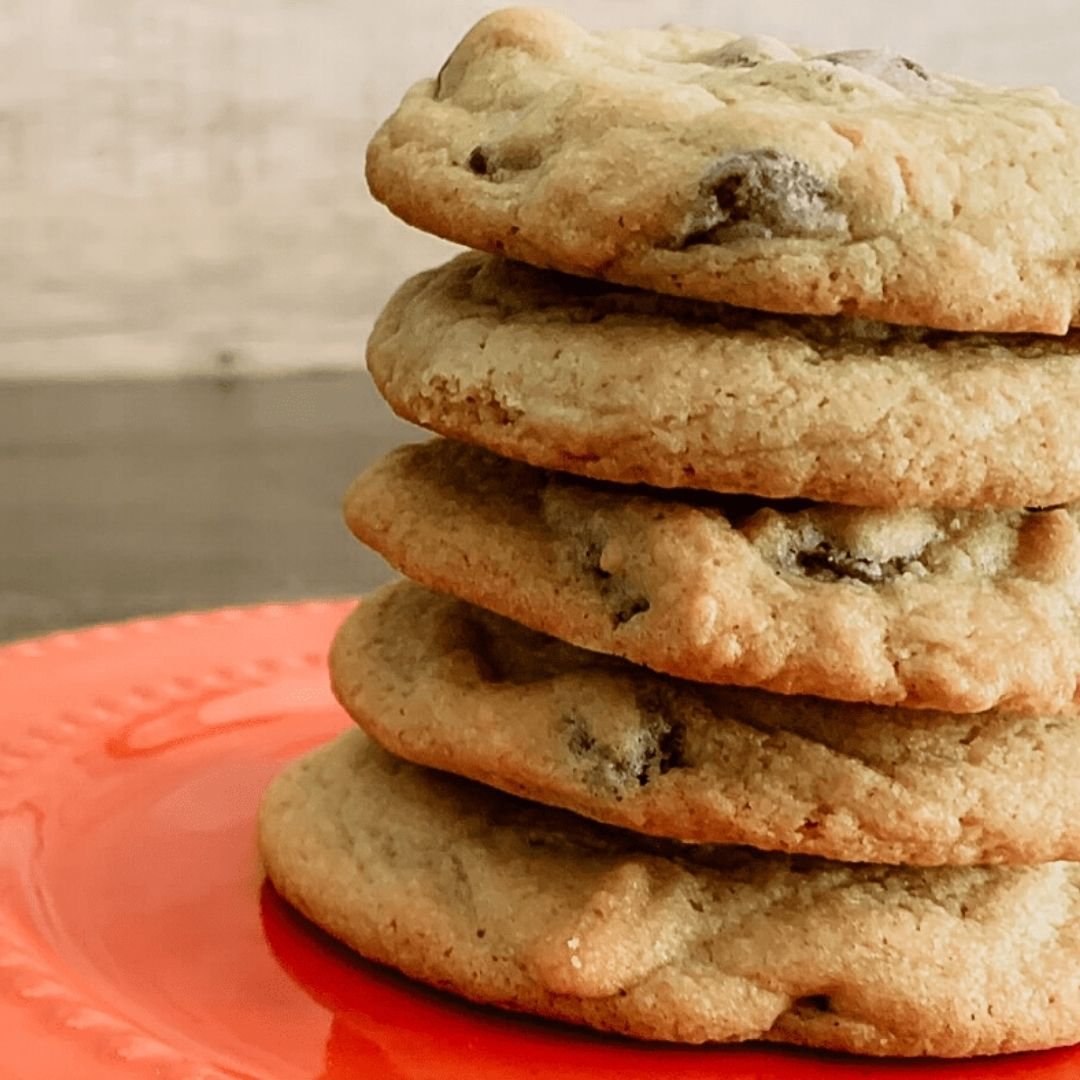
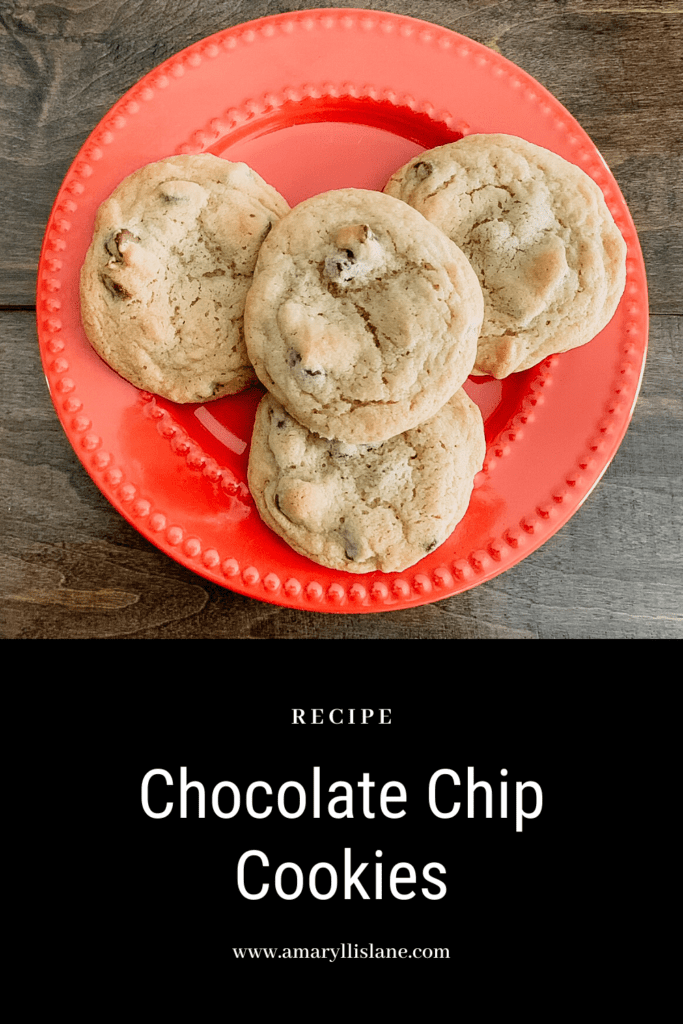
Anyone else in the mood for delicious chocolate chip cookies? This is actually my mom’s recipe that she has graciously let me share with all of ya’ll today. It is just a basic chocolate chip cookie recipe, but it always turns out great and people constantly ask for the recipe. So, I have added it to my blog so that you can make them too.

I’ve been making this same cookie recipe and variations of it for my whole life! Seriously, look at how battered this recipe card looks! It’s freaking hammered! I use it all the time!

I’ve written the recipe out a little more clearly below, but if you would like the step by step instructions along with tips and tricks, just follow the instructions below the recipe!
Chocolate Chip Cookies Recipe

Chocolate Chip Cookies
Ingredients
Method
- Preheat the oven to 375F.
- In a mixer, cream together the butter, sugar, and brown sugar.
- Add the vanilla and eggs, then mix until the ingredients are combined.
- In a separate bowl, mix the flour, baking soda, and salt.
- Once the dry ingredients have been mixed together, add them to the wet ingredients in the mixer.
- Mix just until the ingredients are thoroughly combined. Don't over mix the dough.
- Mix in the chocolate chips by hand with a wooden spoon.
- Line your cookie sheets with parchment paper.
- Scoop the dough into balls and place them on the cookie sheet.
- Bake for 8-10 minutes or until they start to turn a golden brown on the top.
- Remove from oven, and leave the cookies on the baking sheet for 5 minutes.
- Remove the cookies to a baking rack or counter top to finish cooling.
Step by Step Instructions
Please note that in the pictures, I am making a doubled batch of cookies.
1 | Gather your Ingredients
It’s much easier to bake if you have everything you need right by you and ready to go.
Also make sure to preheat your oven at this time to 375 degrees.
2 | Mix the Sugars
Place the sugar and brown sugar in the mixer. Mix it on low for a few seconds so that the sugar is well combined and get rid of any clumps.

3 | Soften the Butter
This works best if you just leave the butter out on the counter for a couple hours, but the microwave will do in a pinch. Just remember that you want to soften the butter not melt it. I’ve found this works best by using 8 second intervals and flipping the cube of butter over at each interval until it is softened. Please note that this can vary depending on your microwave.

4 | Cream the Butter and Sugars
Add the softened butter to the sugars in the mixer. Mix on medium until the butter is mixed into the sugar. It should look like the mix below. Make sure to scrape down the sides with a silicone spatula.
Note: Cream is just a baking term for blending butter and sugar together.

5 | Add Vanilla and Eggs
Simply measure out 2 teaspoons of vanilla into the butter and sugar mixture.

Next, add the eggs to the mixture. If you are comfortable with cracking your eggs directly into the mixer, that is great. If not, crack them into a separate bowl to make sure you do not get any eggshells in the mixture.

Mix this on medium until the mixture is thoroughly combined. Then scrape down the sides again.
This is the texture you are looking for:

6 | Mix the Dry Ingredients
In a separate bowl, measure out the flour. Then add the baking soda and salt to the flour.

Stir these ingredients together before you add them to the wet ingredients in the mixer. I typically just stir it really quick with the measuring spoon I used to measure out the baking soda and salt, but you can use a spoon. This just helps eliminates getting a super salty bite.

7 | Combine the Wet and Dry Ingredients
In these pictures, I am using a Bosch Mixer, so it has a lid (yes, this mixer is more than 30 years old and still runs fantastic.) If you are using a Kitchenaid Mixer or a hand mixer, you will want to add the flour slowly as you mix it. Otherwise, you will end up with flour thrown EVERYWHERE!!!
As long as you are using a mixer that has a lid, you can throw the dry ingredients in all at once. If not, just add about a cup at a time.

Scrape down the sides, and make sure all the ingredients are combined. You don’t want to over mix it, so stop the mixer once it all looks the same.

8 | Add the Chocolate Chips
You don’t want to mix the chocolate chips in with your mixer! This will damage your mix and/ or it’s attachments. Instead, I remove the mixer attachments and mix the chocolate chips in by hand with a wooden spoon.

You can mix them in with a spatula, but I just find it easier to mix them with a wood spoon because it doesn’t flop around while mixing the dough.

9 | Put Cookies on the Pan
You can use a cookie scoop, but I personally don’t. I just use a tablespoon and shape the dough into rough balls. These end up being roughly 2 tablespoons worth of dough.

If you would like, you can roll them into balls, I’ve just never felt the need. They end up looking the same whether you roll them perfect or just make a rough ball.

10 | Bake’em
Place your cookie dough into the preheated oven. They will need to cook for about 8-10 minutes or until they start to turn a light golden brown on top. Don’t take your cookies out of the oven if the dough still has a shine to it. This means it is not cooked all the way through.
Note that the first batch into the oven usually takes about a minute longer than the later batches.

11 | Cool’em
Once you have removed your cookies from the oven, set the timer for 5 minutes. Leave the cookies on the baking tray during this time. When the 5 minute timer is up, the cookies are strong enough to be moved to a cooling rack or the counter top to finish cooling.

12 | Enjoy!
Enjoy your delicious chocolate chip cookies and share them with your friends! Because, really, who is going to say no to a cookie?!?

Tips and Tricks
- You can store the dough in the refrigerator for up to 3 days before actually baking the cookies. You will need to let the dough warm up to room temperature before baking, otherwise, you will need to add a couple of minutes to the baking time.
- If you do not have parchment paper, you can cook the cookies directly on the baking sheet – Don’t grease the baking sheet!
- This recipe does work with gluten-free flour. I have used the Pillsbury Gluten Free Flour. You will just use about a 1/4 cup less flour and you will need to add 2-3 minutes to your baking time.
- You can swap the chocolate chips for whatever you would like. I make them with m&ms a lot of times.
As always, I’m happy to help you! If you have any questions, comments, or concerns, just let me know.
You can find more baking recipes here and I will be posting some of my variations to this chocolate chip cookies recipe soon!


