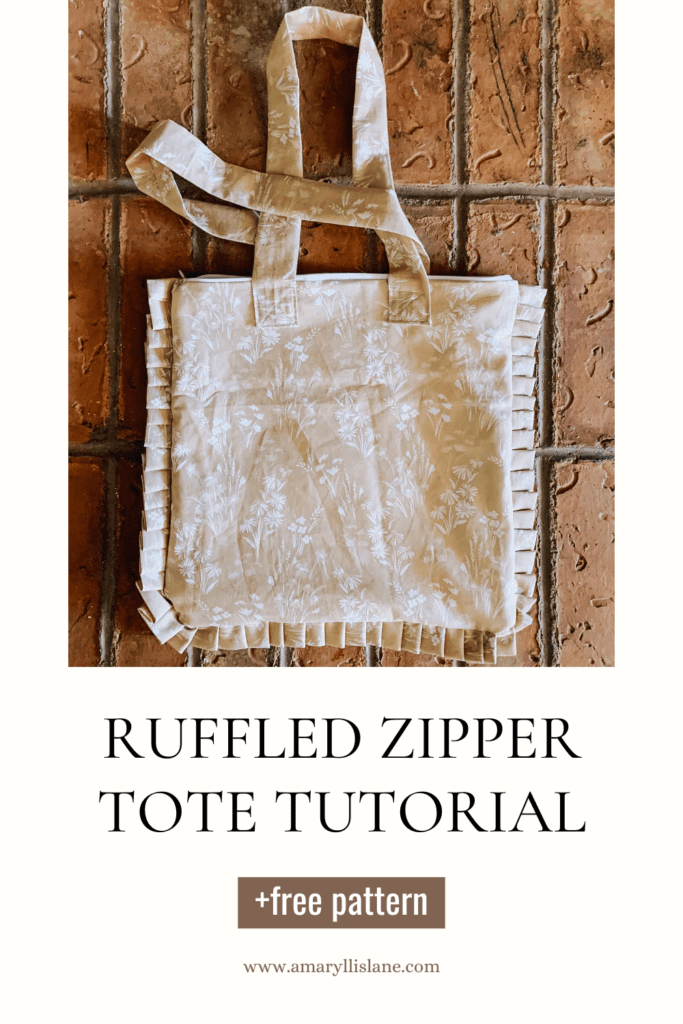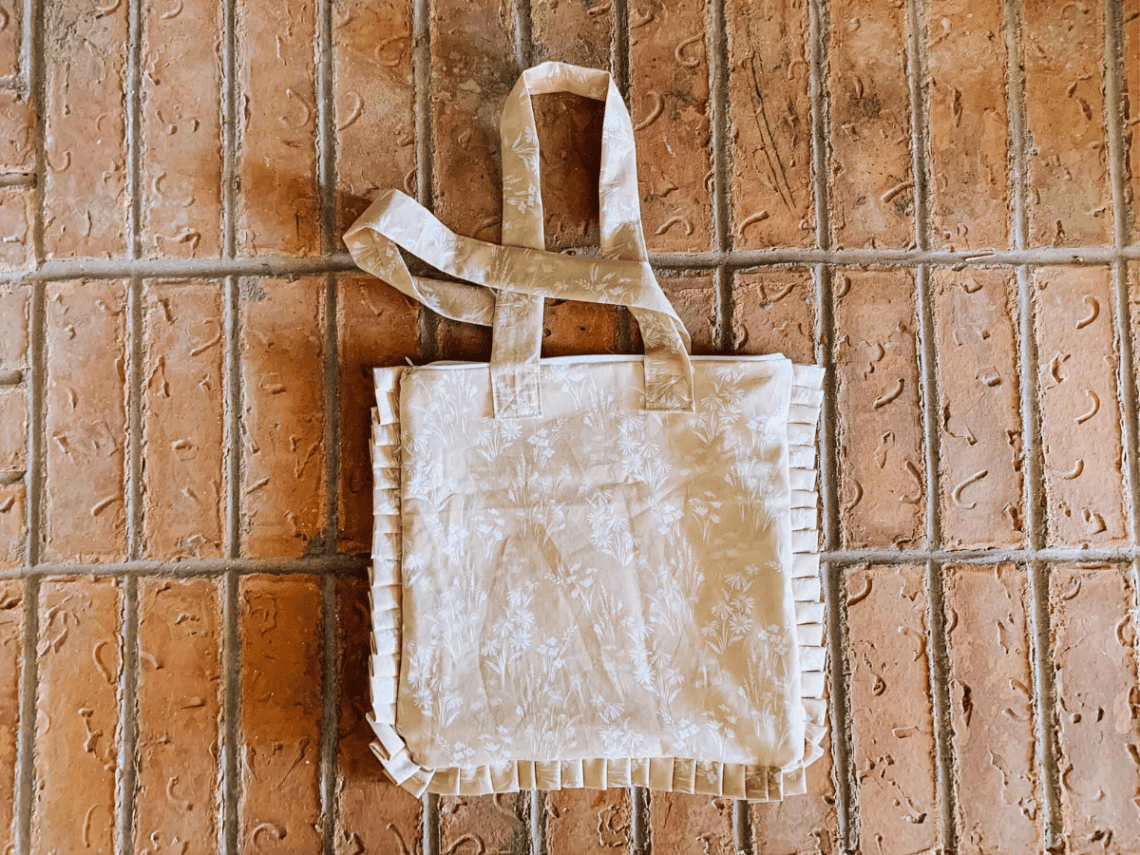
Ruffled Zipper Tote Tutorial + Free Pattern
Happy Friday y’all! I’m so glad it’s finally the weekend! This week I’m sharing a new free pattern with y’all! This Ruffled Zipper Tote Tutorial is made with super cute box pleat ruffles! This is one I designed a while ago and finally got around to making the tutorial. I hope y’all enjoy it!
Ruffled Zipper Tote Tutorial
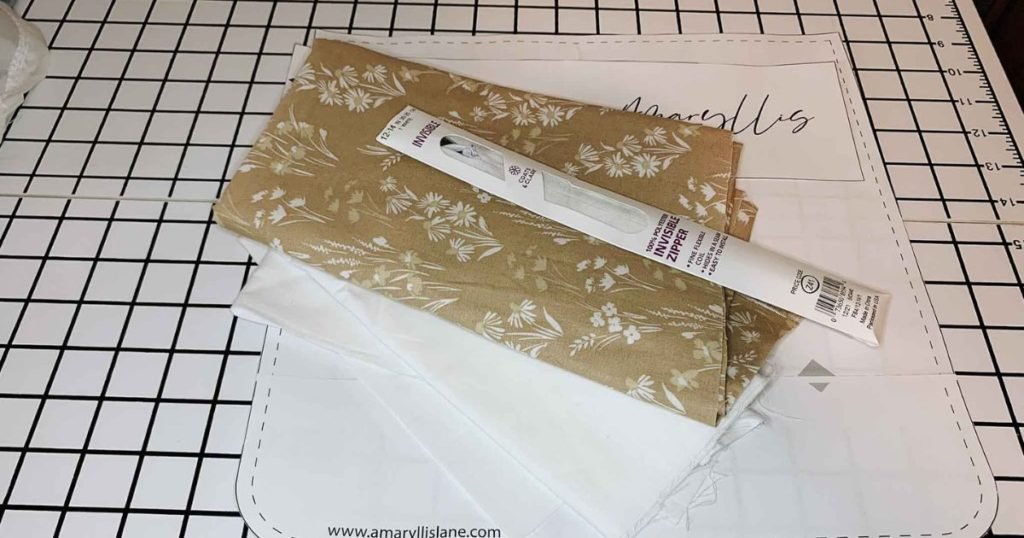
You will need:
- 1 yard Outer Fabric
- 1/2 yard Lining Fabric (I just used white quilting cotton)
- 1 14″ Zipper (I used an invisible zipper because that’s what I had on hand, but I’d recommend using a regular zipper)
- Basic Sewing Supplies (sewing machine, thread, iron, scissors, etc.)
1 | Cut Out the Fabric
Using the free pattern linked above, cut out the fabric for your ruffled zipper tote. Note that if your fabric is directional, make sure to line up the pattern with the direction of the fabric. I made sure the body of my bag was in the direction of the pattern on the fabric and still ended up with quite a bit of fabric left over.
You will need to cut:
- 2 Body – Outer Fabric
- 2 Body – Lining Fabric
- 2 Handles – Outer Fabric
- About 3 yards of 2.5-inch Outter Fabric (I just pieced mine from 3 strips from a single yard of the outer fabric)
- 1 Keychain Tab (Optional)

2 | Make the Handles
Take the handle pieces and lay them out. Fold the bottom up to the top of both pieces. (Fold lengthwise)

Pin the edges together and sew.
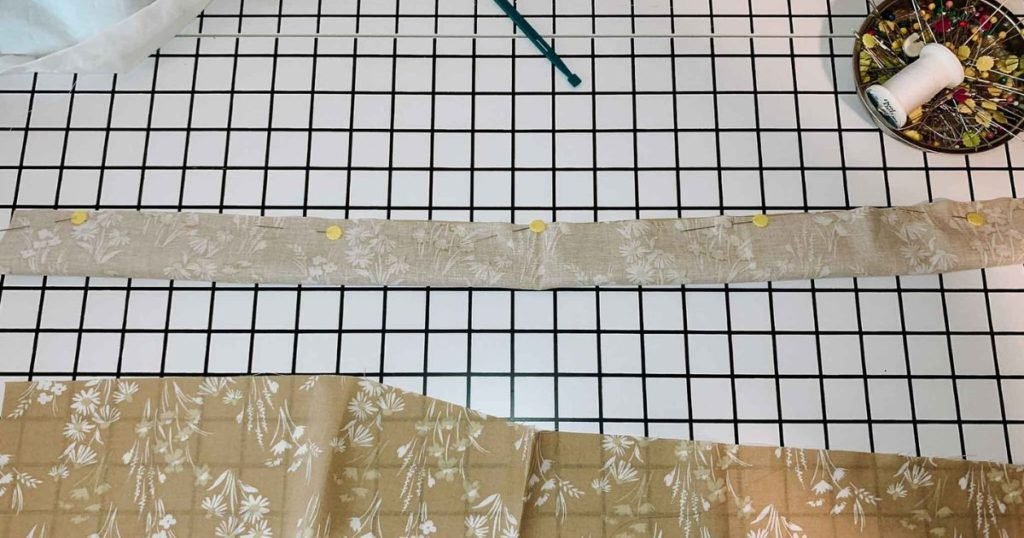
Press the seam open with the seam down the center.
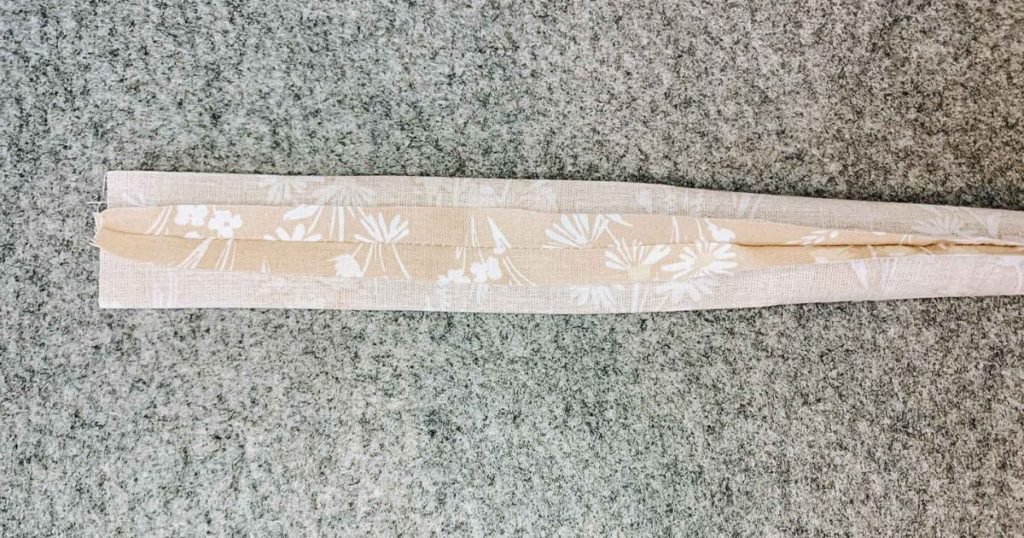
Turn each handle right-side out and press them flat.
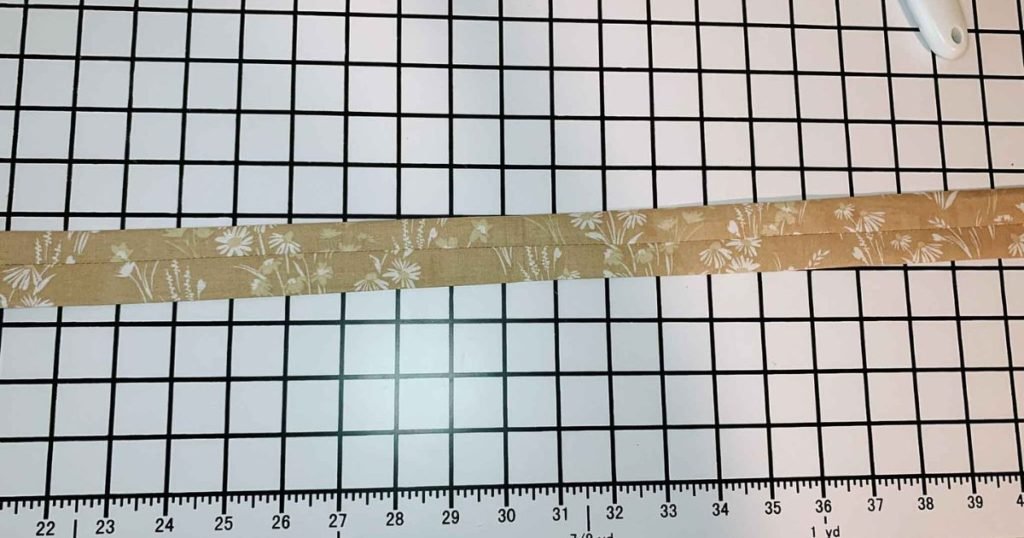
Fold the corners toward the center as shown below.
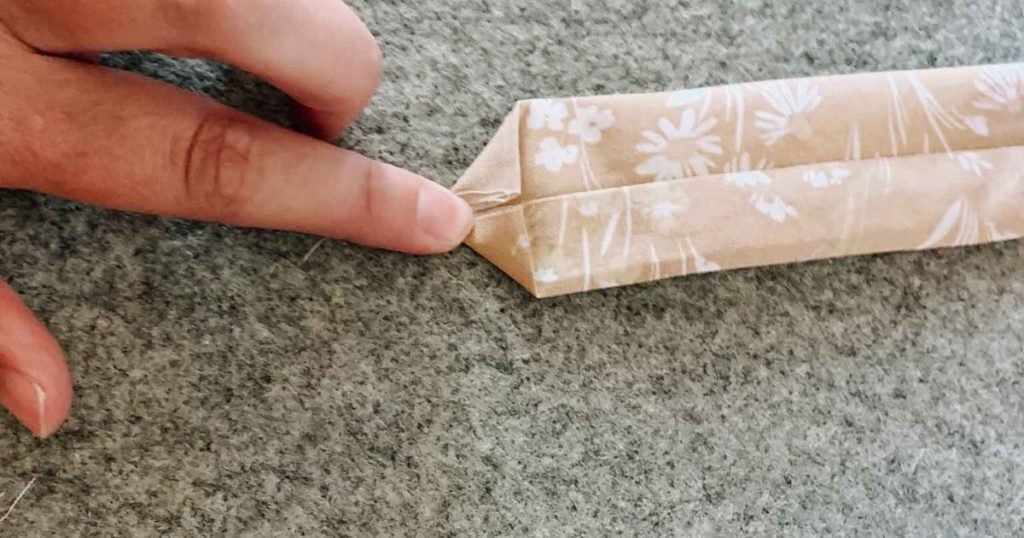
Fold the pointed edge up again to enclose all the raw edges. Repeat on the rest of the handle ends. Pin them and set them aside for step 10.

3 | Make the Keychain Tab (Optional)
Take the Keychain Tab piece and fold it lengthwise.
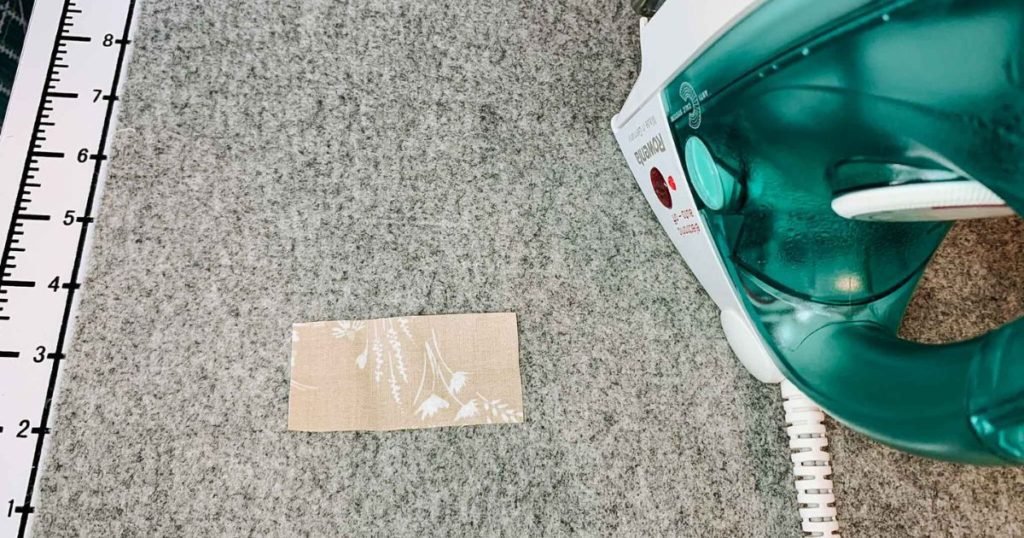
Press the tab to make a crease which aids in the sewing.

Sew across the edge.
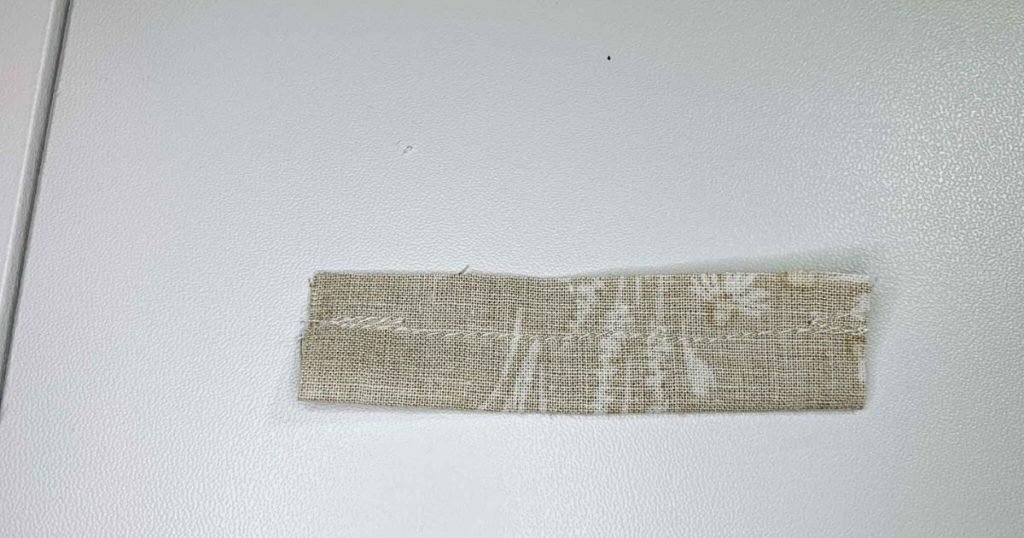
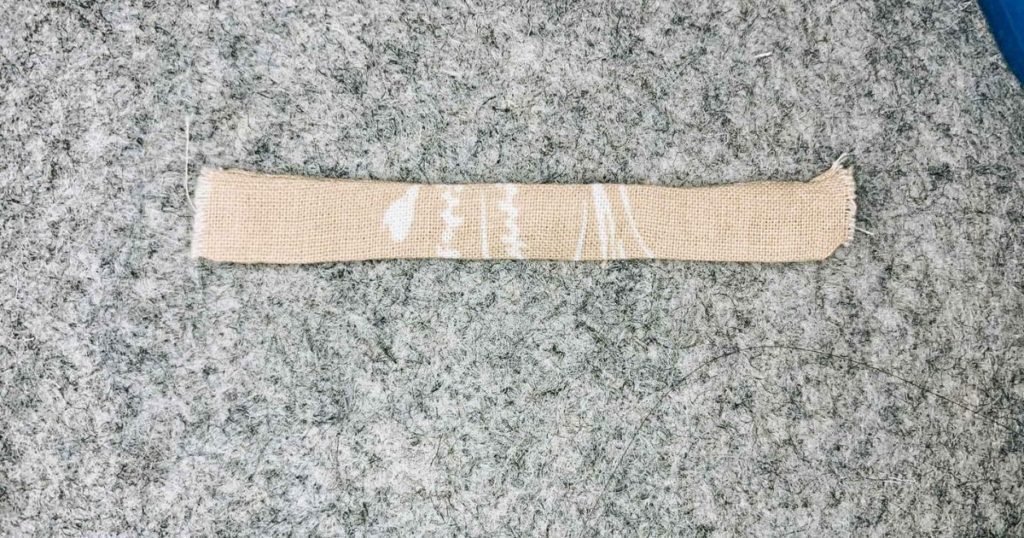
Turn it right-side out and press it flat. Set aside for step 5.
4 | Sew the Zipper
Ok, I’m still relatively new to sewing with zippers, so if you need a more detailed walk-through, Suzy Quilts has a fantastic detailed tutorial here.
Lay the first piece of body fabric facing right-side up and place the zipper face down on the fabric.

Place the first lining piece directly over the outer fabric and zipper. Make sure the rounded edges at the bottom are aligned with the outer body piece.
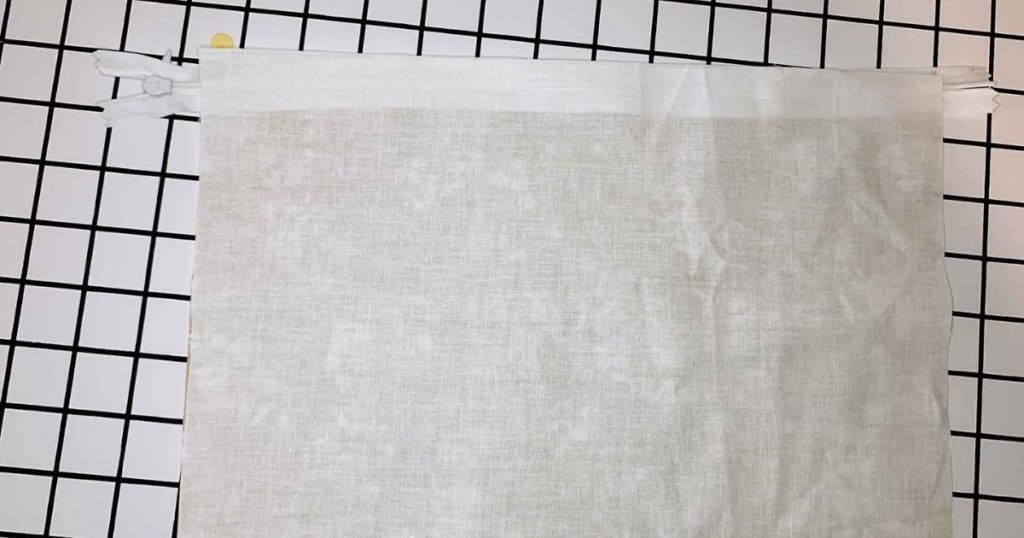
Sew along the zipper, leaving about a half-inch gap at either end.
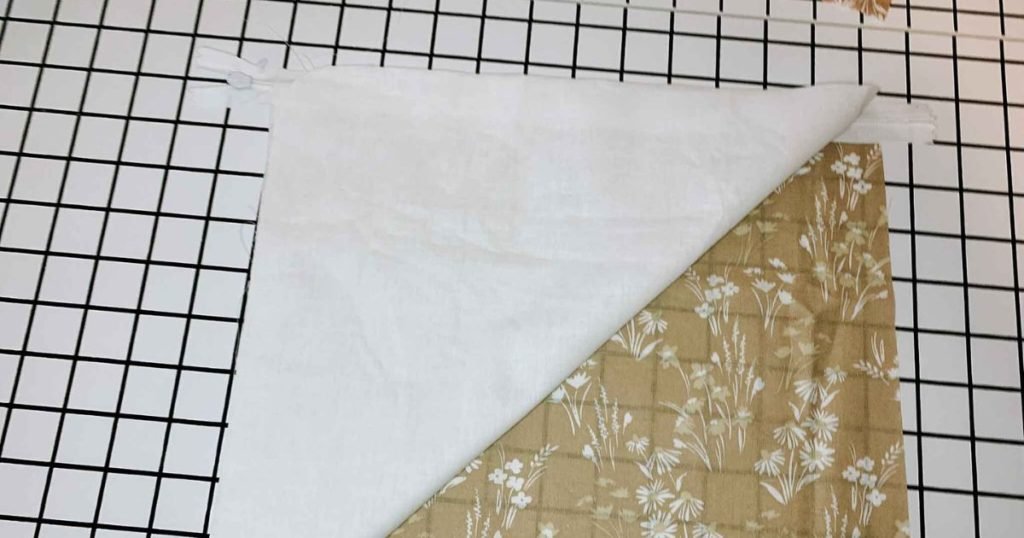
When you lift the lining, you should have the fabric to one side of the zipper.

Press it flat.

Now we will do the other side. With the already sewn section facing up, place it on top of the right side of the second piece of body lining. Line this piece up with the top of the zipper.
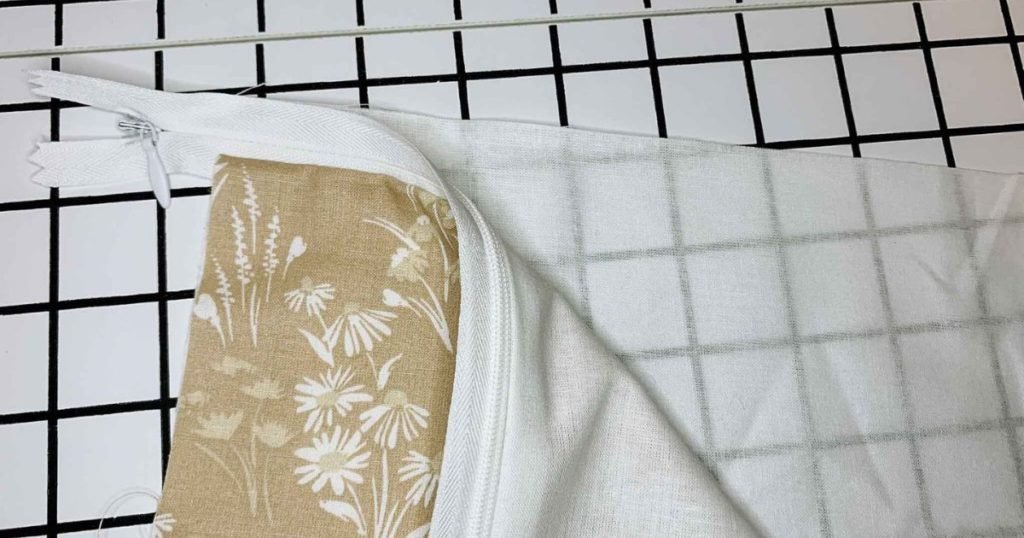
Place the second piece of outer body fabric wrong-side up on top of the stack. Line it up with the top of the zipper.

Your layers should look like this:

Stitch across the top edge, leaving about a half-inch on either side.
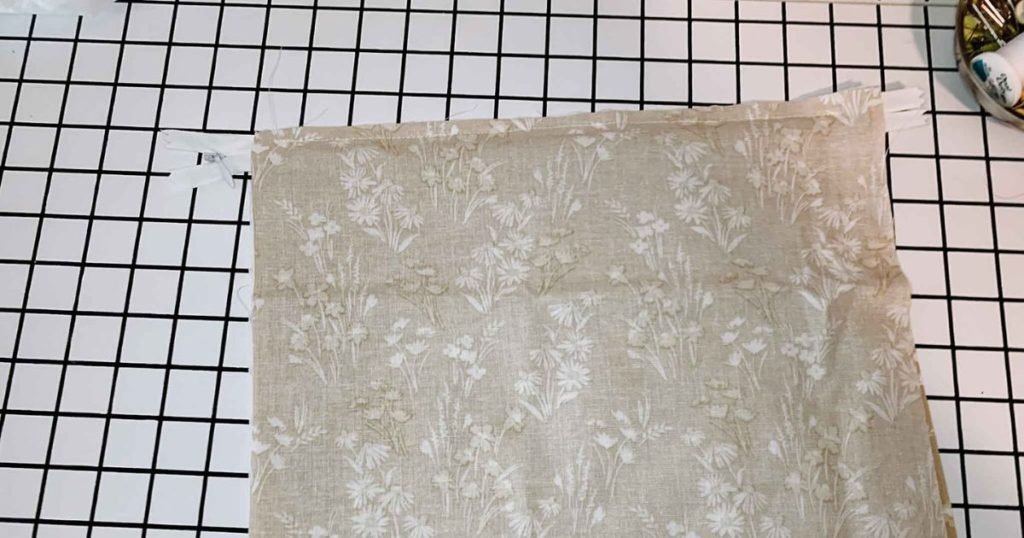
Your zipper should look something like this:
5 | Sew the Lining
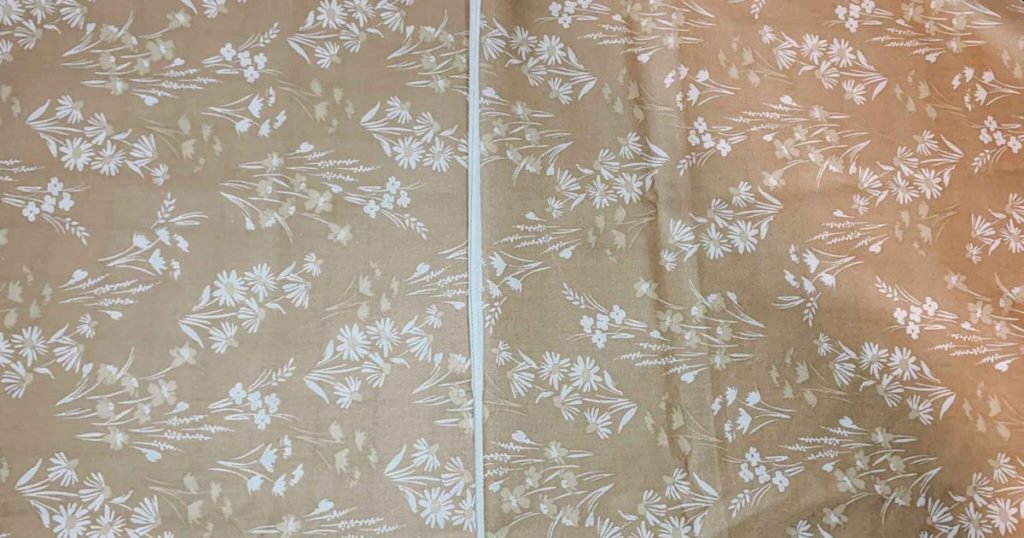
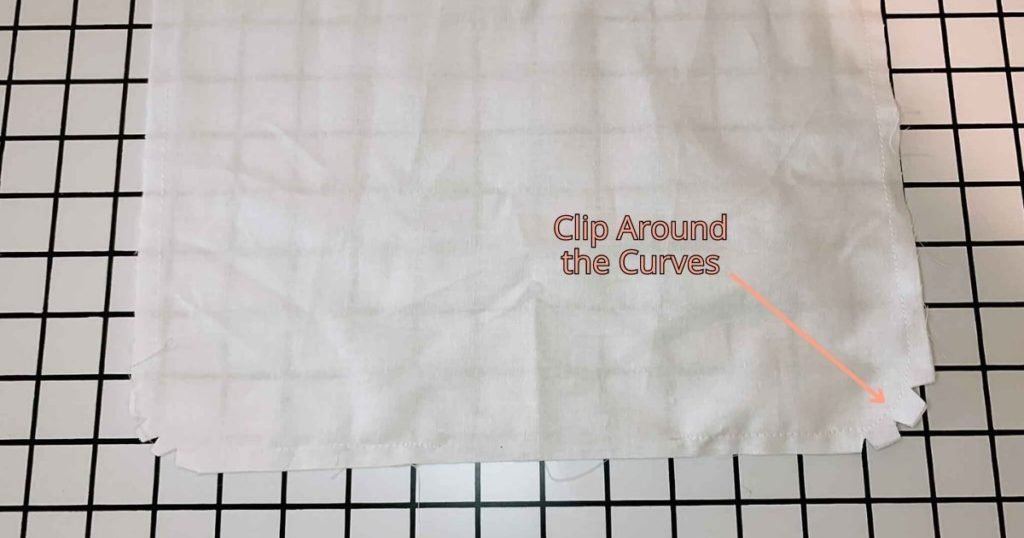
Pin the lining together making sure to line up the curved edges. Sew along the dotted lines leaving a space at the bottom of the lining to turn the bag later. If you are adding a keychain tab, pin it into the lining with the loop inside the fabric, while catching the edges in the seam around the lining.

Clip around the corners so that the lining will lay better when turned.
6 | Make the Ruffles
There are a bazillion ways to make ruffles, but for this project, I wanted pleated ruffles. When calculating how much fabric you will use for ruffles, typically you will need 3x the length of the seam you will be adding ruffles to.
My strips for the ruffles are just from the extra outer fabric. I cut 3 strips that are 2.5 inches by 36 inches and sewed them together to get the length I wanted.

Fold the ends of the strips over and press them flat.

Fold the long strip in half lengthwise and press it flat. Stitch the folded piece in place so that it encases the raw edge.

Pinch the fabric and fold into approximately 1/2 inch pleats. You can press the pleats so that they keep the folds in you would like.
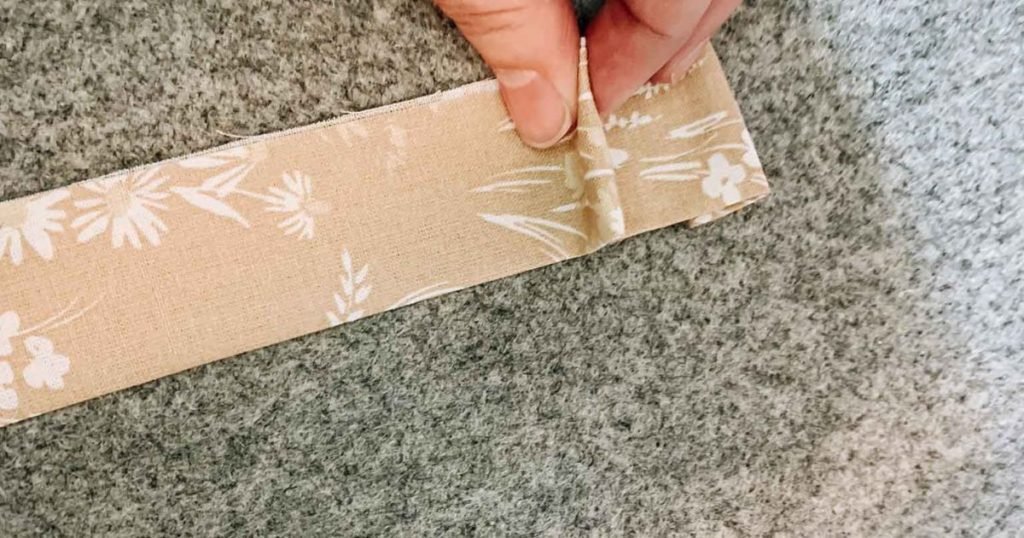
They should look something like this:

7 | Sew the Body
Pin the pleats to the outer fabric of the bag. The raw edges should line up with the edges of the outer fabric. The pleats go in between the 2 outer body pieces with the right side facing the pleats.

It should look something like this:

I pin it every other pleat to make sure they don’t come unfolded.
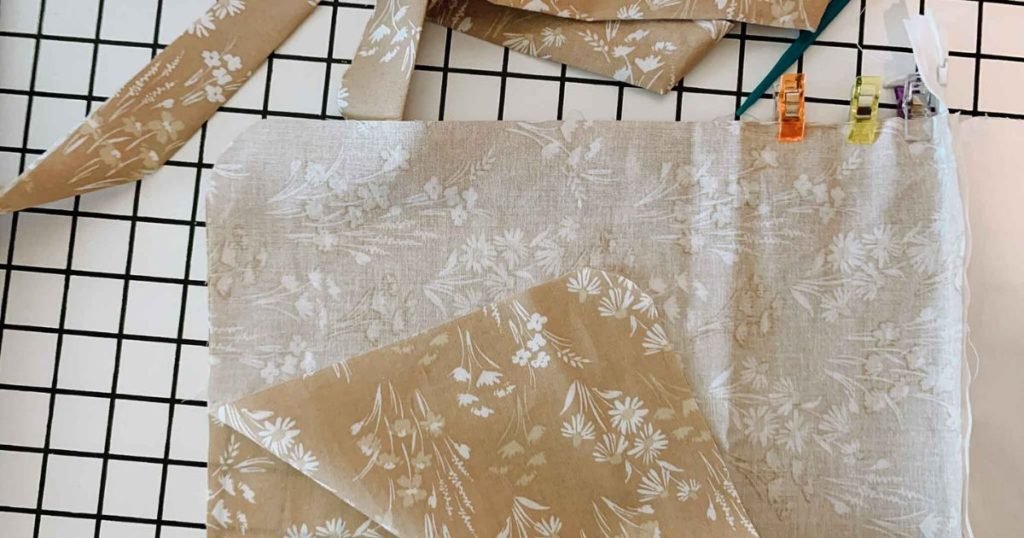
Pin the pleats into the body fabric all the way around. Make sure that the rounded edges line up at the bottom of the bag.
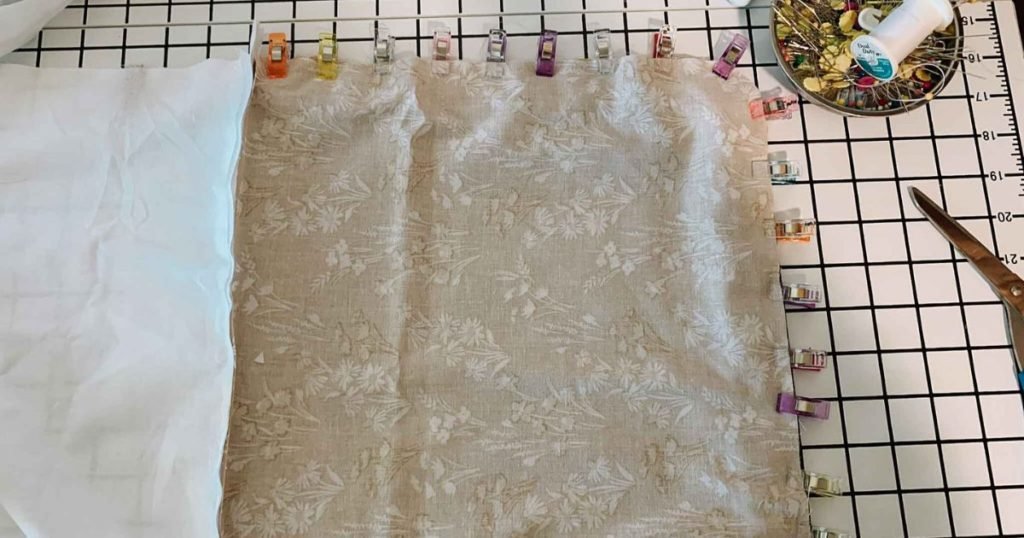
Sew along the dotted lines. This time you will sew all the way around without leaving a gap at the bottom like we did with the lining.

Clip around the rounded corners like we did with the lining.
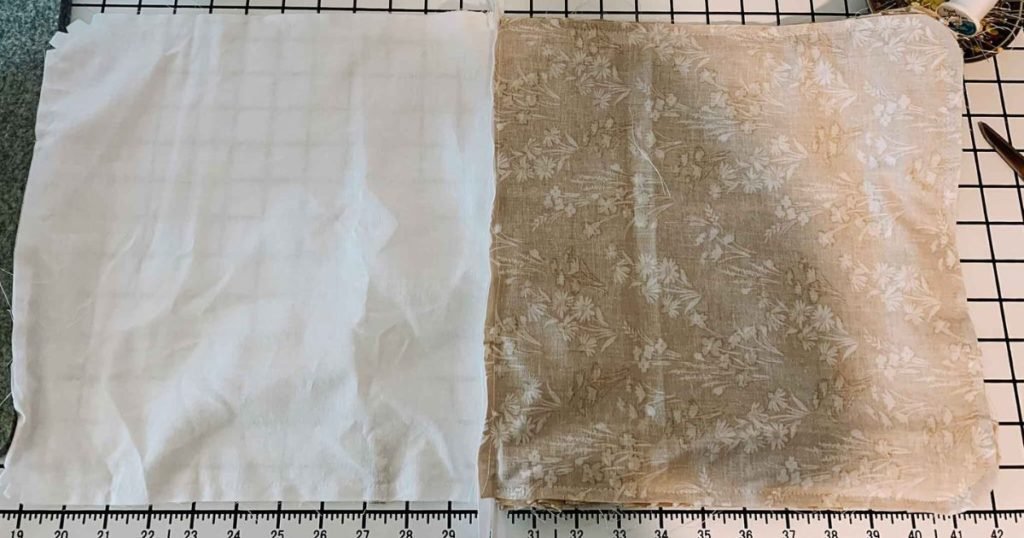
8 | Turn it Right Side Out
Using the gap that we left in the bottom of the lining, turn the bag right-side out.

It should look like this:

9 | Stitch up the Section Used to Turn
Now we will stitch up the gap that we left to turn the bag. Fold the raw edges in and pin it.

Stitch across the open edge. I recommend stitching fairly close to the edge so that it isn’t noticeable in the lining when we are done.

Mine looked like this:

Tuck the lining back into the bag like this:
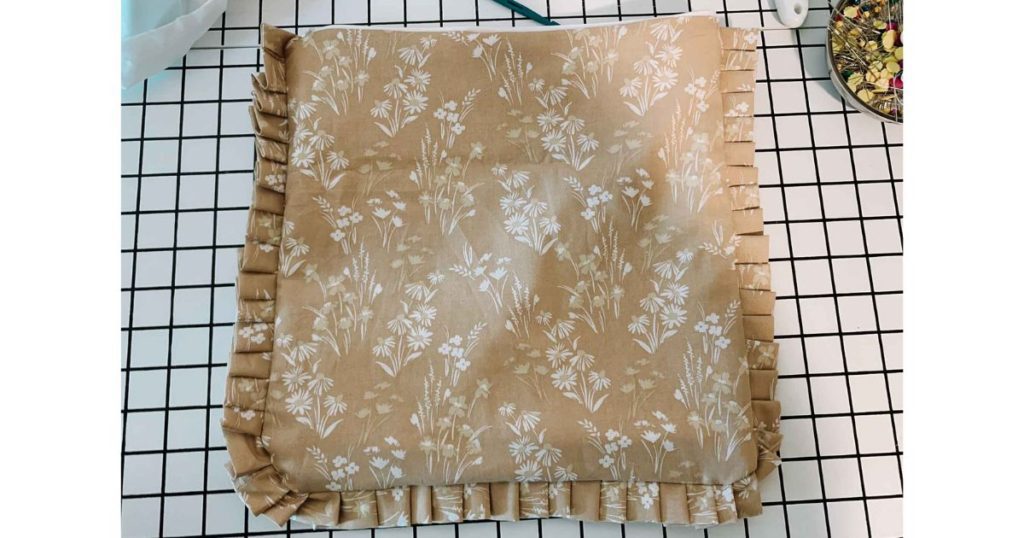
10 | Attach the Handles
Pin your handles to the bag. I pined mine through the outer fabric and the lining. Make sure that you don’t pin it all the way through both sides of the bag (we still want to be able to open the bag.)
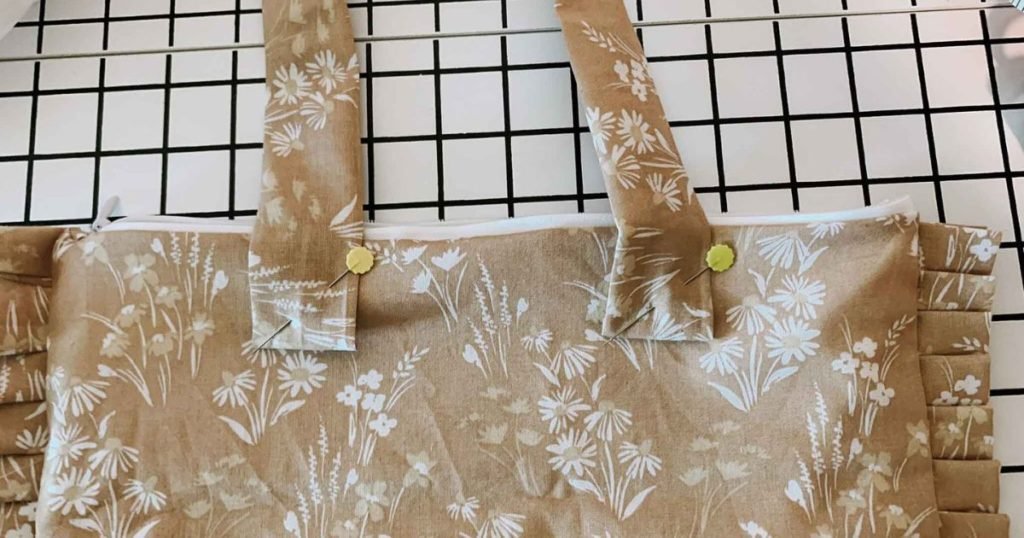
Sew the handles to the bag. You can stitch them any way you want, I personally just sewed mine in squares with an x. Repeat for all four handles.

11 | Done!
And now you’re done! It’s time to enjoy your cute new Ruffled Zipper Tote!
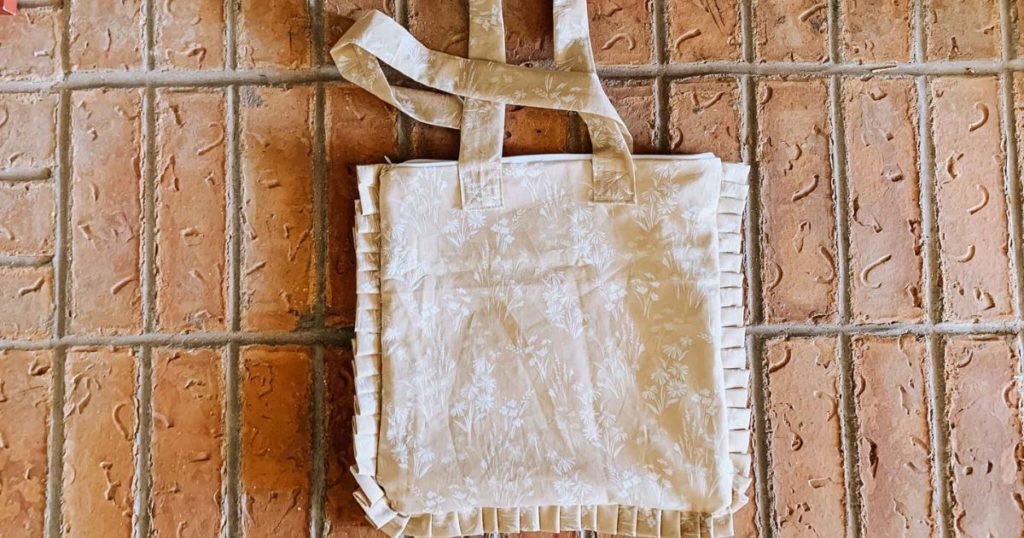
If you enjoyed this Ruffled Zipper Tote Tutorial + Free Pattern, please share! As always, I’m happy to help you out if you have any questions, comments, or concerns! Just leave a message below!
You can find more Free Sewing Patterns here!

