

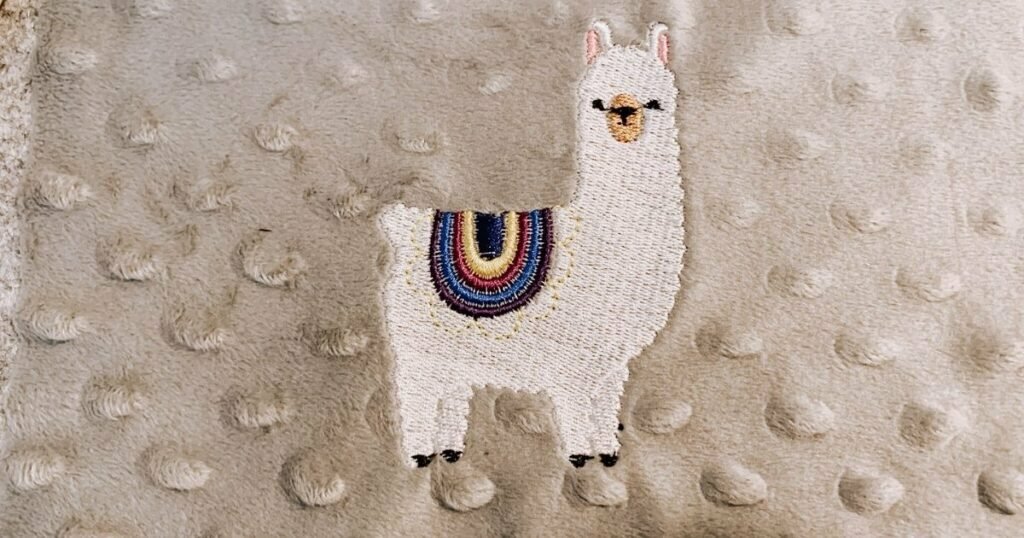
With Christmas coming up, a fun way to customize your gifts is with machine embroidery! Today I’m going to show you how to Machine Embroidery on Minky Fabric! I know my first attempt to embroider on Minky did not go well. In fact, it was quite a disaster. Here are some tips and tricks to make your minky embroidering turn out fabulous!
How to Machine Embroidery on Minky Fabric
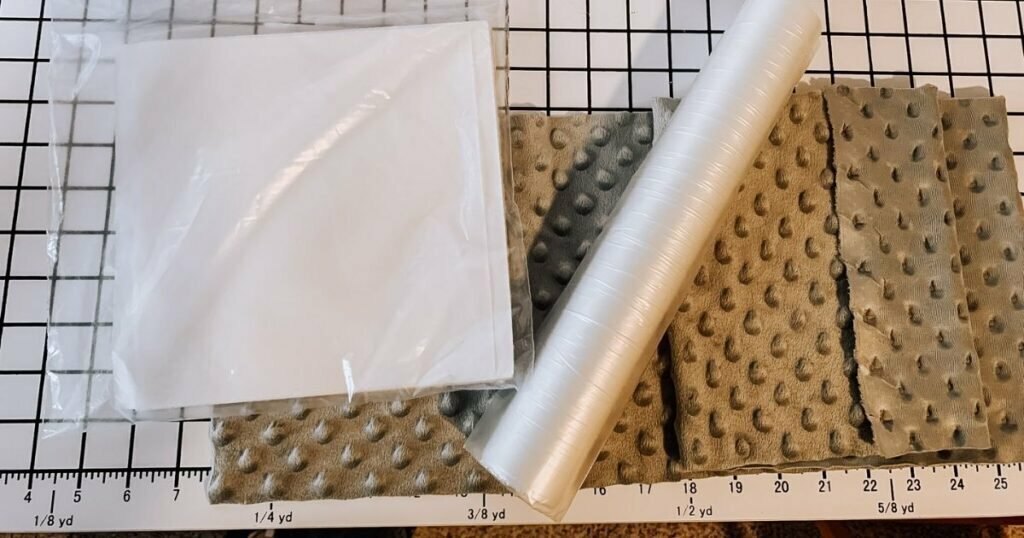
You will need:
- Minky Fabric (mine is just scrap)
- Embroidery Machine & Hoop (I’m using an old version of the Brother Innov-is)
- Machine Embroidery Thread (I like SimThread but you can use whatever you want)
- Iron-On-Tear-Off Stabilizer (In the tutorial, I’m using the squares instead of the roll, but they are the same thing)
- Stabilizer Topping
- Embroidery Design (sorry, I have no idea where I got this llama file. If I find it, I will link it)
- Household Iron
- Small Scissors (I use manicure scissors)
You can find a ton of cute designs for free at EmbroideryDesigns.com. I’ve used a lot of their free and paid designs. They are high quality and the are a ton to choose from!
Machine Embroidery on Minky Fabric Tutorial
1 | Stabilizer & Hoop
The first thing you will need to do is get the fabric ready to embroider. This means stabilizer! Yes, you do need to use stabilizer if you want your design to turn out. Trust me, it makes a HUGE difference!
Iron-On-Tear-Off Stabilizer
We will start with the Iron-On-Tear-Off Stabilizer. This will go on the back of your fabric (the “wrong side.”) On the textured minky, the wrong side is typically not fuzzy.
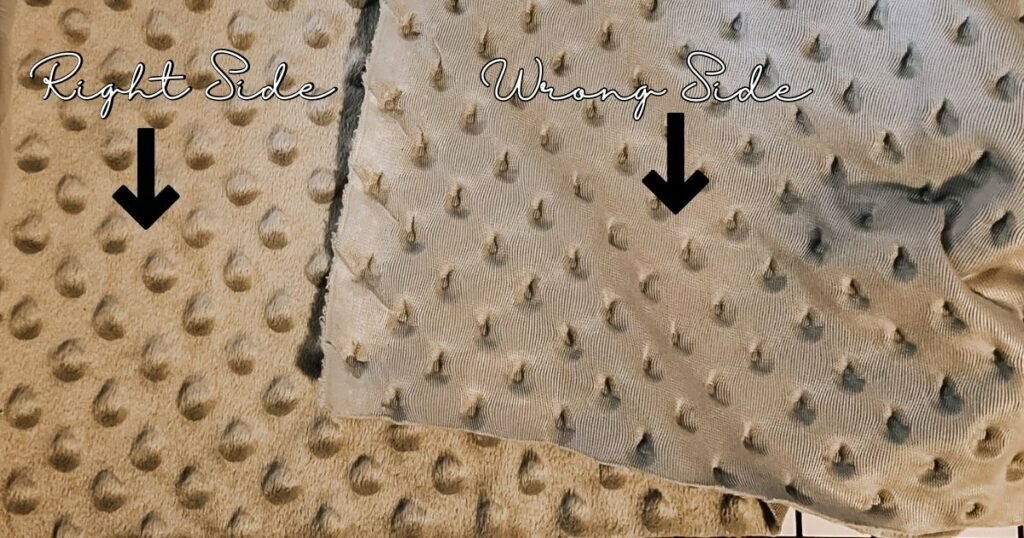
With the wrong side facing up, find where the back of your design should go.
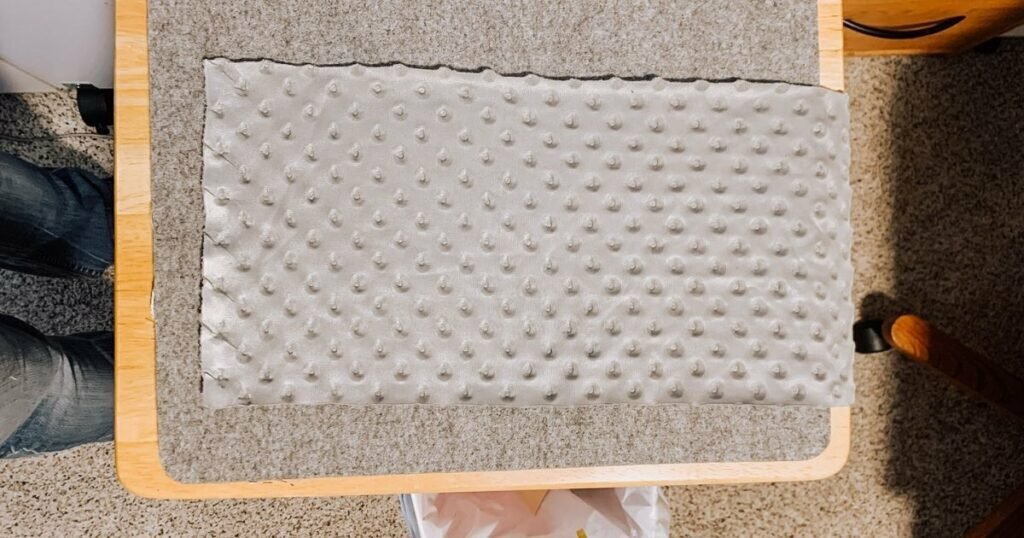
Place the stabilizer with the waxy side facing the fabric.
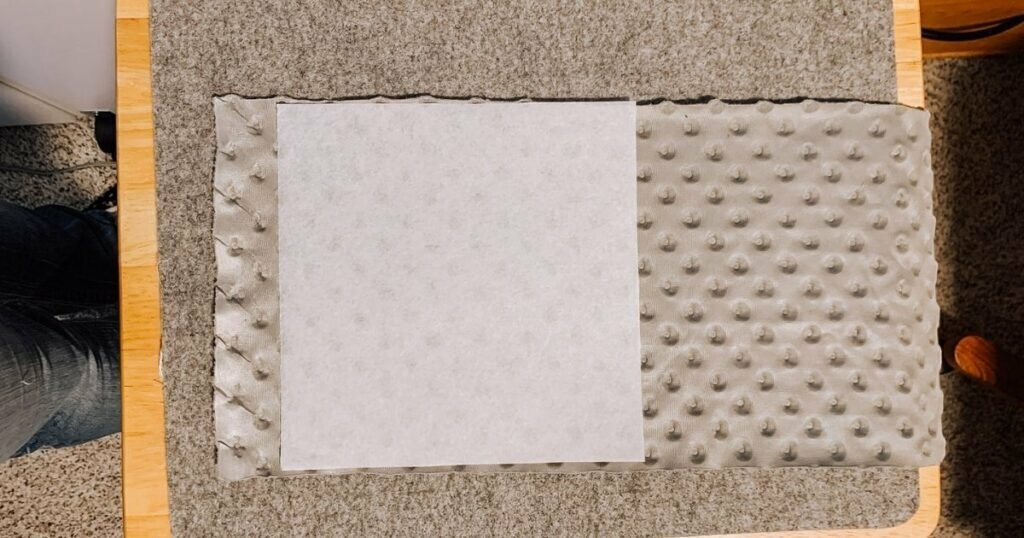
Lightly iron the back of the stabilizer sheet so that it sticks to the minky. You don’t need to iron much, just until the stabilizer sticks to the fabric.
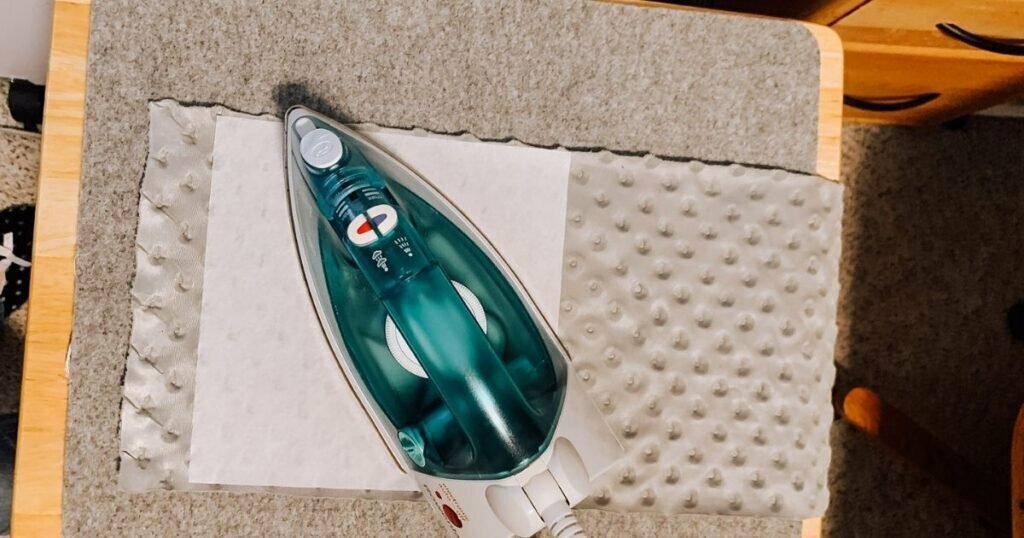
Flip your fabric over so that the right side is facing up.
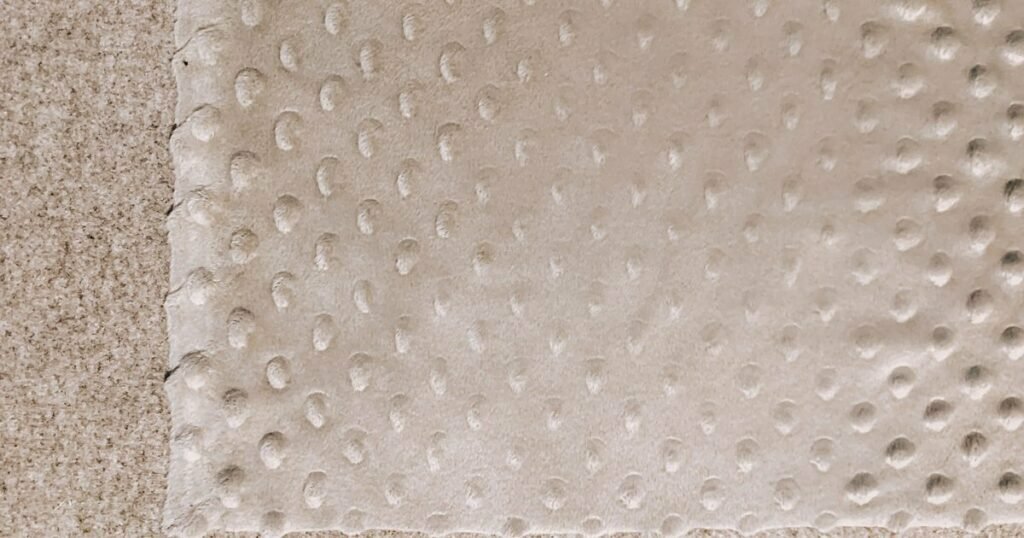
The Hoops
Get out the hoop you want to use. For best results, make sure that the fabric can be pulled through all four sides of the hoop. This will help prevent sliding which is a common issue when embroidering on minky fabric.
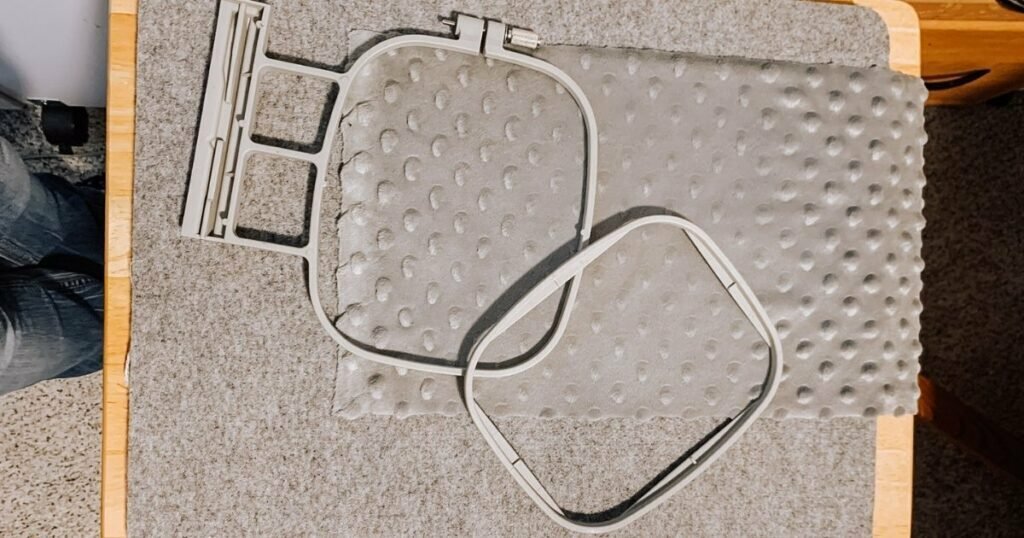
Place the bottom of the hoop on a flat surface. Be sure of the direction that it needs to go into the machine. I don’t know how many times I’ve gotten the fabric in the hoop only to discover my hoop is upside down.
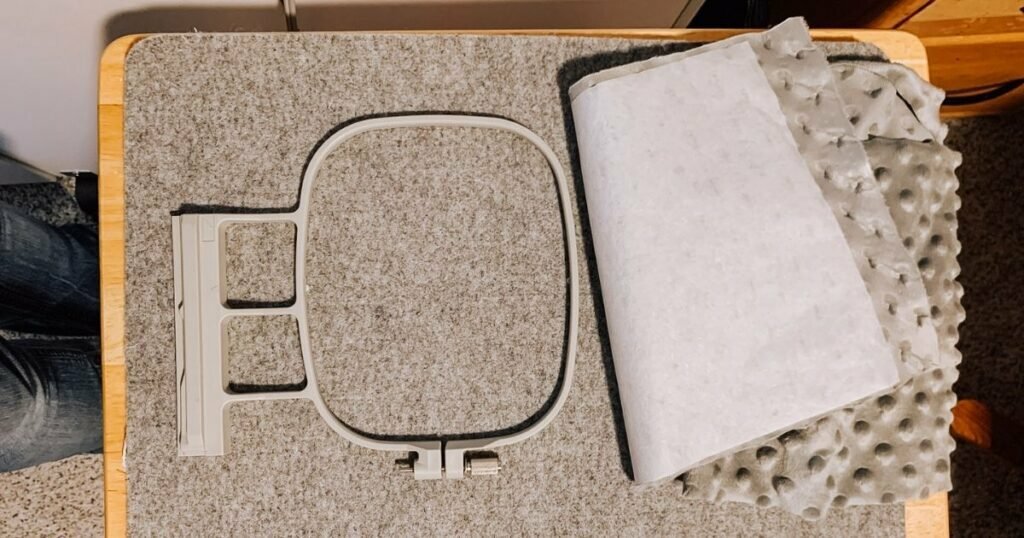
Place the minky fabric over the hoop and align it so that the stabilizer makes it through all four edges of the hoop. This part can be a little tricky and just takes some practice to get it straight.
Stabilizer Topping
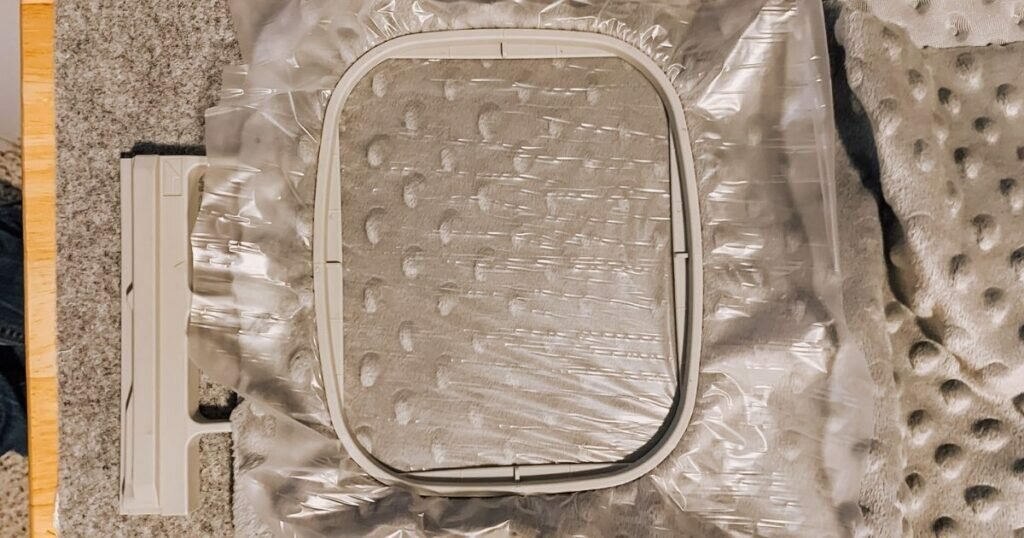
Cut a piece of the Stabilizer Topping and place it on top of the hoop and fabric. Note that the topping will be on the right side of the fabric.
Now gently press the top of the hoop into the bottom sandwiching the fabric and stabilizer in between. So from top to bottom, you should have the top hoop, the stabilizer topping, minky fabric right side up, the iron-on-tear-off stabilizer, and the bottom hoop.
Tighten the hoop so that everything stays put. Don’t over-tighten it or the hoop will pop off.
2 | Embroidering
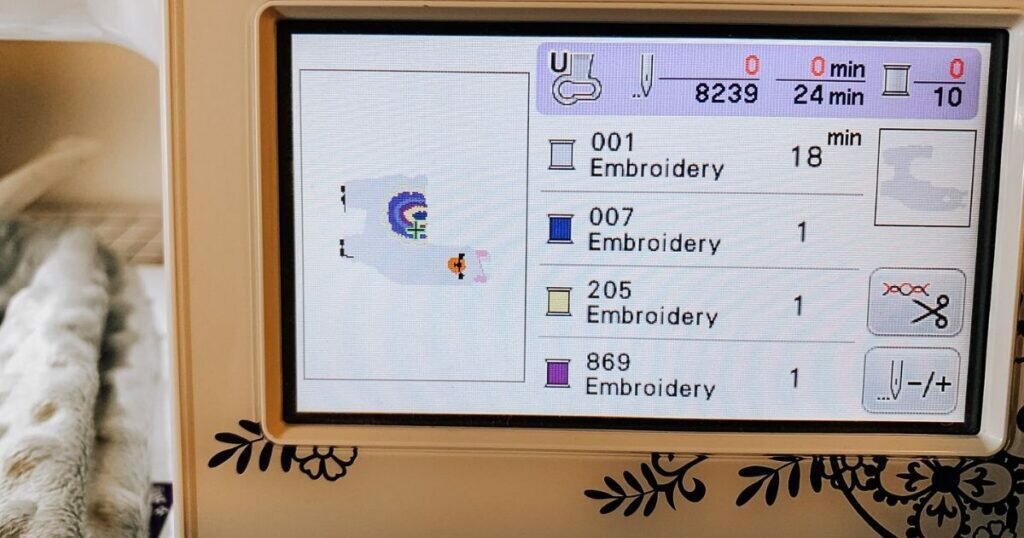
Now that we’ve got the fabric in the hoop, it is time to actually embroider!
Tip: Increase your stitch density and slow the speed of your machine. This will help you acheive more proffestional looking results!Check the manual for your particular machine to find instructions for controling stiching speed and stitch density.
Pick a design and you are ready to go!
Lower the presser foot and the red button will turn to green.
Press the button! How long it takes to stitch will depend upon your machine, your chosen design, the stitch density (number of stitches), and the set speed of the machine. This particular design took about 15 minutes on my machine.
3 | Removal of the Stabilizers and Hoop
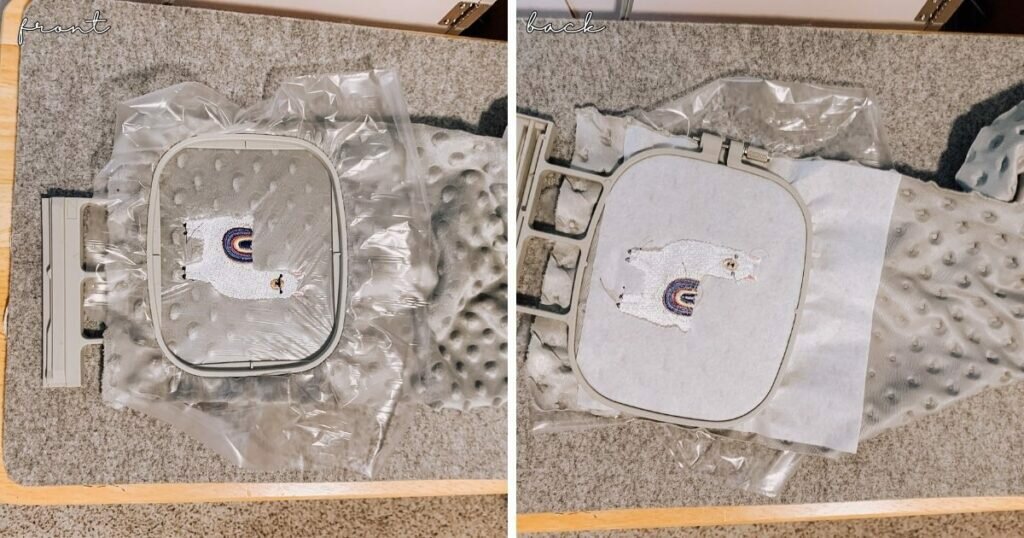
When you first pull the hoop out of the machine, your project should look something like this. Loosen the screw and remove the fabric from the hoop.
I like to start with the right side of the design. Gently pull the stabilizer topping away from the design. It will tear away pretty easily. Don’t worry if you miss a little piece of the stabilizer topping when you remove it from the design, it will dissolve in water.
Next, flip the fabric over to the back of the design. Here we will remove the iron-on-tear-off stabilizer. Lift a corner of the stabilizer and gently peel it away from the fabric. Once you reach the design, it should start to tear away around the edges of the design.
Tip: If you are struggling to get the stabilizer out of small parts of your design (like letters), use a pair of tweezers to finish weeding your design.
4 | Trim the Threads
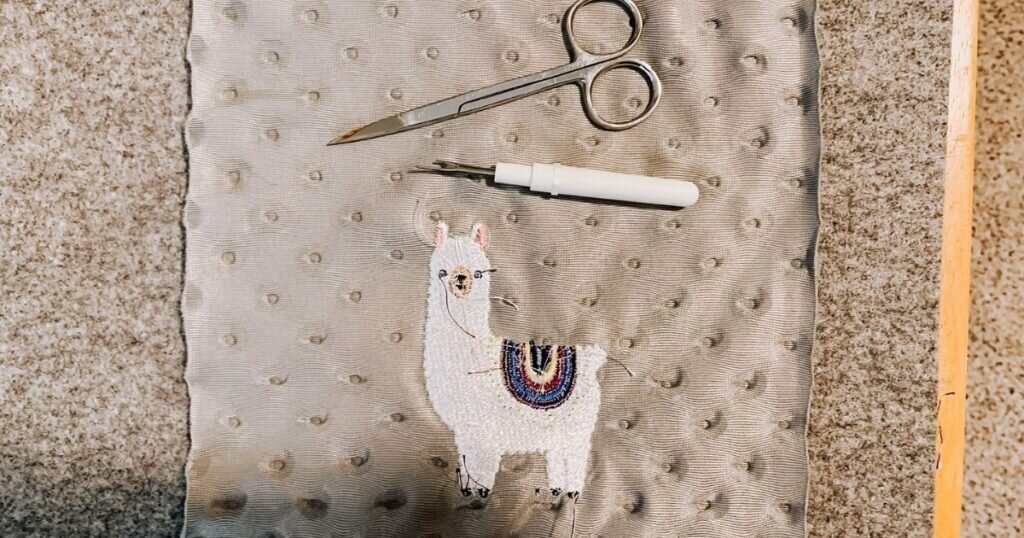
Now we are going to trim the threads! I do this using a pair of manicure scissors and a seam ripper. Trim your threads as close to the design as possible.
5 | Done!
If you enjoyed this Machine Embroidery on Minky Fabric Tutorial, please share! As always, I’m happy to help you out if you have any questions, comments, or concerns! Just leave a message below!
