

Why are reusable grocery bags so great?
People ask me this question all the time. Why are you so passionate about those reusable grocery bags? Well, in addition to them being far more durable, all those plastic grocery bags just go to waste. They end up in landfills, the ocean, and other places we don’t want them. I don’t know about you, but I love to spend time out in nature. And I don’t want to look at all the trash people have left behind. Please clean up after yourselves people!!!!
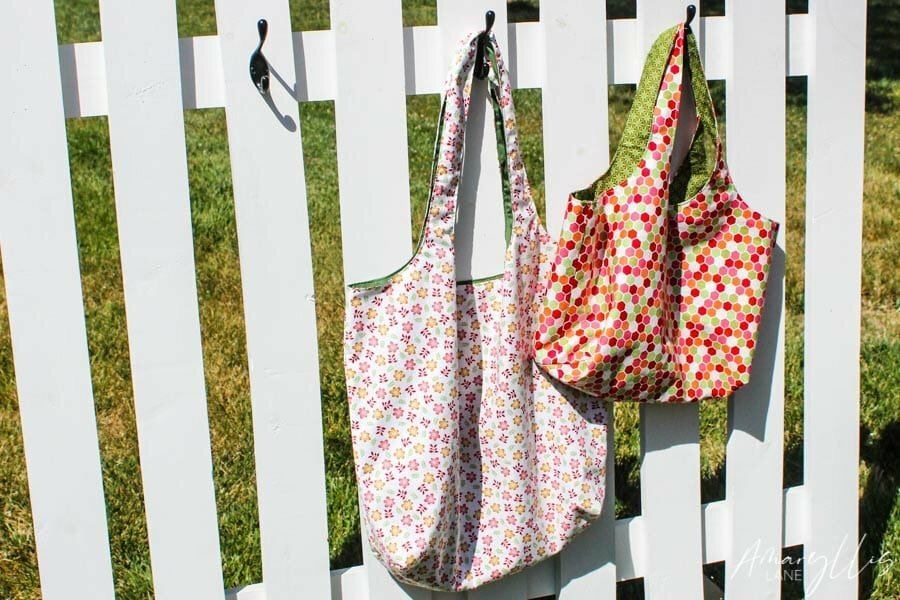
Reusable Grocery Bags Tutorial with FREE Patterns
I’ve seen so many different patterns for reusable grocery bags, but not really any I liked, so I made my own version. Did I mention this bag comes in two sizes and they are completely reversible?!?
This tutorial does use some intermediate techniques including topstitching but you have no need to worry, you can do it!
What You Will Need:
- Free Patterns – Download them (Regular or Small)
- 1 yd Outer Fabric (54” width)
- 1 yd Lining Fabric (54” width)
- Matching Thread (or contrast can be fun too!)
- Fabric Scissors
- Pins
- Iron and Ironing Board
- Sewing Machine
Tutorial
1 | Cut the Fabric
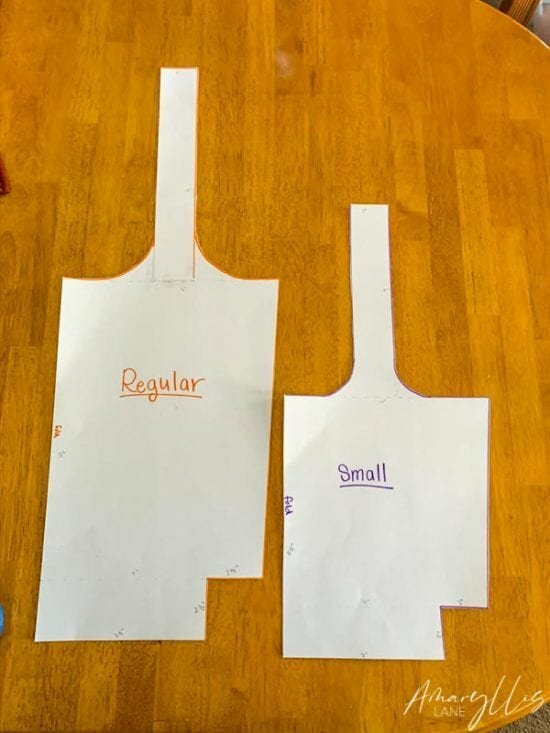
First of all, you will need to decide which size bag you would like to make. Print out your patterns. The ones shown below are my originals made from poster board.
Lay your pattern on the top of your fabric with the fabric folded at the fold line. Then pin it to the fabric and cut around the pattern.
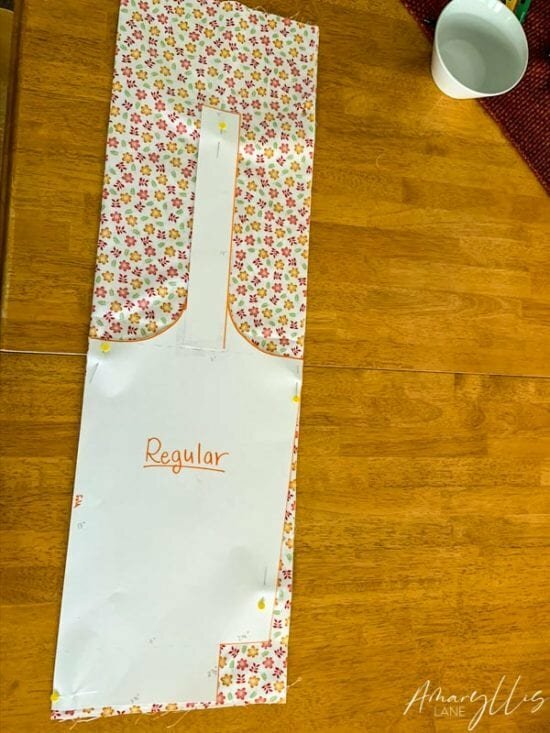
You will need two for the outer fabric and two for the lining fabric so you will have 4 pieces total.
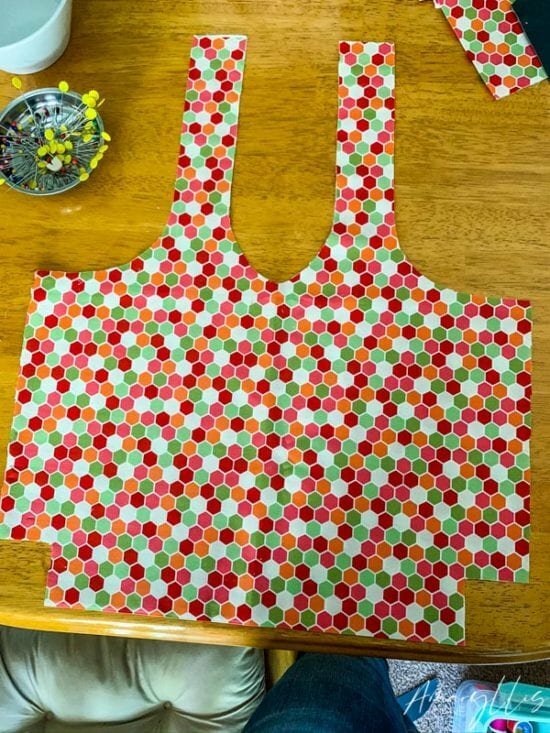
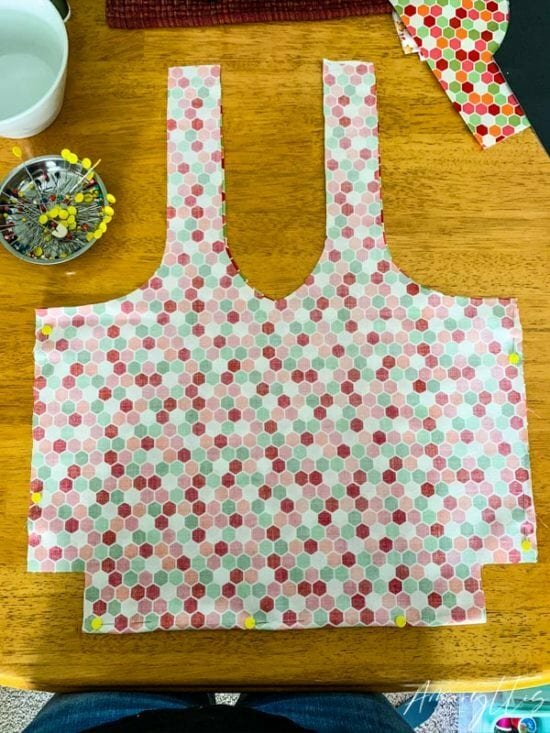
2 | Pin the Pieces Together
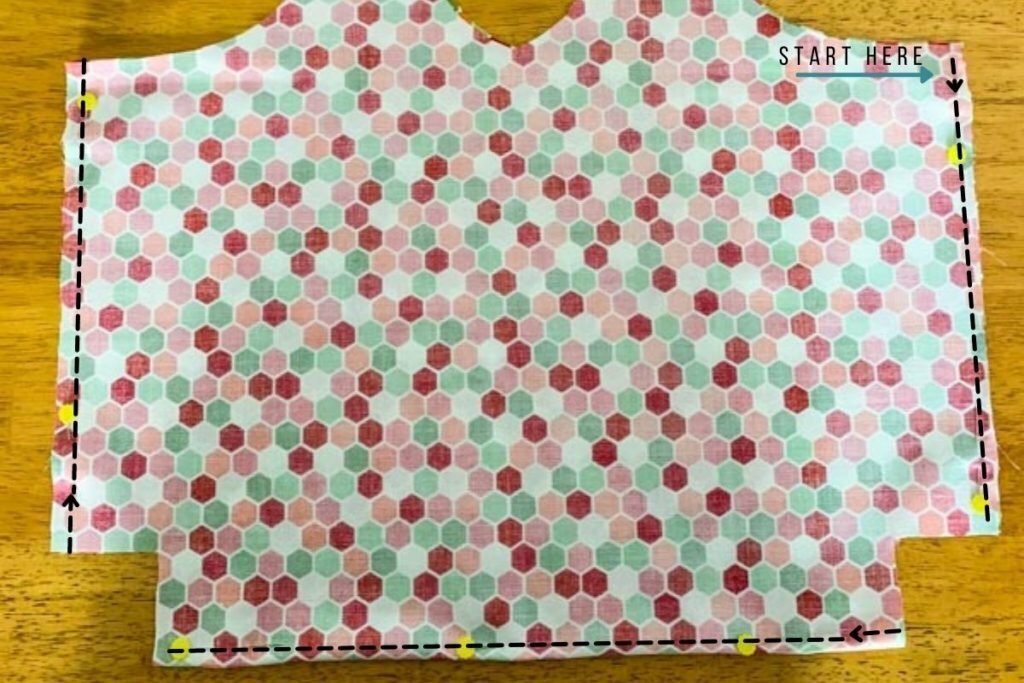
Pin the outer fabrics with right sides facing each other, then sew those three lines. Repeat for the lining fabric pieces.
3 | Sew the Bag
For this project, you can use whatever seam allowance you would like as long as you are consistent. I personally use a 1/4 inch seam because I learned to sew from quilting, but you can use what you are most comfortable with.
4 | Press the Seams
Press the seams open. (Note: you can press the seams to the sides, but I find it to be a hassle trying to coordinate which way to press all the seams.)
5 | Sew the Box Corners

Next, pin your box corners, lining up your seams. Sew a straight line across your corner as shown below. Repeat with the lining fabric.
6 | Join the Outer and Inner Linings
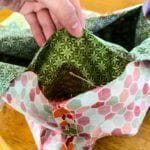
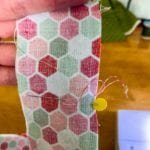
Pin the right sides together. Make sure to leave a few inches to turn the bag right side out. You will also leave a gap from the end of the handles so that we can join them later.
(Note we will not be joining the handles yet as we will not be able to turn the bag right side out if we join them at this point.)
Turn the bag right sides out.
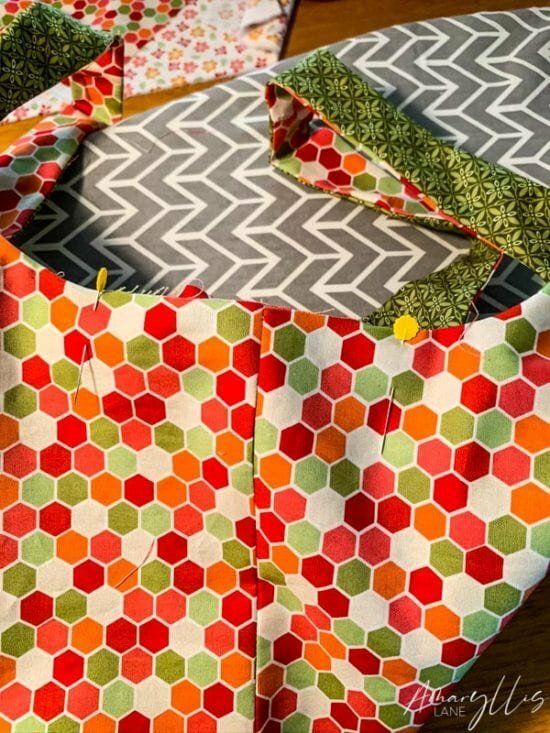
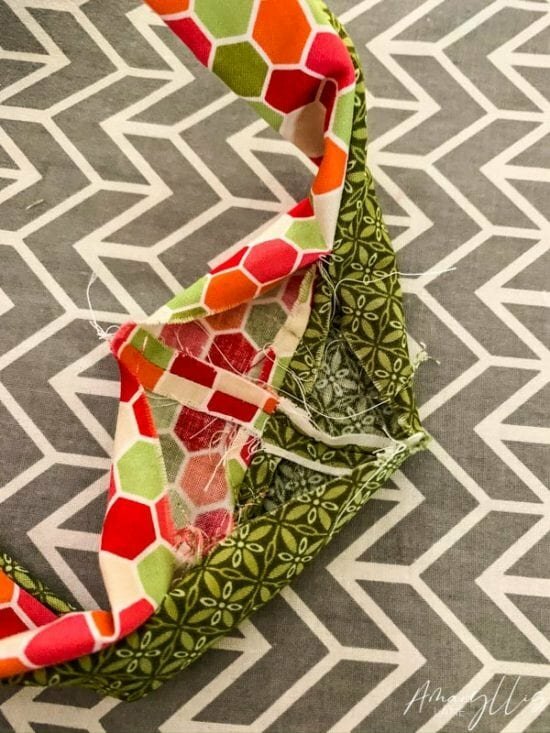
7 | Join the Handles
Start by pinning the handles open with right sides facing each other, then sew.
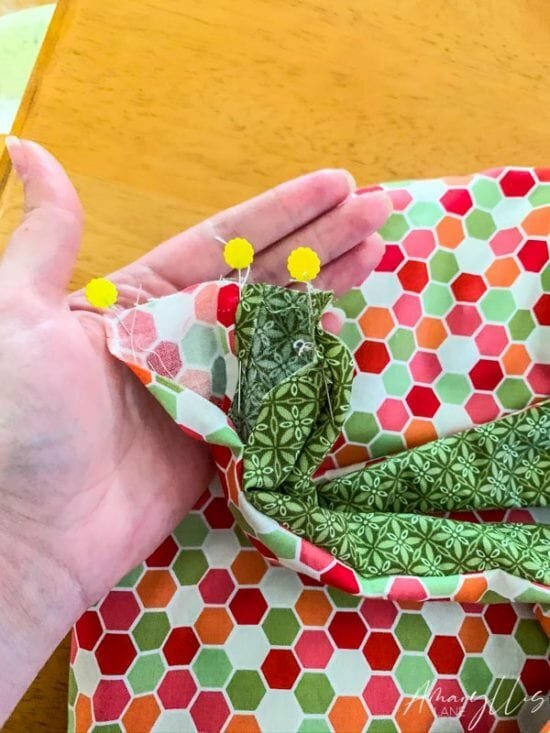
Press the seam open.
8 | Top Stitching
Next, we are going to topstitch the bag and by doing so, we will close up all the exposed edges. Fold the hem to line up with what has been sewn, then press so they are even and pin them in place.
From here, you will topstitch around the entire edge. I topstitched about a 1/8 inch from the edge, but you can choose how you would like to topstitch.


9 | Finished!
And you are done!
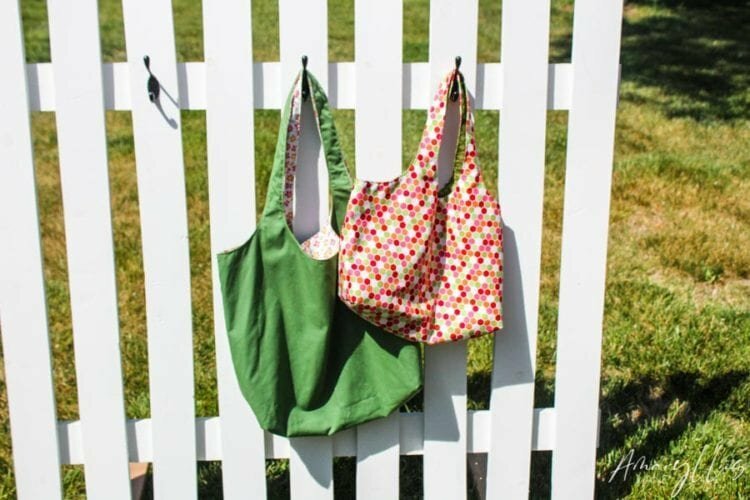
I’d love to see how all y’all’s finished projects turn out! If you have any questions, comments, or concerns, I’m happy to help ya out! Just leave a comment below.
