

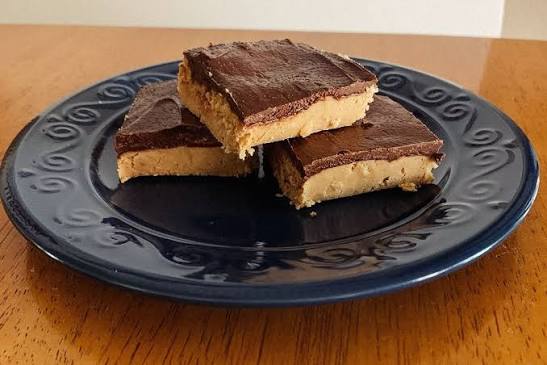
These delectable little peanut butter gems are actually my great grandmother’s recipe. They are similar to a Reese’s Peanut Butter Cup, but so much better! I’ve seen many variations, but these are definitely my favorite! They are a HUGE hit at parties and will have everyone asking for the recipe!
Peanut Butter Gems Recipe
These are similar to a Reese’s Peanut Butter Cup!
Print Recipe Pin Recipe
Course:Dessert
Ingredients Method Notes
Ingredients
- 1½ cup Graham Cracker Crumbs
- 1 cup Butter melted
- 1 cup Peanut Butter smooth
- 3 cups Powdered Sugar
- 2 cups Chocolate Chips semisweet
Method
- Mix together the melted graham crackers, butter, peanut butter, and powdered sugar in a medium sized bowl until they are thoroughly combined.
- Press the mixture evenly into a 9×13 pan.
- Melt the chocolate chips in a double boiler or microwave in 30 second bursts until the chocolate is smooth.
- Pour the melted chocolate over the peanut butter mixture and smooth.
- Refridgerate for an hour before cutting the peanut butter gems into squares.
Notes
You want to cut the chocolate before it gets too hard. If it gets too hard, the chocolate will crack.
As with all of my recipes, I have broken down the steps so that even a beginner can learn to make these delicious Peanut Butter Gems!
The Detailed Instructions
In this tutorial, I just mixed the ingredients by hand, but you can use an electric mixer or stand mixer if you would like.
1 | Melt the Butter
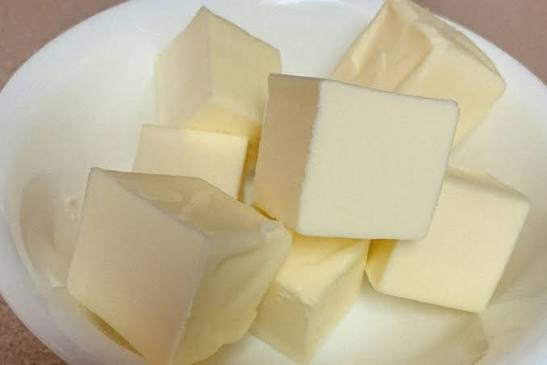
The first thing you will want to do is melt the butter. This works best when you cut the butter into chunks and place them in a microwave-safe bowl. Microwave the butter in 15-second bursts and make sure to cover the bowl with a paper towel to help prevent the butter from splattering all over your microwave!
2 | The Graham Cracker Crumbs
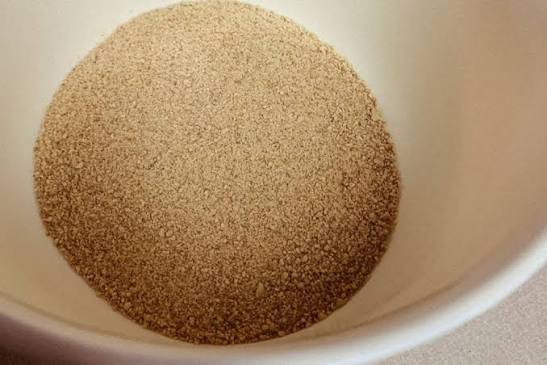
You have a couple options here. I just buy the boxes of graham cracker crumbs on the baking isle, but you can also improvise and place a few graham crackers in a ziplock bag and crush them yourself. The easiest way to do this is by placing the graham crackers in the bag, squeaze out the air as you seal the bag, and then mash them with a rolling pin.
3 | Mix the Butter and Graham Cracker Crumbs
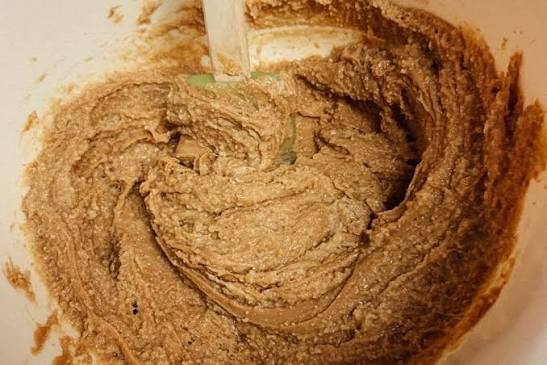
Mix together the melted butter and graham cracker crumbs to get this texture:
4 | Add the Peanut Butter
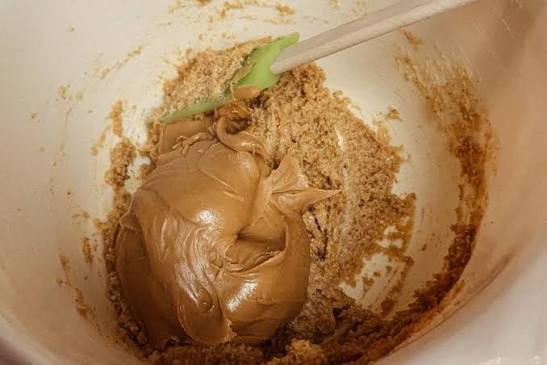
At this point, you will want to add the peanut butter to your mix.
It should look like this once it is mixed:
5 | Add the Powdered Sugar
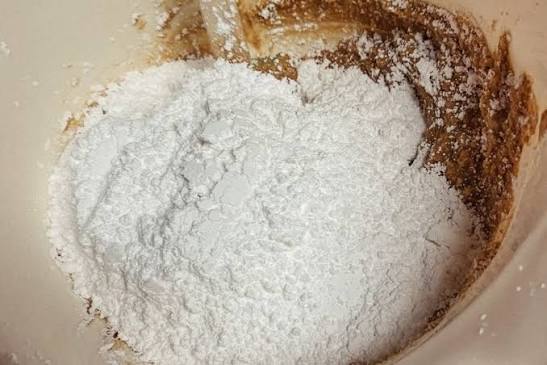
Add the powdered sugar to the mixer. Note that if you are using a stand or electric mixer, you will want to add the powdered sugar slowly so that you don’t end up with powdered sugar all over your kitchen. Trust me, this can make a HUGE mess to clean up!
Once mixed, it should look like this:
6 | Press the Mixture into the Pan
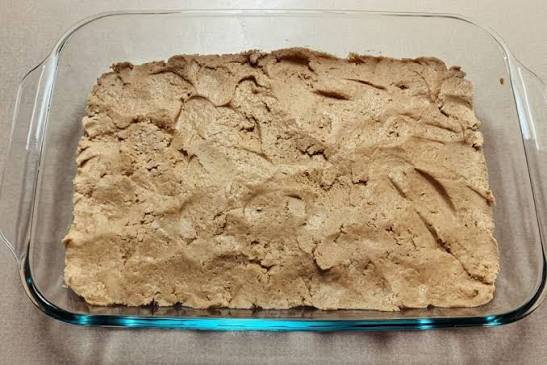
Dump the mixture into an UNGREASED pan.
Press this mixture into an even layer in the pan. I do this by pressing the mixture with the back of a spoon, but you can press it in with your hands. It won’t be perfectly even, but you are shooting for something like this:
Set the pan aside while we make the chocolate topping.
7 | The Chocolate
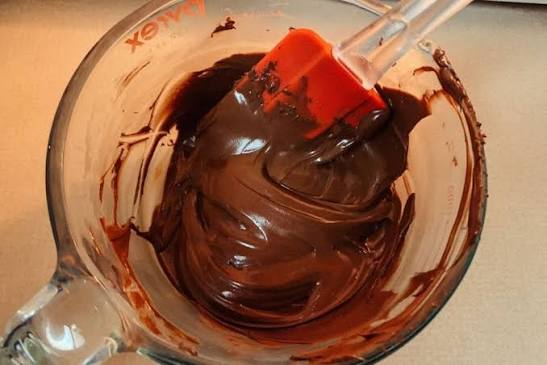
Start by measuring out 2 cups of chocolate chips into a microwave-safe bowl.
Microwave the chocolate chips in 30 second bursts, stirring in between bursts.
For me, the chocolate typically needs three 30-second bursts in the microwave, but this can vary slightly depending upon the microwave.
You are after a smooth chocolate texture like this:
8 | Pour the Chocolate
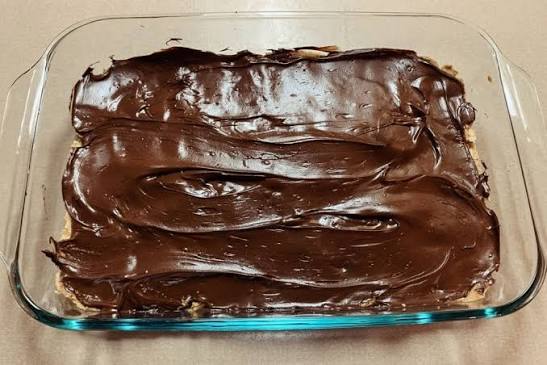
Pour the melted chocolate over the peanut butter mixture, then smooth it with a spatula.
9 | Refrigerate
Set a timer for an hour, and place the peanut butter gems in the refrigerator.
Note: You don’t want to leave the peanut butter gems in the refrigerator for more than an hour. If the chocolate gets hard, it will crack more like a candy bark instead of cutting nicely.
10 | Enjoy your Peanut Butter Gems!
Peanut Butter Gems Alterations
Gluten Free Option
This recipe works great with gluten graham cracker crumbs! The gluten free graham cracker crumbs do absorb more moisture than standard graham cracker crumbs, so only use about 1 1/4 cup gluten free graham cracker crumbs instead. Schar has a great option here, or if you want to make your own, Gluten Free on a Shoestring has a great recipe for gluten free graham crackers here.
Alternatives to Chocolate Chips
I personally prefer these with semisweet chocolate chips, but you can use milk chocolate or dark chocolate chips.
