

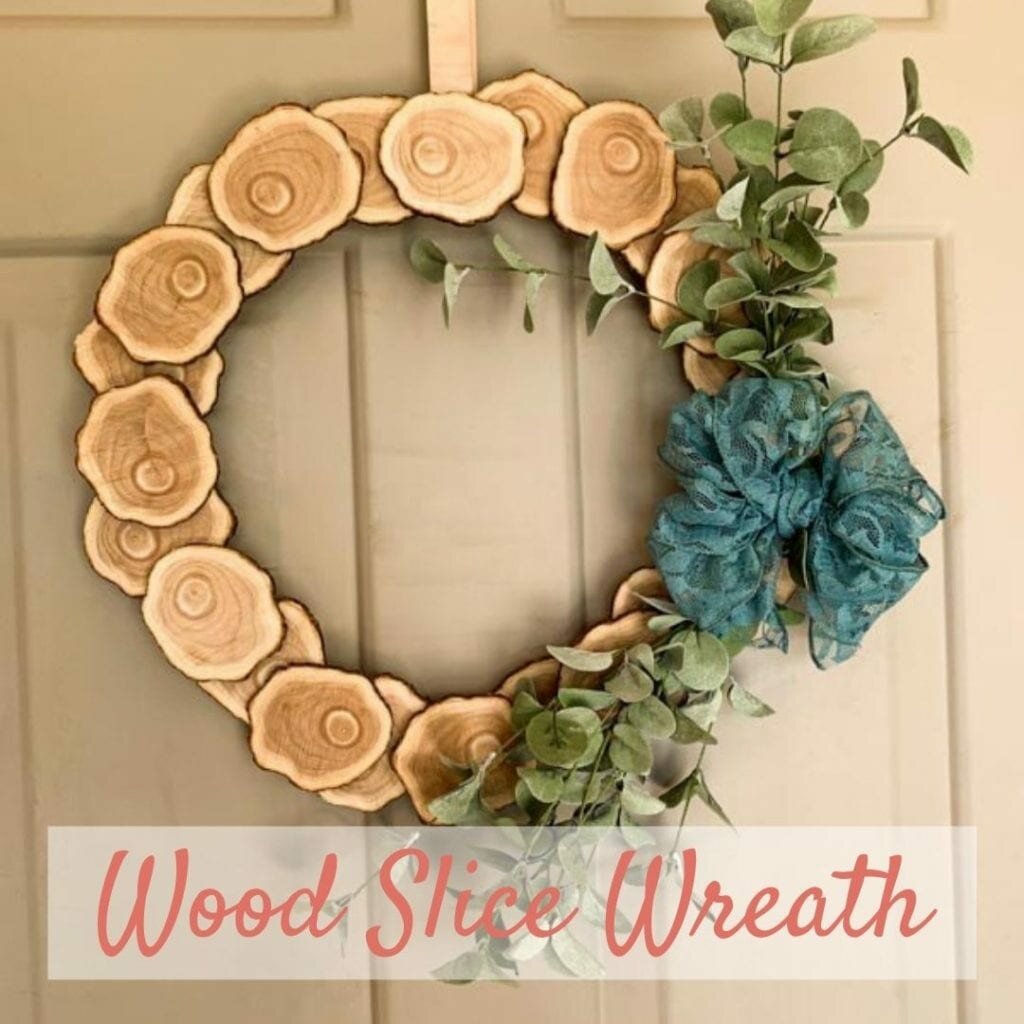
If you’ve followed my blog for a while, you will find that I am very much about recycling and reducing waste. With a background in environmental engineering, I love projects that repurpose all kinds of things. Today, I’ve decided to show you how I make my DIY Wood Slices from Recycled Tree Clippings!
When I pruned my large trees this year, I hung onto several of the bigger branches in the hopes that I would come up with something to use them for. As you’ve seen in my wood slice wreath tutorial here, I’ve been having fun with these recycled branches.
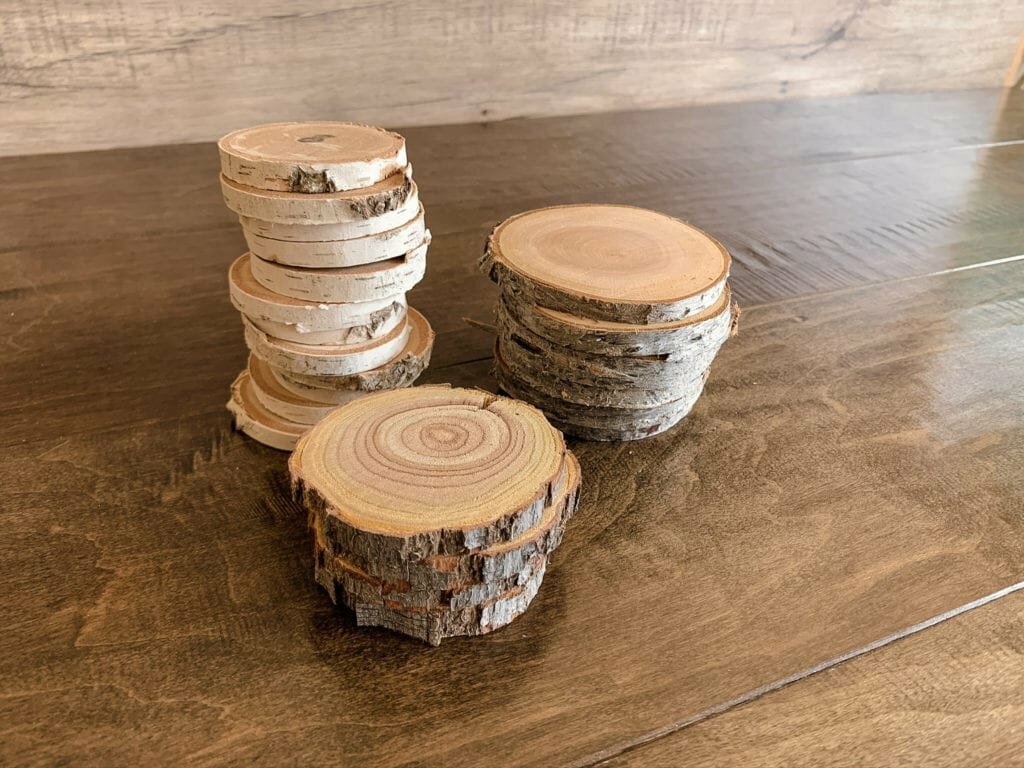
1 | Where to Find Branches for DIY Wood Slices
So let’s start with getting the branches. I know many of you are thinking but Eliza I don’t have access to large trees to take clippings from. That’s ok! There are a few different options! The cheapest options require a little work on your part, but I find that it is well worth it!
Tree Clippings From Your Own Yard (or Friends)
This is my favorite method because it costs nothing. I was pruning back some of my trees anyway, so I kept some of the nicer sections before taking the rest of the branches to be made into woodchips. I have also gotten branches from friends’ and neighbors’ trees (with their permission, of course!) If you don’t have access to some tree branches, just ask around! There are frequently people who will give you branches or let you take some clippings if you cut them and haul them off yourself!
Bureau of Land Management
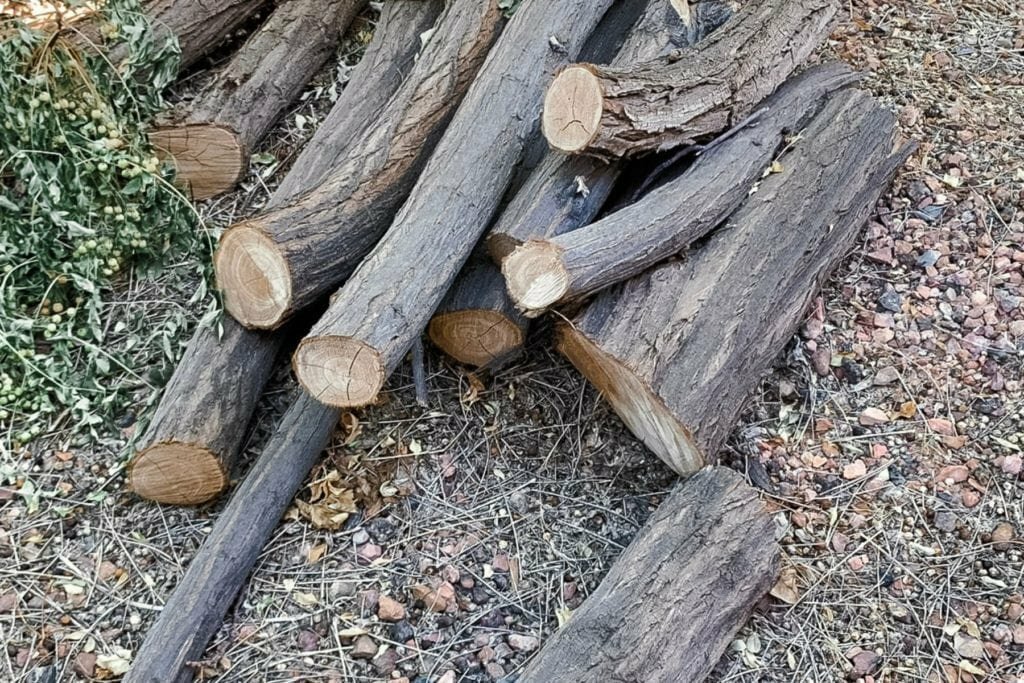
Check with your local Bureau of Land Management office. They offer permits to go collect wood off of the BLM land. We do this for our firewood, but sometimes find good wood for projects too! Where we live, it costs $20 per year for a firewood permit with the BLM (I’m not positive if the price is the same all over the country so check with your local office.) It’s cheap and you can go collect from any downed tree on BLM land! This not only gets you cheap wood but helps clear the way for new growth!
Purchasing Wood Slices
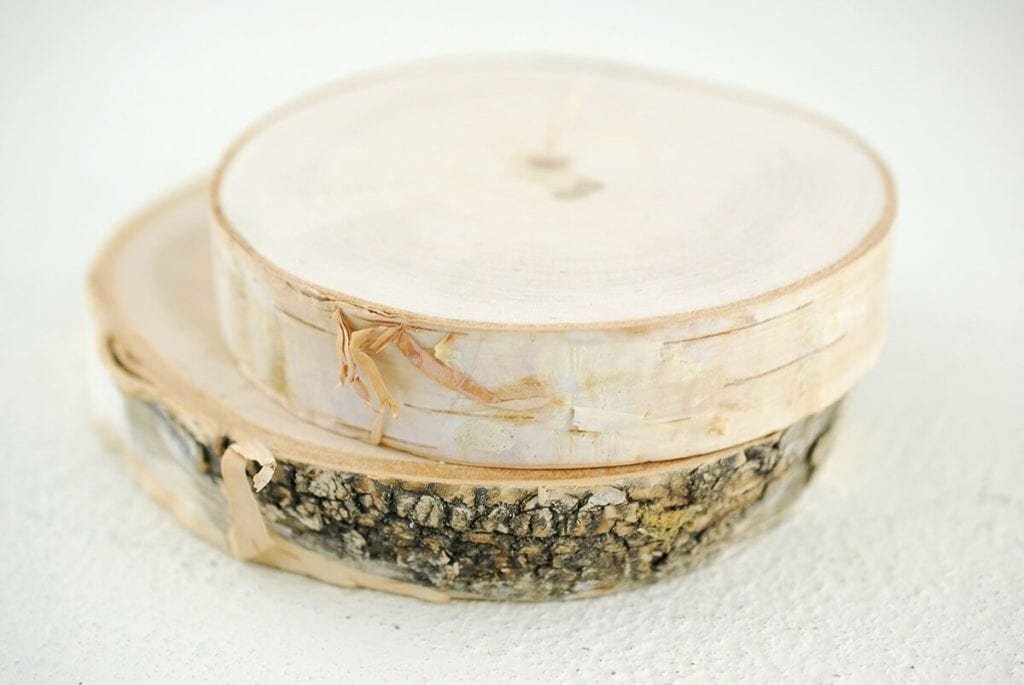
There is always the standby of purchasing the wood slices from a craft store or online retailer. If you have something really specific in mind, this may be a good option. Though this option is typically rather expensive, so I avoid having to buy the slices. I have found that Save on Crafts is the best source for buying wood slices that are of good quality without being too expensive.
2 | Picking a Good Section
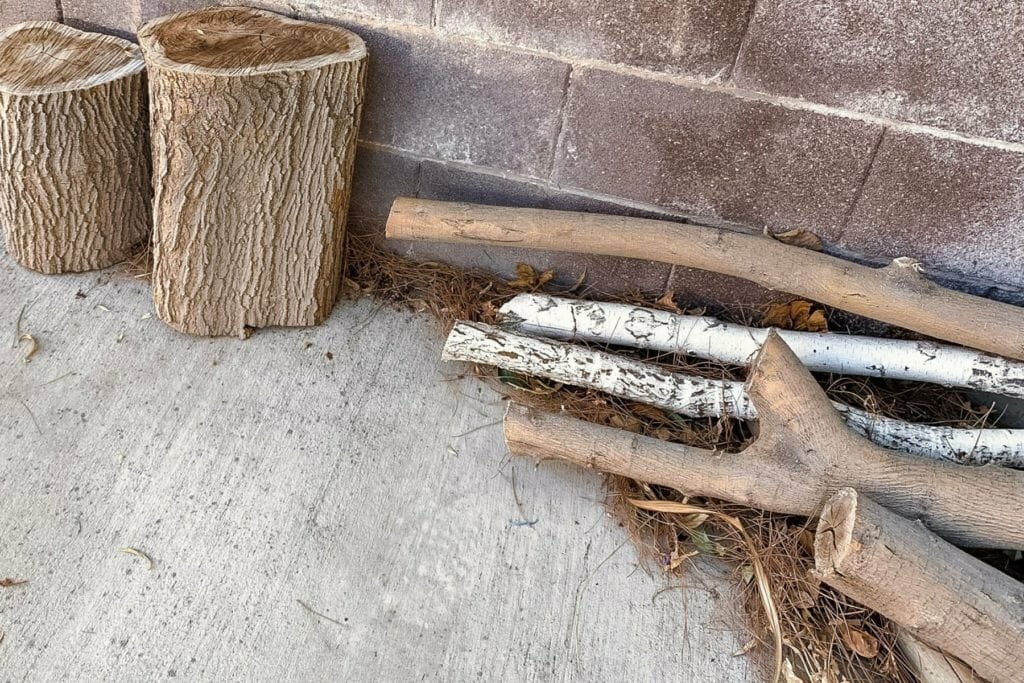
The best sections of a branch to use for your wood slices is a section that is pretty straight and uniform in width. Look for branches that are about the right size for your project and as round as possible (unless you want ovals or odd shapes.)
3 | Bark
Different types of bark will work differently on the wood slices. This is a good thing to keep in mind when you are picking what type of tree you will be taking slices from. I’ve tried this with a wide variety of woods and this is what I’ve found:
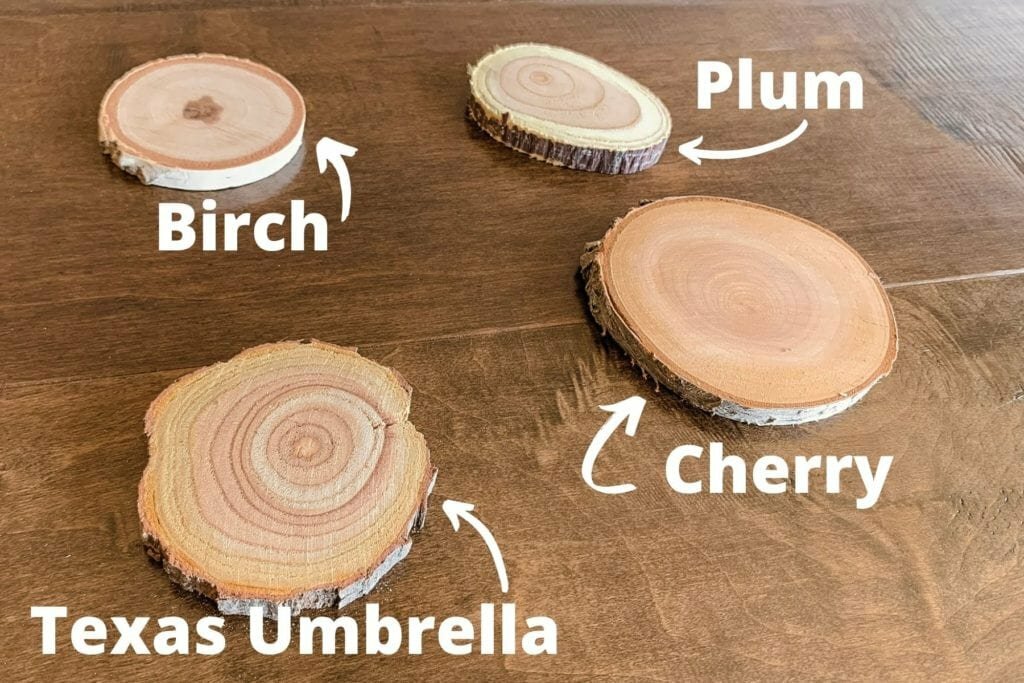
Smooth bark will stay on the wood slices pretty well. These include varieties such as birch, cherry (pictured below), etc. These types of trees are a bit easier to work with as wood slices.
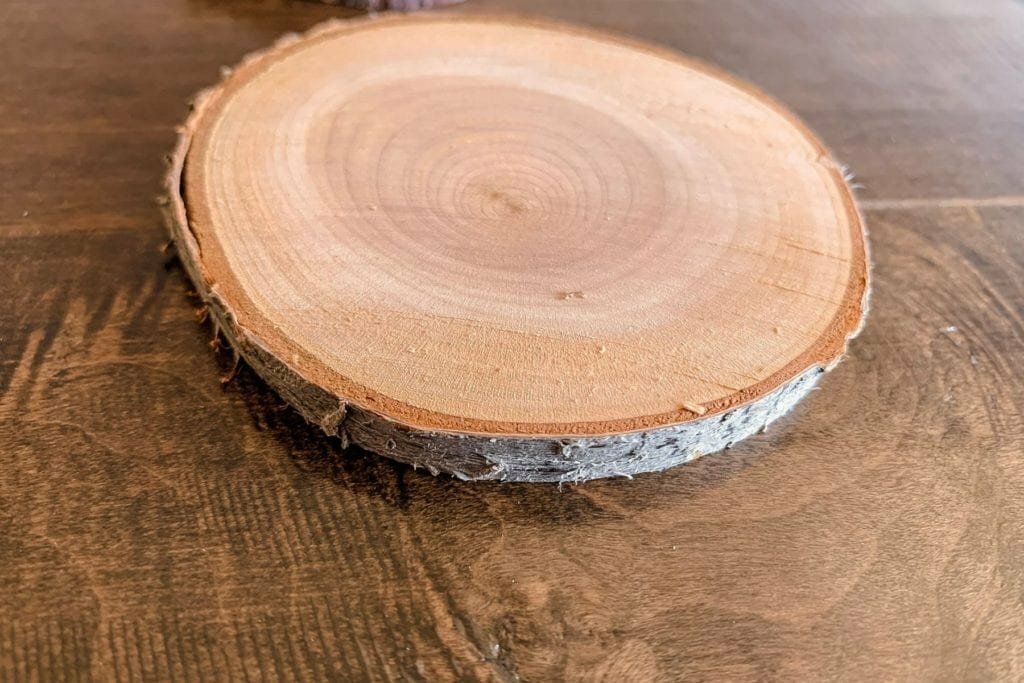
Rough Bark (like this Texas Umbrella below) is a bit more difficult to keep on the slice. As you can see in the picture below, some of the bark has fallen off the slice. I have had success with gluing the bark back on, but it is a bit time-consuming. I have found that if you make the slices a bit thicker, you won’t have as many problems with the rough bark.
4 | Cutting the Branches into DIY Wood Slices
There are several different ways you can slice the wood, but I prefer to just use a chop saw. (I forgot to take pictures while I was cutting the wood, but this is what I use.) It is just the easiest way to do it with the tools I have, but you can also use pretty much any type of saw. You can measure if you want precise heights, but I typically just eyeball it. Most of the wood slices I cut are about 1/4 inch high, but you can cut them whatever height works for you!
5 | Sanding
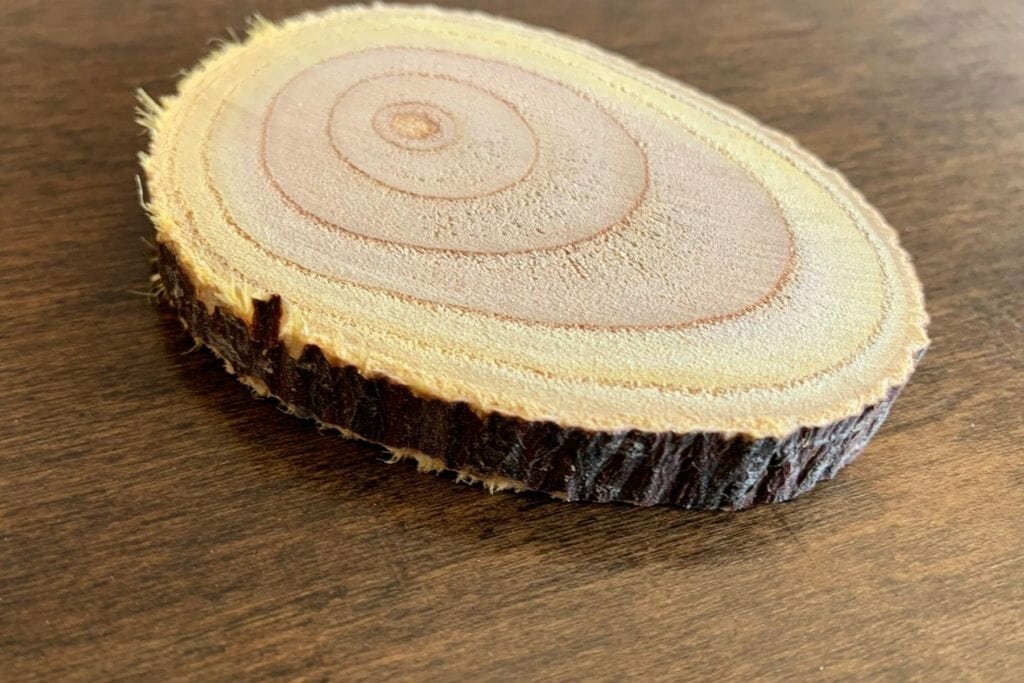
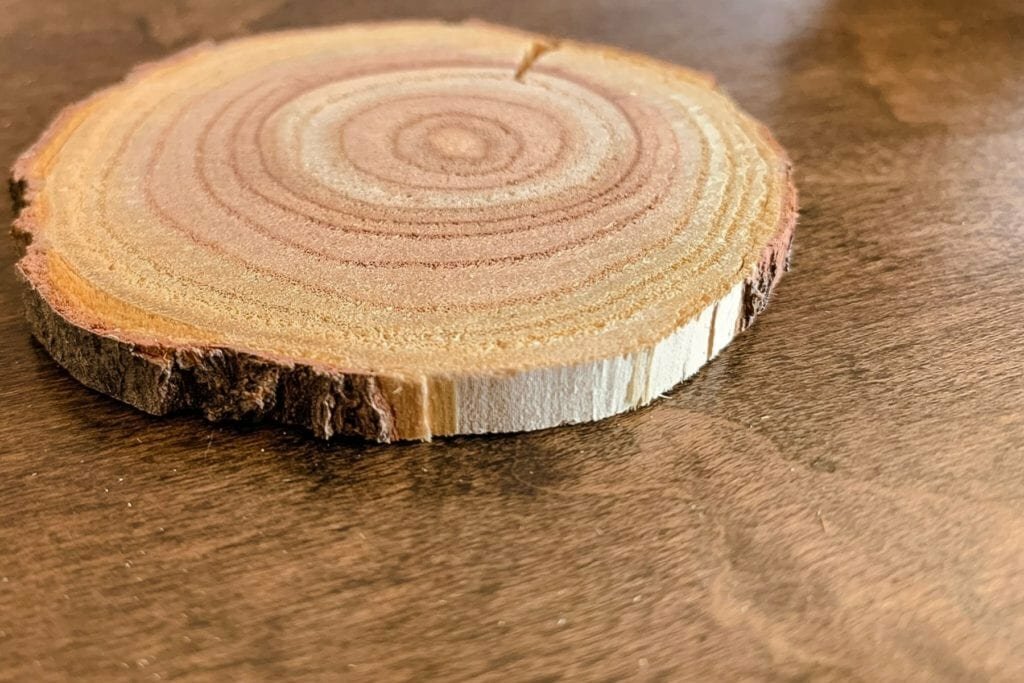
This step is optional. This will depend entirely on your personal preference, what you are using the wood slices for, and what type of wood you are using. I typically don’t find the need to sand my wood slices, but you can if you want. I will carefully sand pieces with a little bit of tear-out like the plum sliced pictured above. It seems like the woods with thin, smooth bark are less likely to have any tear-out or need sanding. Just make sure to sand them by hand so you don’t take off the bark by accident!
6 | Soak the Slices (Optional)
A few people have asked about preventing cracking as these slices dry. I tried out several different methods and this is what I found to work best: How to Dry Wood Slices. I personally haven’t had issues with cracking because I do let the branches dry out for a few weeks before cutting them into slices, but if you want to cut them immediately, the linked method is what I found to work best for this situation.
7 | Project Ready!
Now your DIY Wood Slices are ready for your projects! There are so many creative things to do with your DIY Wood Slices! Here are some fun project ideas to get you started:
