

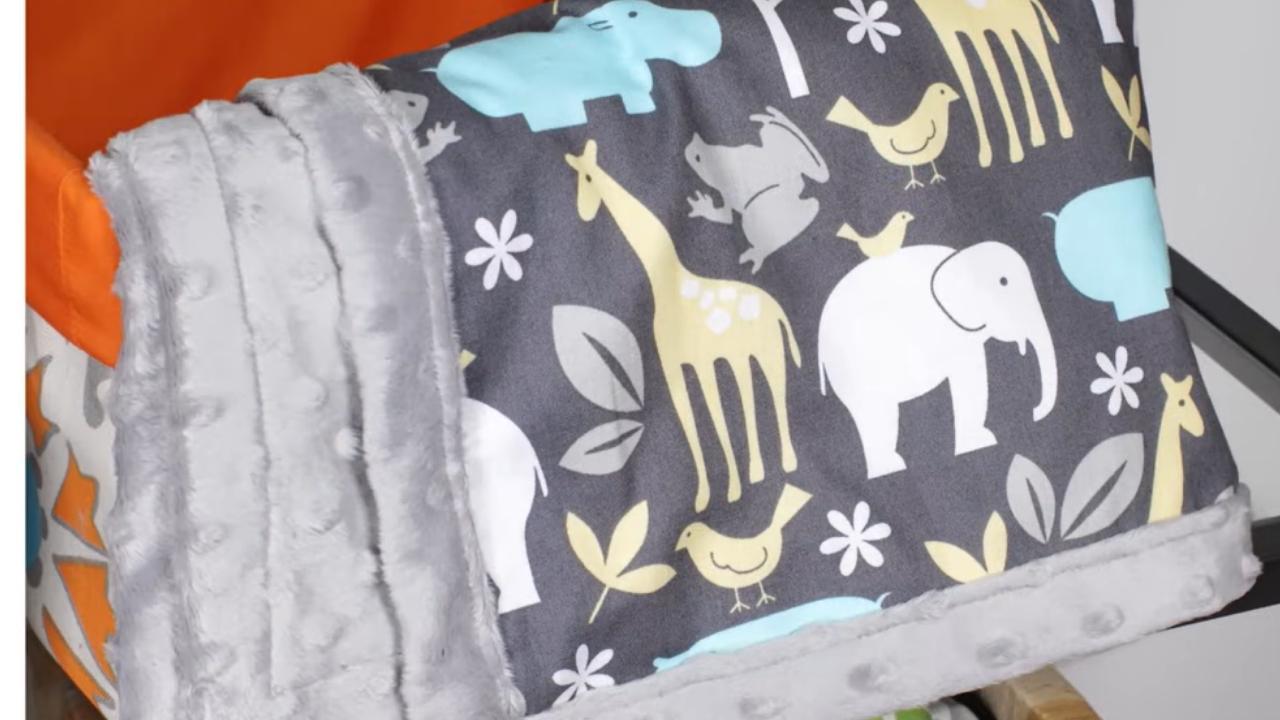
Ok, so I’ve had tons of people ask how I make these adorable little baby blankets… It’s actually super easy and quick! I make these in about 20 minutes or so. So here it is! My Easy Baby Blanket Tutorial!
What You Will Need
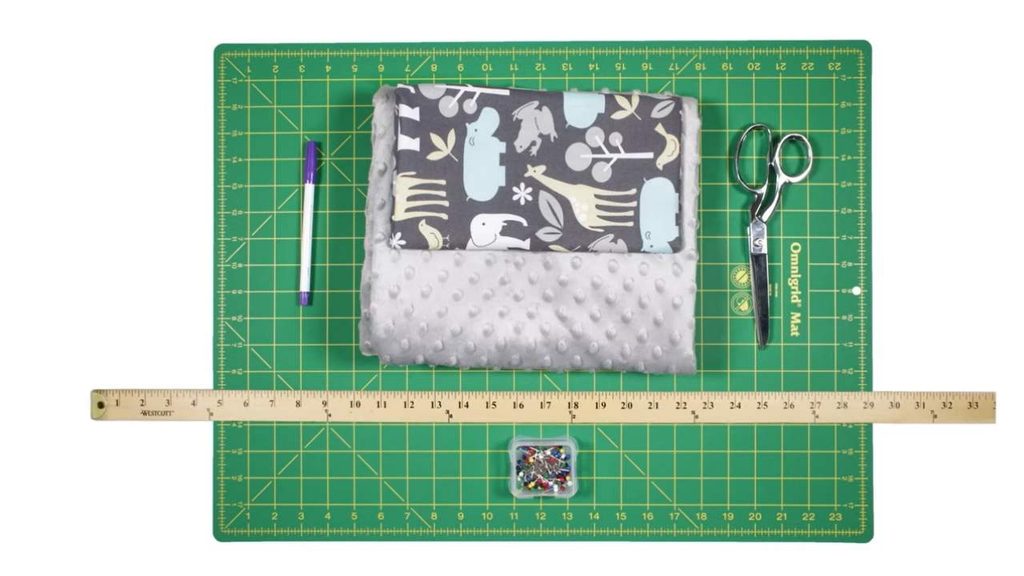
- 1 – yard flannel fabric (I used this one)
- 1 – yard Minky fabric (I used this one)
- Matching thread (or contrasting if you’d like)
- Fabric scissors
- Sewing pins or clips
- Sewing machine
- Needle
- Embroidery machine + stabilizer (optional)
Update: If you are worried that the fabrics will shrink, wash them before cutting and sewing. I haven’t found it to be necessary with this particular combination of fabrics, but it is up to you.
The Easy Baby Blanket Tutorial
1 | Cut Your Fabric
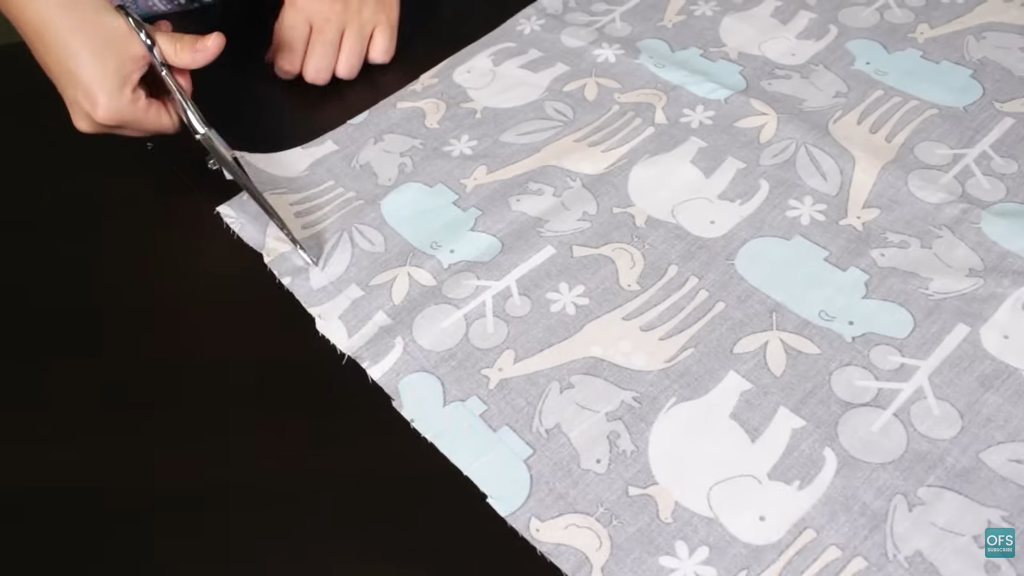
When cutting your fabric, the first thing you need to do is square up your fabric. If you are unfamiliar with how to square up your fabric, the National Quilters Circle has an awesome video to teach you everything you need to know here!
For this tutorial, we are going to be sewing an “envelope” style baby blanket, so the top and bottom fabrics will be cut to the same size. There is some debate on sizing as to what is best, but I like to just make a 35” x 35” which by most standards is considered a “stroller blanket.”
We are going to be making a blanket that is 35” x 35”. This means that we will need to cut the top and bottom fabrics to 36” x 36” to allow for a half-inch seam allowance. (I have found that it is easier to work with a larger seam allowance when you are sewing with Minky fabric then trim off the excess after sewing.)
2 | Embroider Your Design (Optional)
Ok, this step is optional, but I decided to embroider on the corner of the blanket. I suggest a monogram or the baby’s name. For this blanket, I am going to be placing the baby’s name in the bottom right corner at a 45-degree angle on the Minky side of the blanket. For full instructions on Machine Embroidery on Minky Fabric click here.
3 | Pin It Inside Out
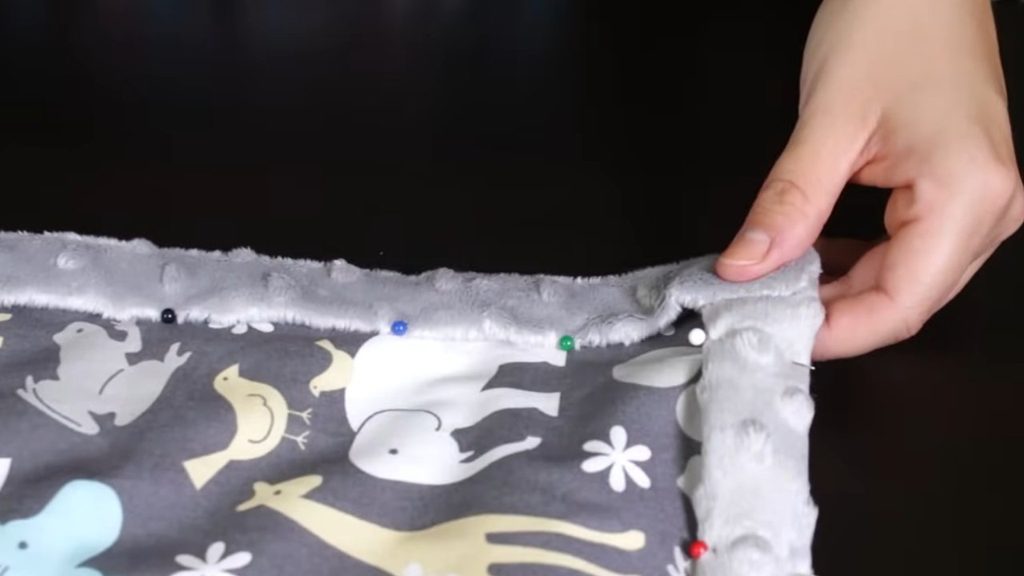
For an “envelope” style blanket, we will forgo the traditional binding and use a french seam as the binding instead. It is a less formal looking binding, but it fits with the style nowadays… and it’s sooooooooo much easier than having to use that dreaded bias tape!
With right sides facing each other, pin all the way around the edges of the fabric. If your fabric is directional, make sure to line them up so that they are facing the direction you want. (i.e. directional fabrics have the top at the same end of the blanket and not opposites like a coin)
Remember to mark off about a 6-inch section not to sew so that you can turn the blanket later. I typically also place a few pins in the middle of the fabric to prevent the fabric from sliding.
4 | Sew it
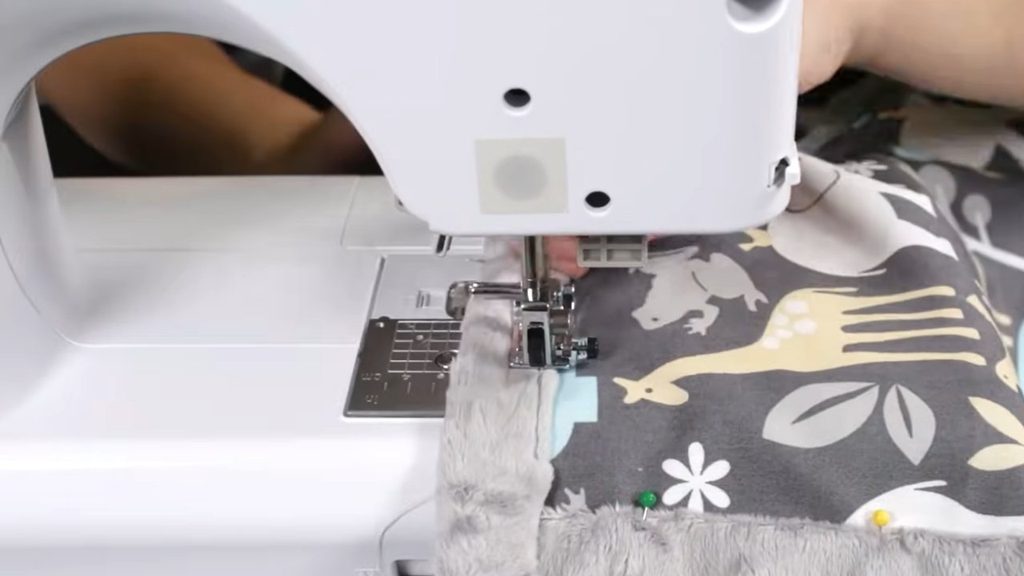
Using a half-inch seam allowance, sew around each of the edges leaving a 6″ gap for us to turn the blanket right side out. (Note that I like to sew this with the flannel side on the bottom with the Minky side facing up due to the Minky’s tendency to stretch. This provides a little more control over the stretching.)
5 | Trim the Corners
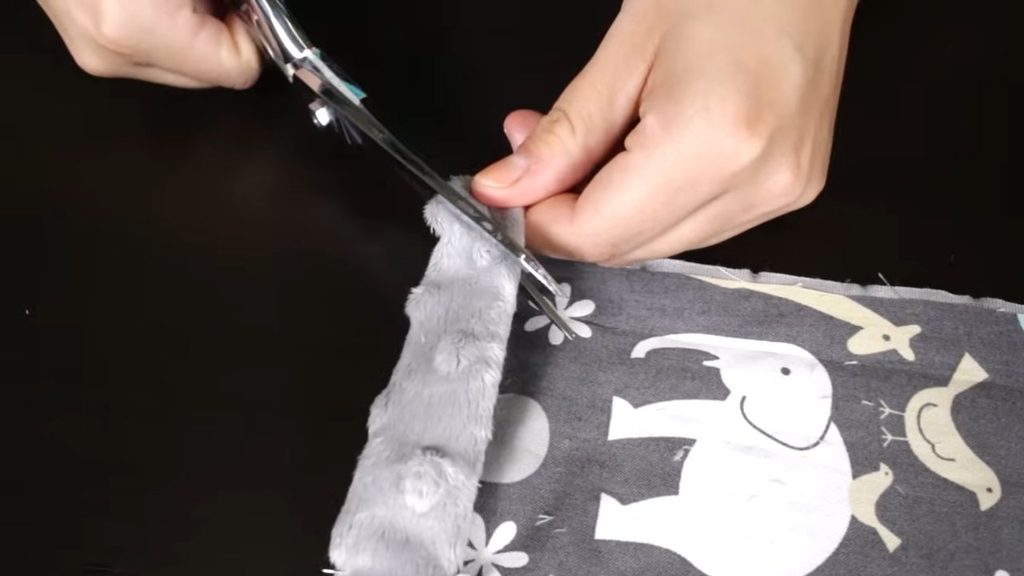
I’ve learned that if you want crisp corners when you are using a bulky fabric, like Minky, you need to trim your corners twice.
Cutting the corners like this will help you to reduce the bulk in the corners so that you have nice looking corners. You should end up with something like the picture below.
6 | Turn it
Using the 6 inch gap, turn the blanket right side out.
7 | Pin Again
Press your seams and pin around the edges again. Make sure to fold over and pin the gap that we just used to turn the blanket right-side out.
8 | Topstitch
Topstitch all the way around the edge. You can use a basic stitch or a decorative stitch. It typically depends on how busy the fabric pattern is as to which stitch I choose. For this one, the flannel fabric is kinda busy, so I opted for a basic stitch.
9 | Done!
Now it’s time to show off your handiwork! This easy baby blanket tutorial will help you make fantastic gifts and this blanket pattern pairs great with these easy Burp Rags!
