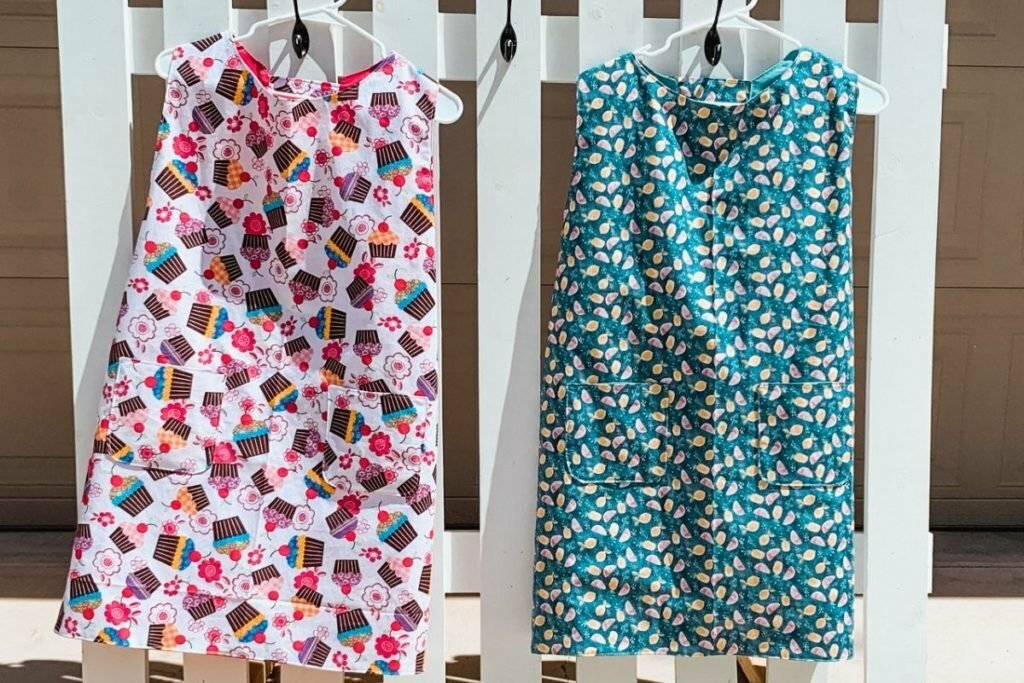

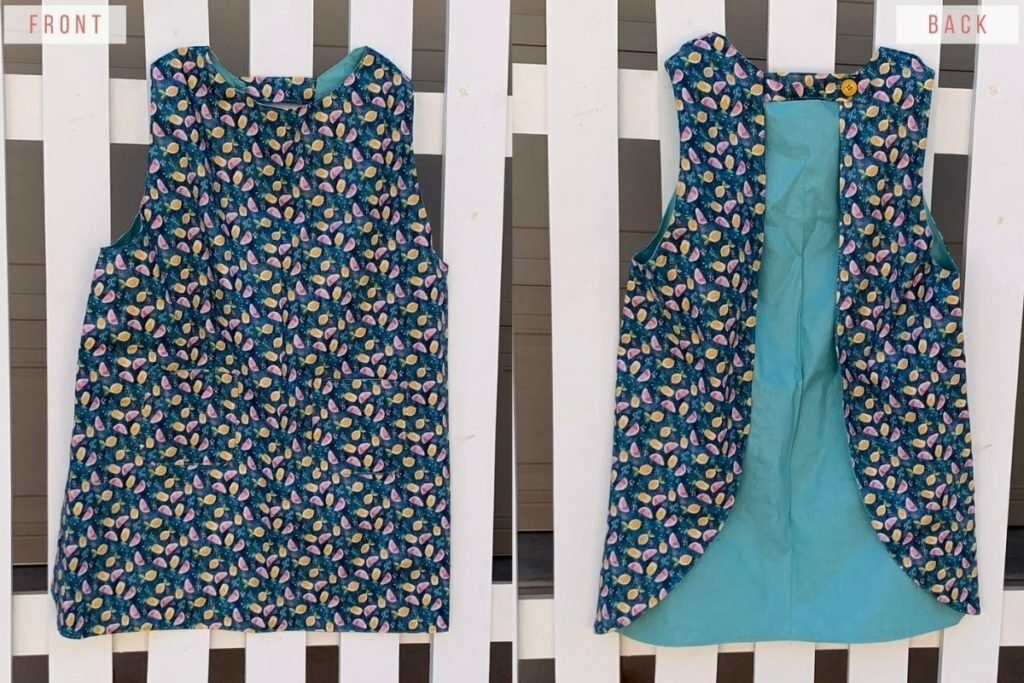
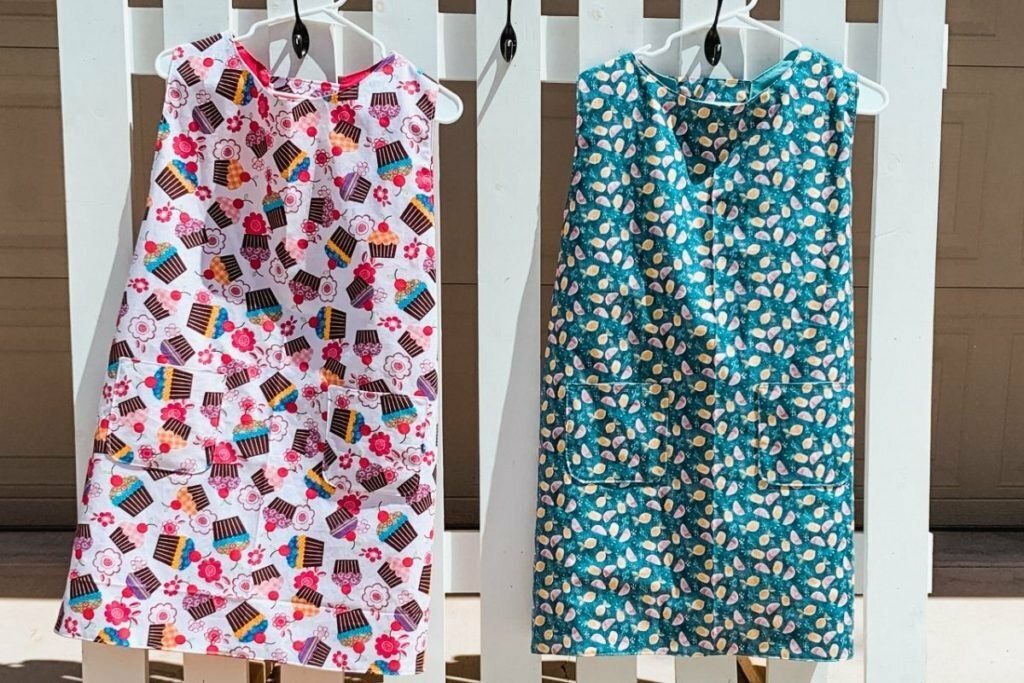
Happy Friday y’all! Today I’m going to be sharing with you my Full Coverage Apron Free Pattern and Tutorial! I like having an apron that protects my clothes while I’m baking or using anything that may splash. I made this apron pattern off of a super old one my mom has had for 25ish years. She would not let me take a picture of it to put on my blog because it is totally ragged and missing a whole section at the bottom. Safe to say, she wanted a new one. And I made a few alterations to modify the apron to what we both wanted.
Full Coverage Apron Free Pattern + Tutorial
You will need:
- The Full Coverage Apron Free Pattern (download here)
- 1-yard Outter Fabric (Unfortunately, these fabrics aren’t sold any more)
- 1-yard Lining Fabric (coordinating fabric, contrasting fabric, or just something fun)
- Thread
- Button (about 3/4″ to 1″)
- Sharp Scissors
- Sewing Machine
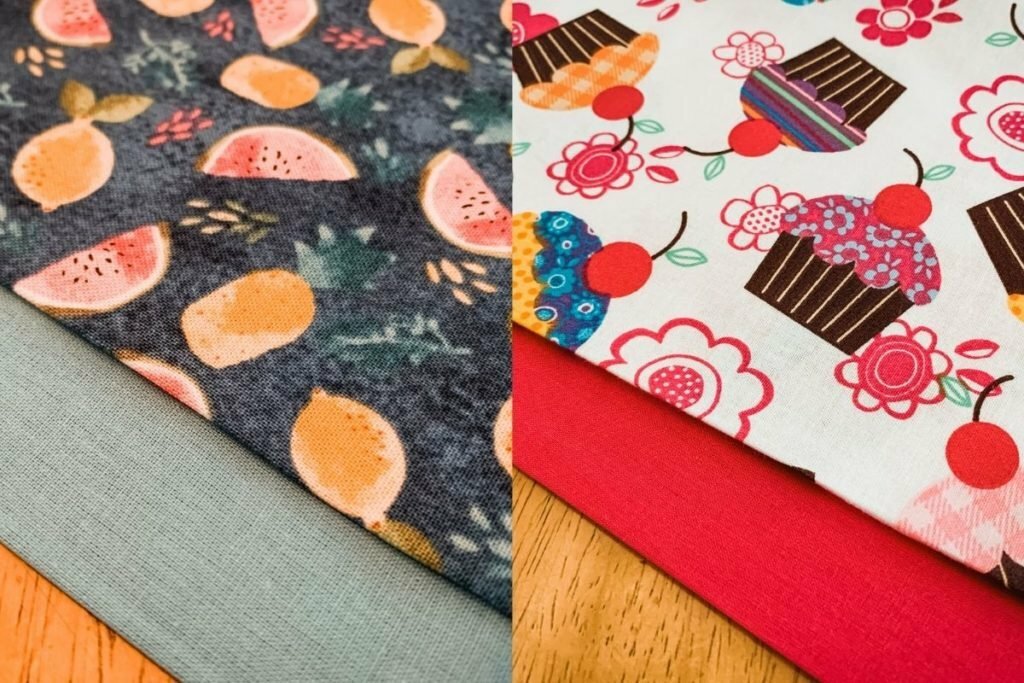
Please note that I took pictures while making two different aprons. The printed fabric is always the outer fabric, while the solid is always the lining.
1 | Print and Cut Out Your Pattern
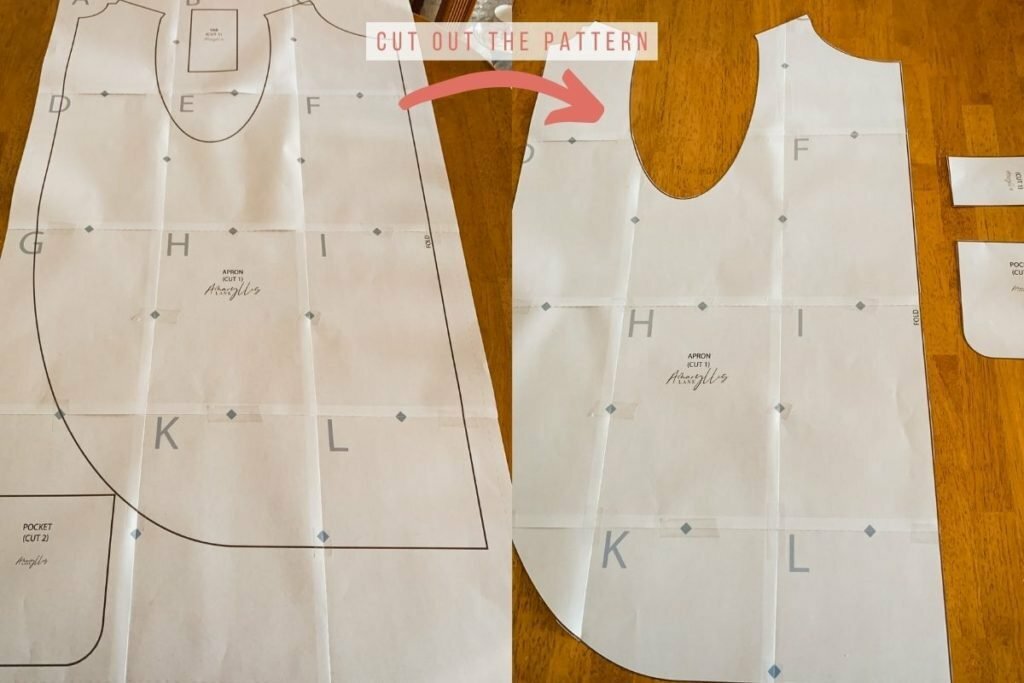
When you go to print your free pattern, make sure that your scaling is set to “actual size.” You will have 12 pages total. Cut on the grey dashed lines, then line up the diamonds where you will tape together the pages. Then, cut around the solid black lines. It should look like this:
Please note that you should NEVER use your fabric scissors on paper! This will make your fabric scissors dull and unable to cut through fabric. I have my fabric scissors labeled so that no one dares use them for anything else.
2 | Cut Out Your Fabric
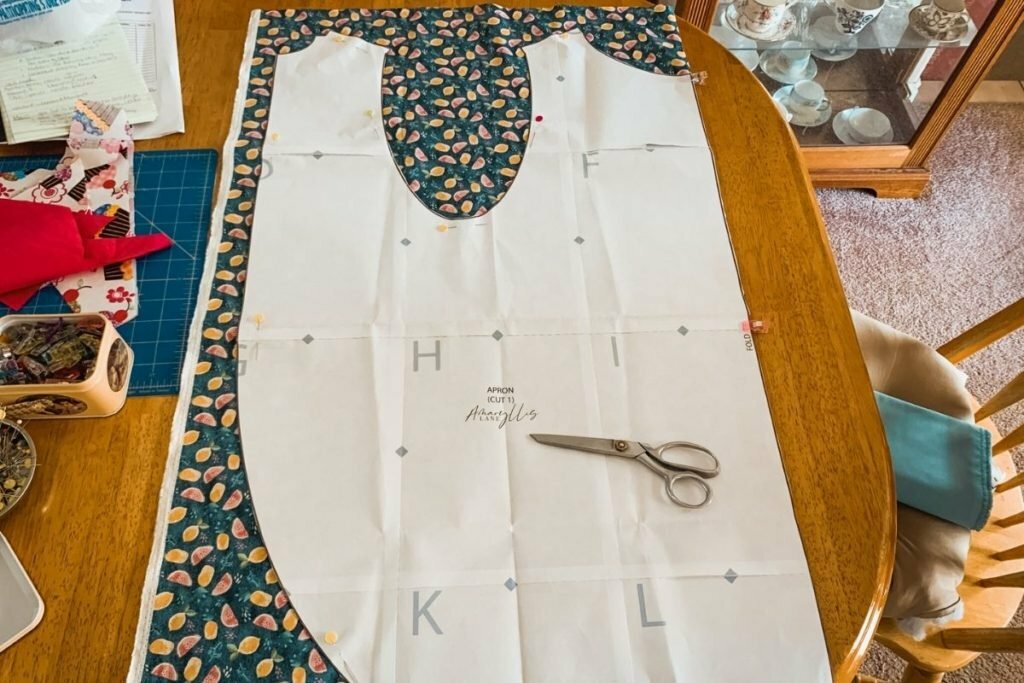
Lay out your fabric on a solid surface. Make sure that you don’t have anything underneath that you could accidentally cut. (I have done this… don’t make my mistake!) It is always a good idea to square up your fabric before you start cutting. If you are unfamiliar with squaring up your fabric, check out this little video from The National Sewing Society.
Using the center fold of the fabric, line up your pattern, then pin it into place. I find it helpful to place pins closer together around curves. This will just help keep your pattern in place. When working with a larger pattern, I will usually place some pins in the center of the pattern as well.
Cut out your outer fabric and your lining fabric separately. I know it’s tempting to cut corners by doing both at the same time, but trust me, it ends up more time in the long run.
3 | Sew the Tab
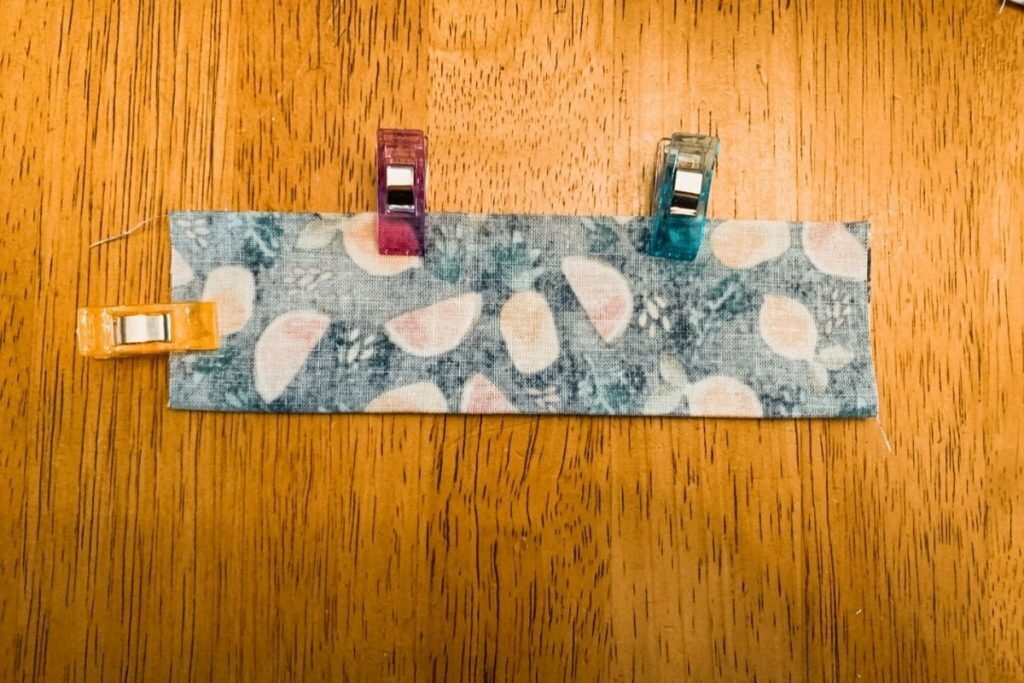
For this project, I used a 1/4 inch seam, but you are welcome to use a half inch seam if you are more comfortable with that. Just make sure that your seams are a consistent size.
Fold the “tab” in half lengthwise and press the seam. It should look like this:
Sew along the dotted lines. This will leave one end open.
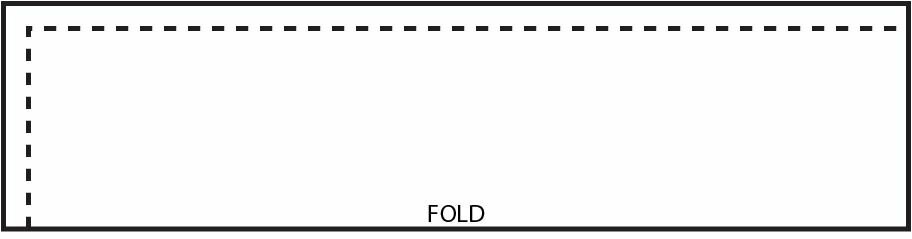
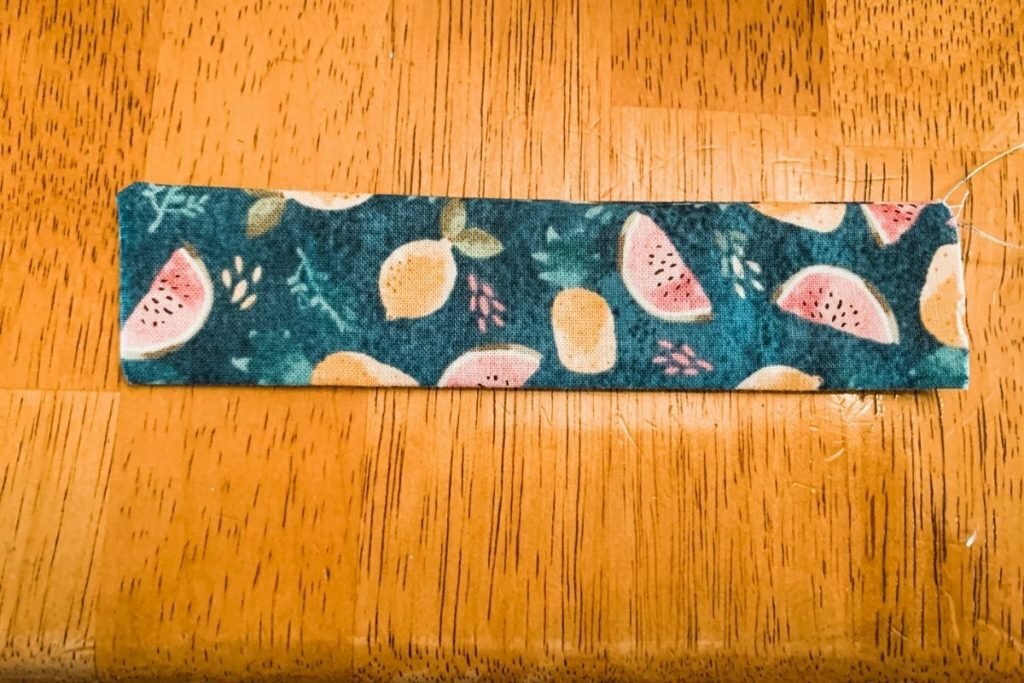
Clip the corners, then turn the tab right-side out.
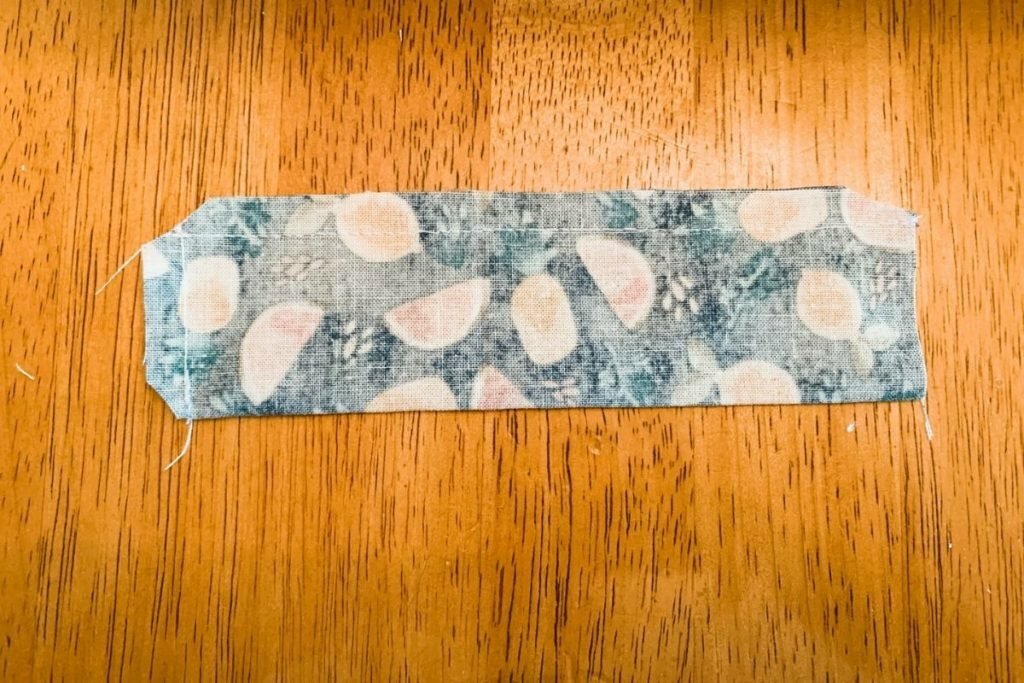
Press it flat with an iron.
4 | Sew the Button Hole
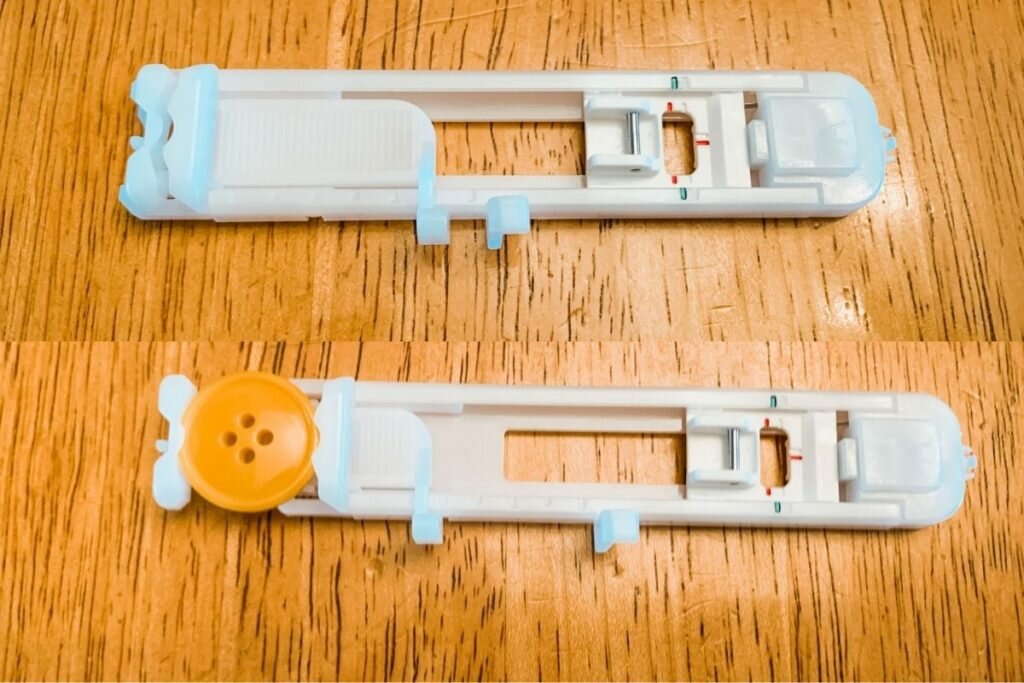
Sewing a buttonhole can seem a little bit daunting when you are first starting to sew, but I promise it really isn’t that bad. On most newer machines, it is really easy. You will need to use your buttonhole foot. If you are unsure of how to use a buttonhole foot, this little video from Sewing Parts Online gives a good tutorial of how the foot works and how to use it.
Depending upon what sewing machine you have, it may look slightly different, but anymore, they all look really similar.
When you are done, you should have sewn something that looks like this:
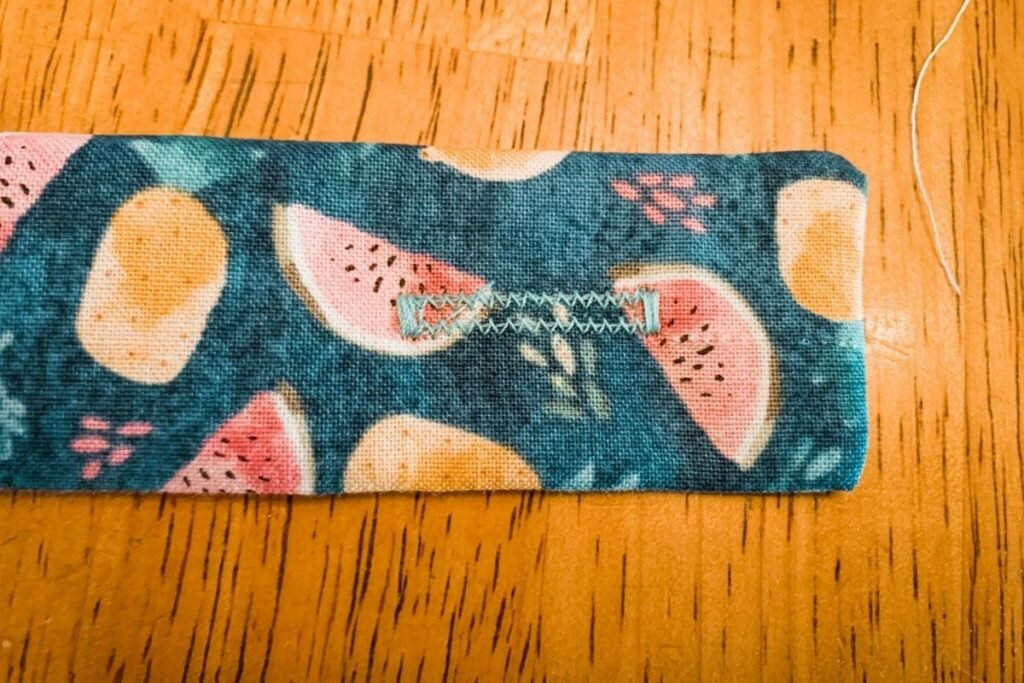
I opted for just a super simple buttonhole since this is just on an apron, but you can mess with the settings on your machine if you want a prettier buttonhole.
Fold it in half, then clip the inside of when you have just sewn. You want to make sure not to cut all the way to the stitching on either end.
5 | Pin the Apron
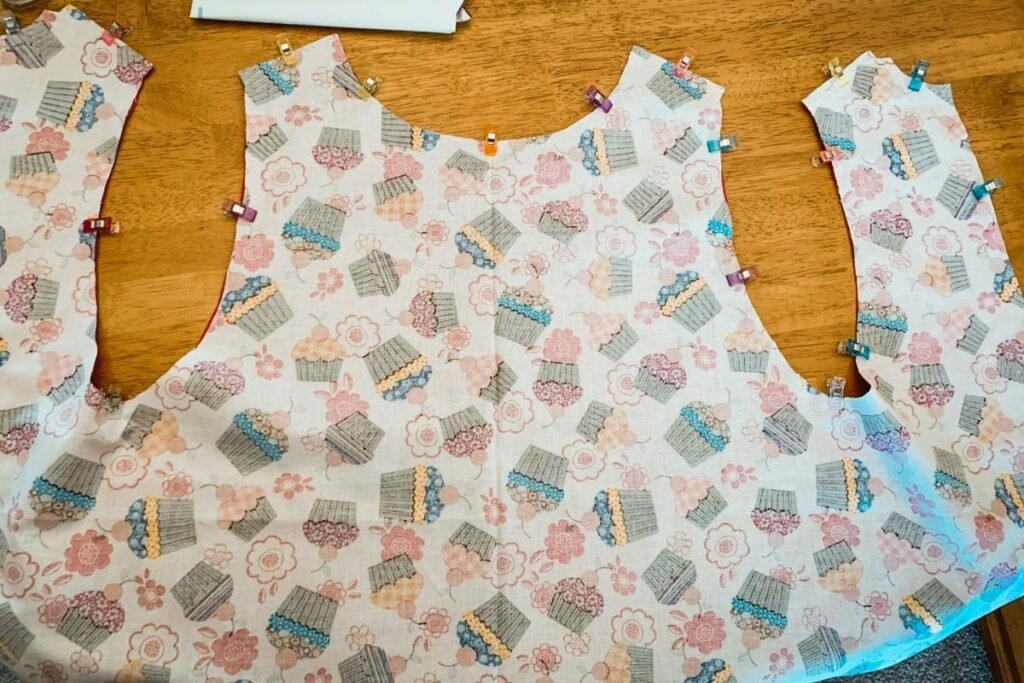
Line up the outer fabric and the lining fabric with the rights sides facing each other (basically, it will be inside out for a few minutes.) I start by pinning together around the neckline and armholes. Once these are matched up, everything else lines up easily. Pin all the way around the apron.
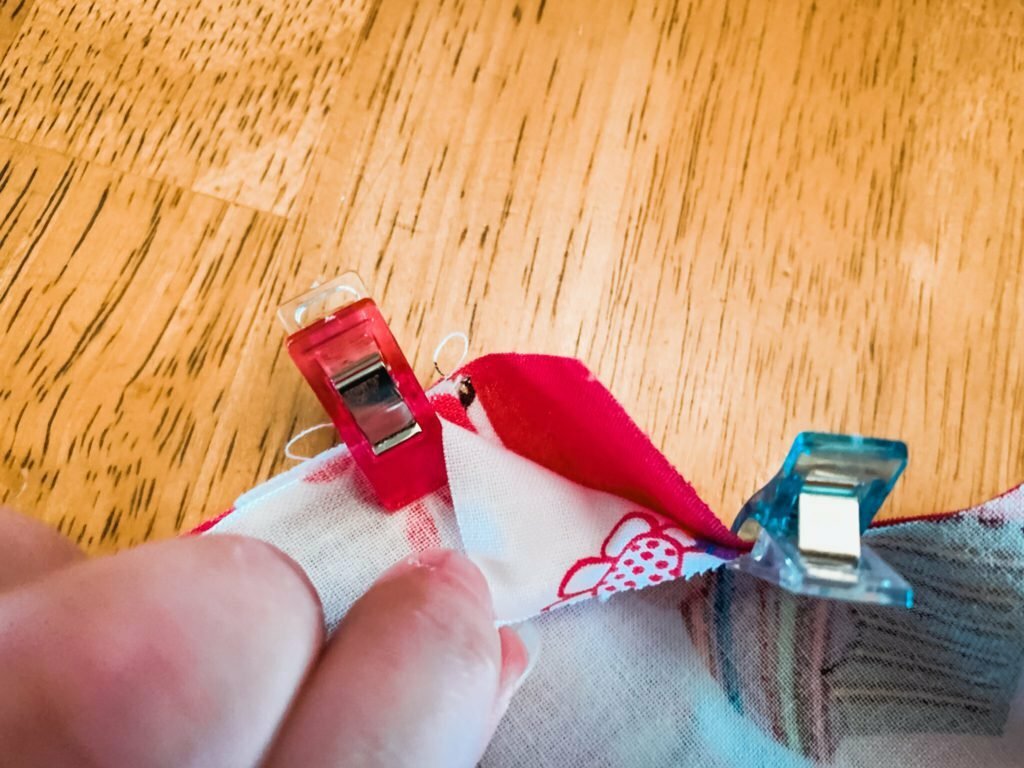
Pin the button tab into the side of the apron. I fold the tab back while I am sewing so that I do not catch it in the seam across from where the tab will be sewn in.
It will sit in between the inside out fabrics like this:
6 | Sew Around the Apron
Sew along the dotted lines shown below, while leaving open the areas without dotted lines. Sew a 1/4 inch seam around the apron leaving the tops of the shoulders open. (we will use these to turn the apron right side out later.)
7 | Turn Right-Side Out
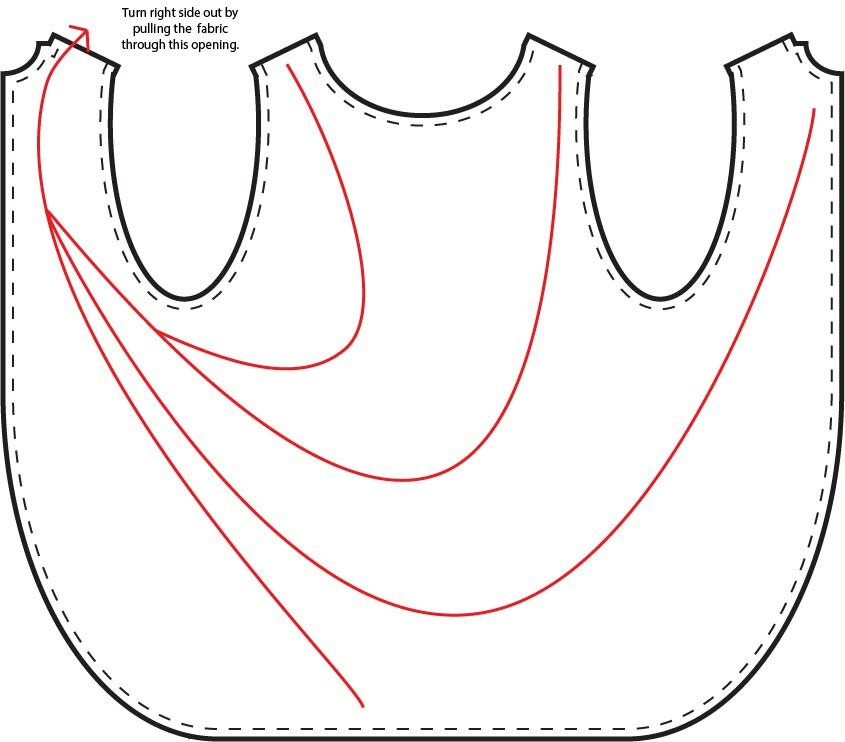
Using one of the open spots on the tops of the shoulders, turn the apron right side out then press all the seams flat with an iron.
8 | Attach the Shoulders
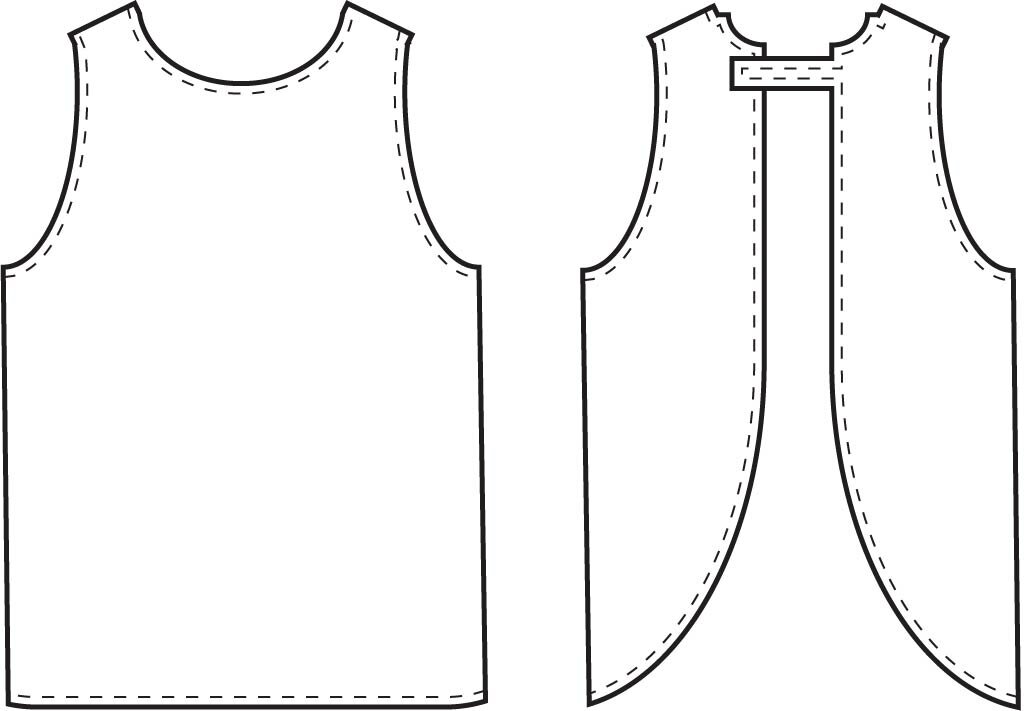
Next is the shoulder seams. I used what is called a counter seam. For the front of the shoulder, fold the edge over 1/2 inch toward the lining and press flat. For the back of the shoulder, fold the edge over 1/2 inch toward the outer fabric and press flat. Nest the seams like the illustration below. They should work sort of like a french cleat or a pair of hooks.
9 | Topstitch the Apron
Now, topstitch around the edges of the apron. I usually topstitch about 1/8 inch from the pressed edge. You can always topstitch a little farther from the edge. The 1/8 inch is just what I like to do.
10 | Add the Pockets
Now it’s time for the pockets! There’s a ton of things you can do with the pockets. I just chose to go simple with these ones, but it’s also fun to use the lining fabric facing out for a fun pop! Pin around the pockets with the wrong sides facing in. (one outer fabric and one lining fabric)
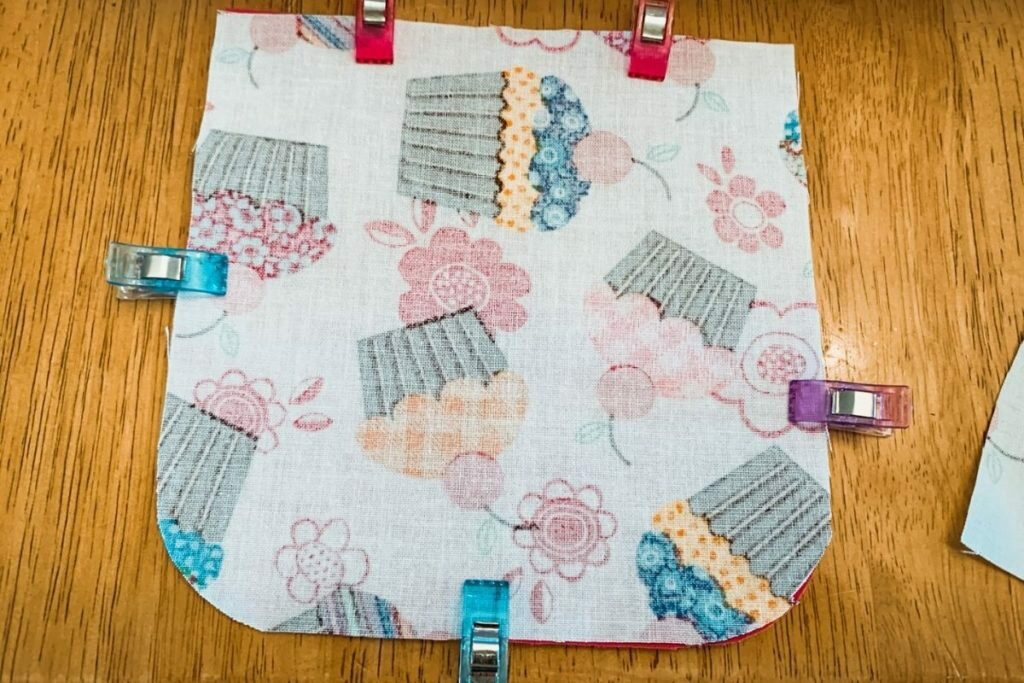
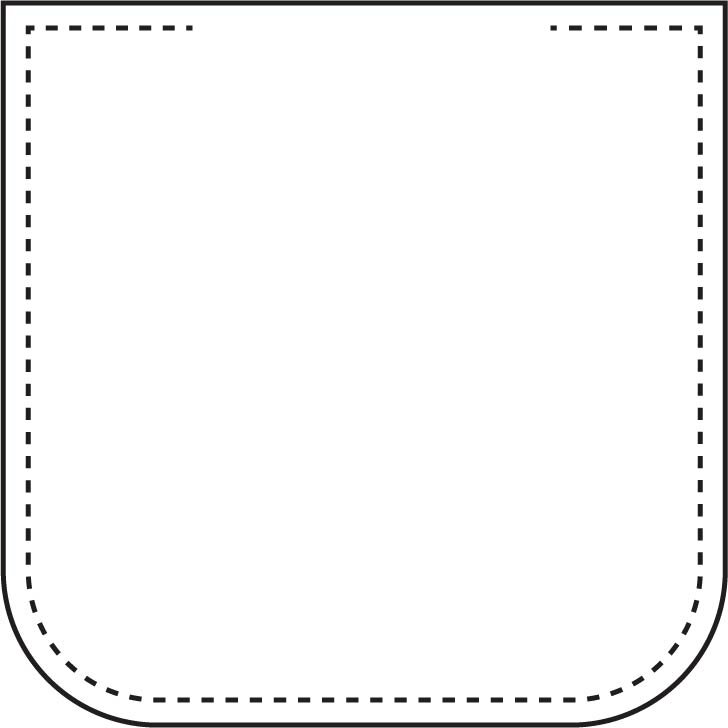
Sew around the pocket on the dotted lines. Make sure to leave part of the top open so that we can turn it right side out. Then clip the corners and notch around the rounded edges. Turn the pockets right side out and press with an iron.
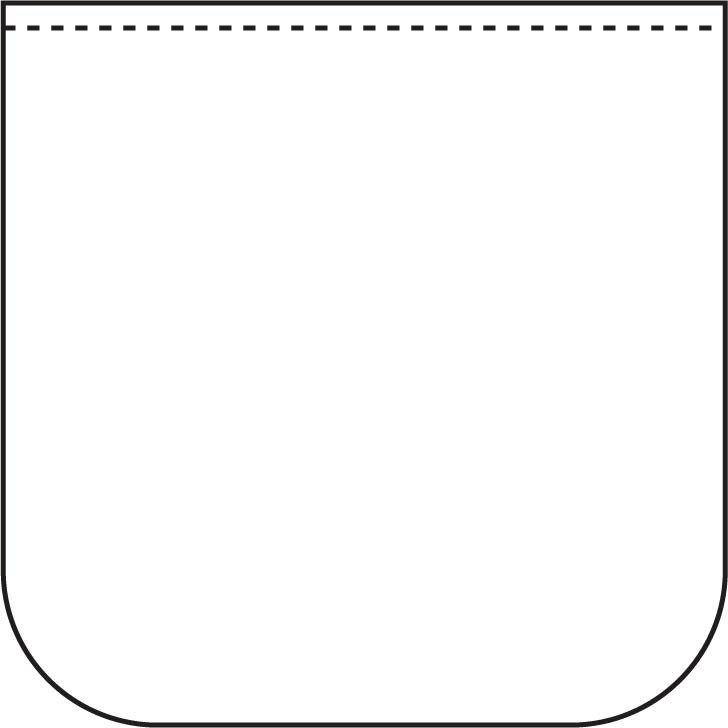
Topstitch across the top of the pockets.
Pick where you want to place your pockets. I just used my sewing ruler and marked where I wanted my pockets. I know that everyone likes their pockets in a slightly different place. Some people like them straight, while others like them angled a little bit. Just pick where they are most comfortable for you. Pin the pockets to the apron, then stitch around the outside of the pockets leaving the top open.
11 | Add the Button
Line up the tab across the back and choose where you want to place your button. I just hand sew the button. I know that some sewing machines can sew the buttons on for you, but as far as I know, my sewing machine doesn’t have this feature. If your machine does, totally go for it!
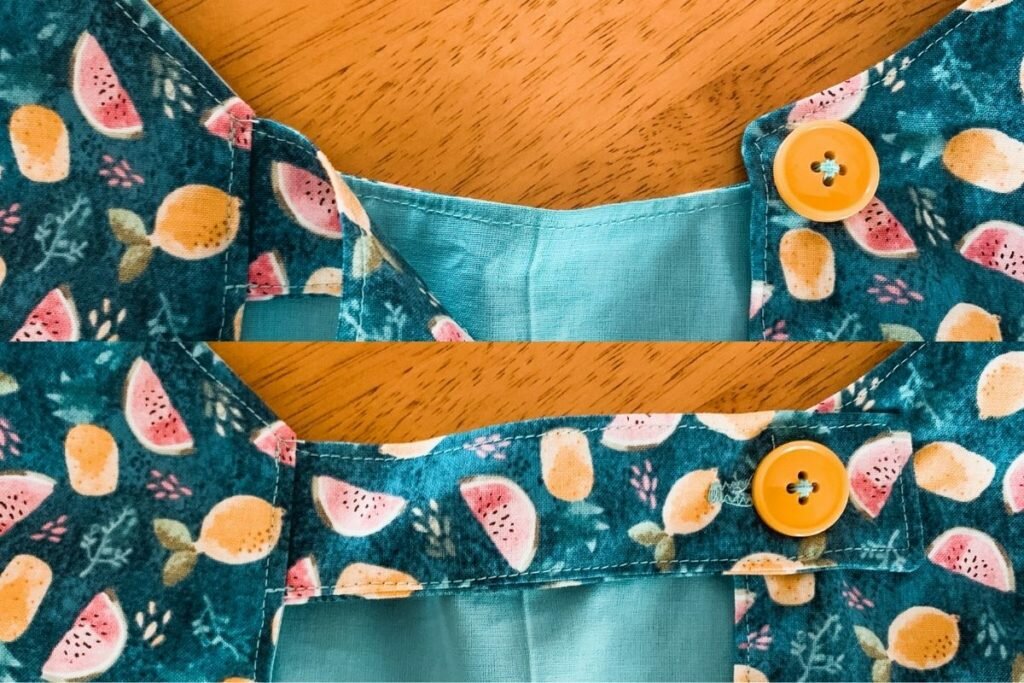
12 | Done!
Now it’s time to get cooking, baking, or whatever else you wanna do!