

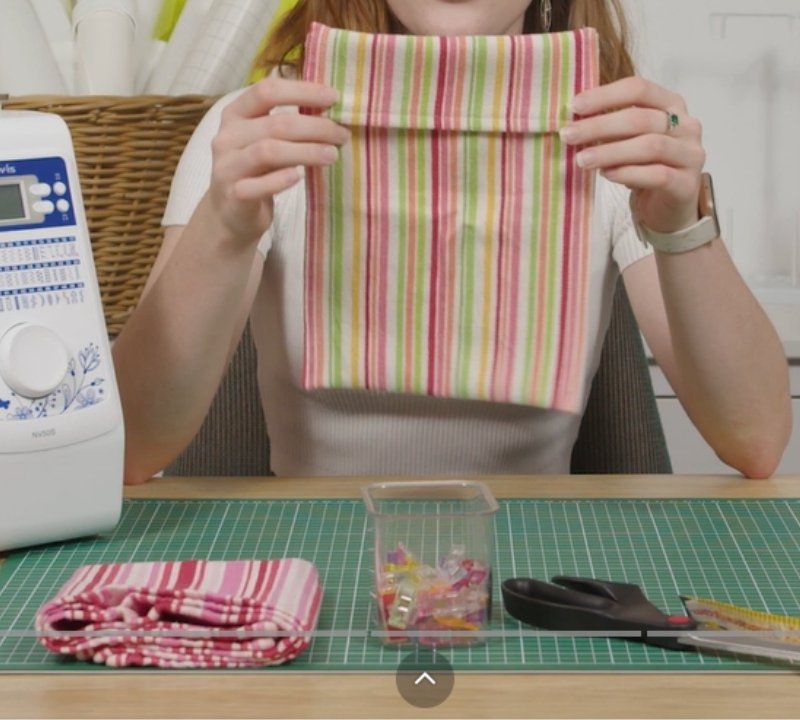
Why are reusable produce bags so great?
I always hate using those plastic bags for produce at the grocery store. Yes, there are places where they are good, but for the most part, I just feel like they are wasteful. These reusable produce bags help you to cut down the amount of plastic we all throw away.
And did you see that these go great with my Reusable Grocery Bag Patterns which are also FREE!
Reusable Produce Bags Tutorial with FREE Pattern
I decided to make some reusable produce bags to go with the Reusable Grocery Bags from the scraps of that project and some other leftover scraps I had on hand. These produce bags are just a simple drawstring mesh bag with a cotton bottom. I made two variations of the pattern for all ya’ll! there is a standard version with boxy corners and a rounded version!
This tutorial does use some intermediate techniques including topstitching and a flat felled seam but you have no need to worry, you can do it!
For this project, you can use whatever seam allowance you would like as long as you are consistent. In this project, I use a 1/2″ seam and 1/4″ seam. I will tell you in the instructions which seam allowance to use.
What You Will Need:
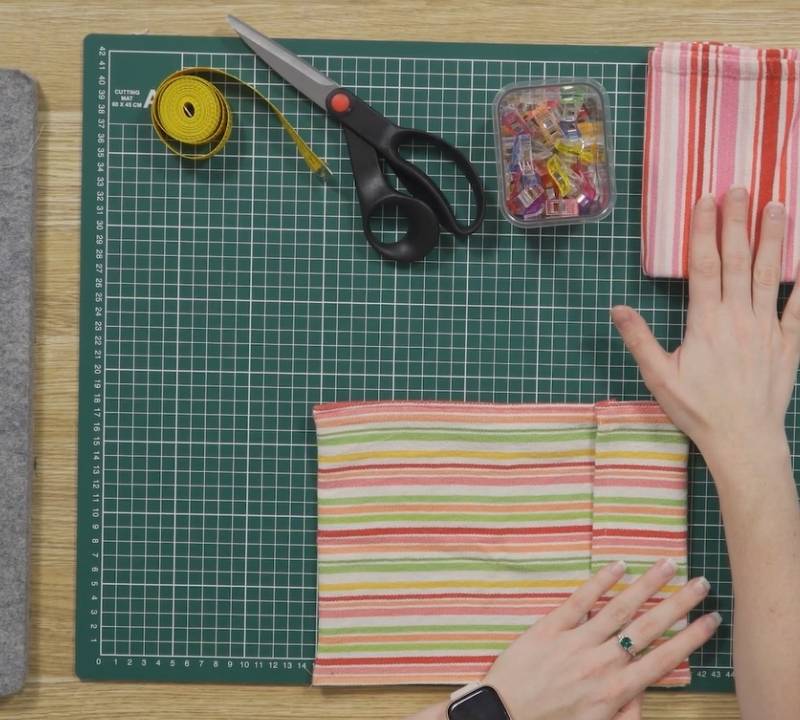
- Free Pattern – Download them HERE
- 1/4 yd Cotton Fabric
- 1/4 yd Mesh Fabric (I used this one in white)
- Matching Thread (or contrast can be fun too!)
- Drawstring (You can use shoelaces, string, ribbon, etc.)
- Stitch Witchery (optional)
- Fabric Scissors (I highly recommend buying good fabric shears if you plan to do a lot of sewing)
- Pins
- Iron and Ironing Board
- Sewing Machine
Tutorial
1 | Cut the Fabric
First of all, you will need to decide which style of produce bag you want to make. The boxy corners or the round corners!
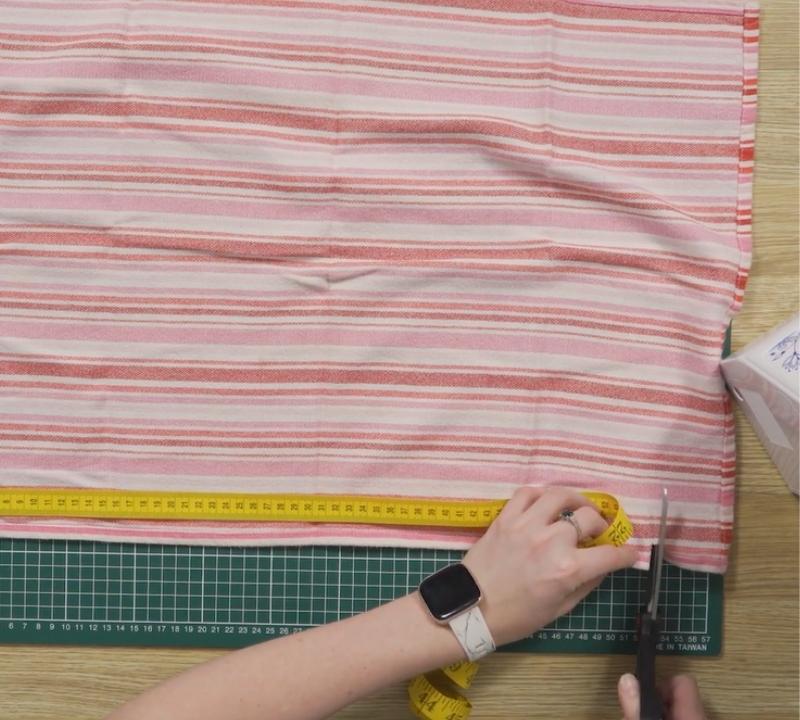
Print out your pattern and assemble. Lay your pattern on the top of your fabric with the fabric folded at the fold line. Then pin it to the fabric and cut around the pattern.
You will need two base pieces, two mesh pieces, and one top piece.
2 | Pin the Mesh Pieces to the Bottom Pieces
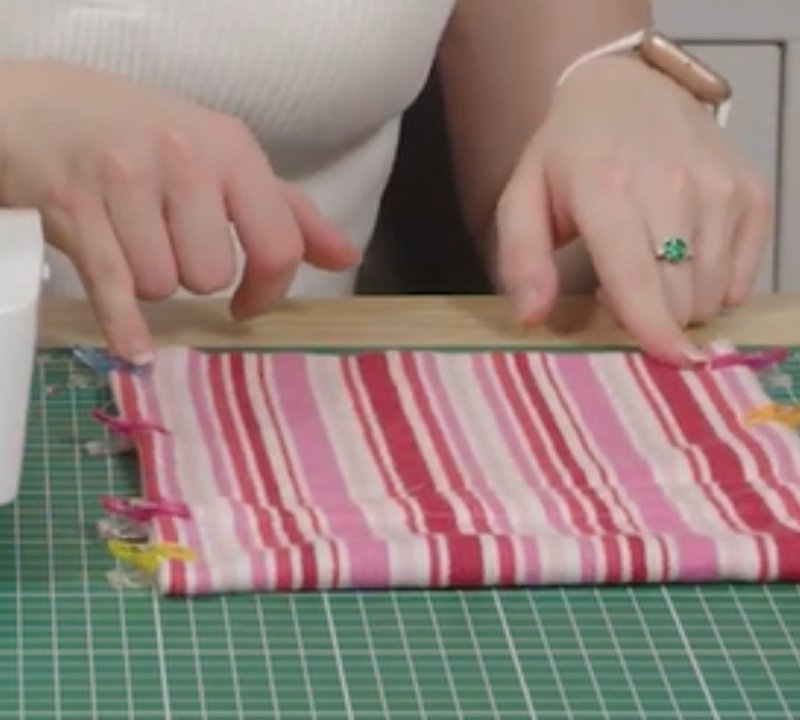
This is where our flat felled seams will be. So, you will pin your fabric and mesh so that the seam will be on the OUTSIDE of the fabric. Don’t worry, we will fold it over and encase the edge later.
3 | Sew the Mesh to the Bottom Piece
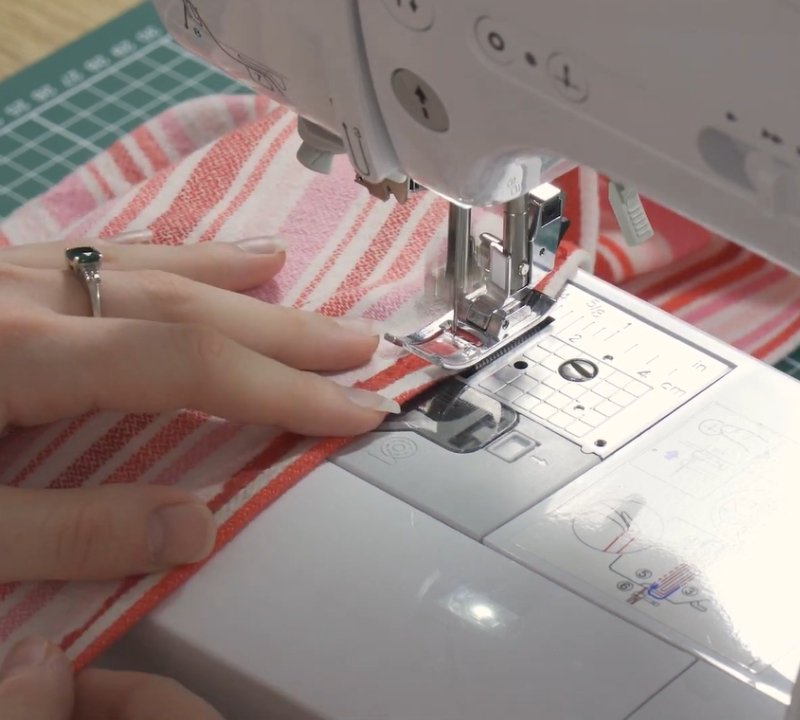
This is your flat felled seam, so for this seam, we will be using a 1/2″ seam.
Once sewn, your seam should look like this:
Now tuck the raw edge into the seam and fold over towards the mesh. Press it flat against the mesh so that the raw edge is no longer visable.
Pin the fold toward the mesh side of the seam.
Top stitch the folded over seam allowance to the mesh.
It should look like this:
Now repeat this step with the remaining mesh piece and bottom piece.
4 | Sew the Front and Back Pieces Together
Next, pin your front piece and back piece together with right sides facing each other. Sew the pieces together in this order:
5 | Clip Your Corners
Clip the corners so that the edges will flatten nicely.
For the rounded corners, you will want to clip the corners like this:
For the Boxy corners, you will want to clip the corners like this:
Turn the bag right-side out and iron it so your seams fall flat.
6 | Press the Top Piece
Here we are going to make this top piece of fabric into bias tape.
Press the top piece in half.
Press the raw edges in toward the middle crease.
Now that you have your bias tape, cut and place the stitch witchery on the ends with the glue side facing the fabric. Iron the stitch witchery to the fabric.
Let the stitch witchery cool for about 30 seconds before removing the paper backing. It will look like this once you peel off the paper:
Fold the end back on itself and press letting the stitch witchery fuse the raw edge so that it stays hidden when sewn.
Fold the bias tape closed and press again. Your edges should now look like this:
Repeat this for the other end of your bias tape.
7 | Pin the Bias Tape to the Mesh
Line up the end of the bias tape to one of the mesh seams.
Make sure the top of the mesh reaches all the way to the middle crease on the bias tape.
Pin the bias tape into place, leaving the very end open to overlap later.
8 | Sew the Bias Tape to the Mesh
Here you will top-stitch the bias tape to the mesh. Top-stitch along the bias tape towards the mesh side so that we leave room to feed the drawstring through the top.
Line up the ends so that you just barely overlap the bias tape like this:
9 | Thread the Drawstring
Cut the drawstring long enough to loop all the way through the top piece and still be able to tie. Some people like this piece longer, some like it shorter, so it is up to you how long you want the drawstring.
Hook a safety pin to the end of the drawstring.
Feed the safety pin through the top piece pulling the drawstring through.
Once you have the drawstring all the way through, remove the safety pin and tie the ends of the drawstring together.
10 | And You’re Done!
Now your reusable produce bags are ready to use!
Remember these produce bags are machine washable. I wash mine after each use just to make sure they are clean for the next trip to the grocery store!
I’d love to see how all y’all’s finished projects turn out! If you have any questions, comments, or concerns, I’m happy to help ya out! Just leave a comment below.
You can find more eco-friendly DIY projects like these Reusable Grocery Bags! They go great with your new Reusable Produce Bags!
